Ok so I’m going to attempt at showing the steps I took to successfully get a bootable Manjaro image working on the Zero (with images)
I did this mainly on a Linux machine. Specifically, Pop OS 20.10 (Ubuntu/Debian based). However, I did follow the instructions on Windows to erase the Zero’s bootloader “correctly” – but I don’t think it’s actually necessary. But since it’s the current “official” instruction set; it can’t hurt to follow.
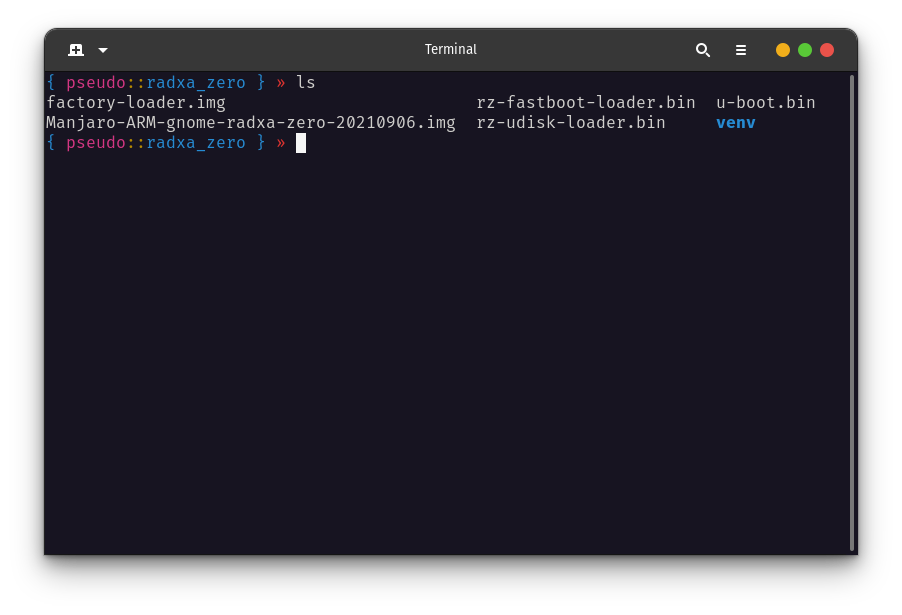
So first things first, the required files:
- factory-loader.img (
wget https://dl.radxa.com/zero/images/loader/factory-loader.img)
- rz-fastboot-loader.bin (
wget https://dl.radxa.com/zero/images/loader/rz-fastboot-loader.bin)
- rz-udisk-loader.bin (
wget https://dl.radxa.com/zero/images/loader/rz-udisk-loader.bin)
- Linux distribution from this page
- u-boot.bin (
wget https://dl.radxa.com/zero/images/loader/u-boot.bin)
Follow the steps in the official instructions to get all the dependencies (e.g. fastboot, python3, pyamlboot) on your host machine
- issues related to permissions could either be resolved with
sudo, installing the dependencies globally, or installing with your host machine’s default package manager (e.g. apt)
Make sure you push and hold the physical usb-boot button on the Zero before you plug it into a power source to ensure that the Zero boots into the proper mode for lsusb to detect it:
- note that the initial output of
lsusb did not contain the Amlogic, Inc. GX_CHIP entry and only when I correctly booted the Zero in usb-boot mode did it appear in the second output of lsusb
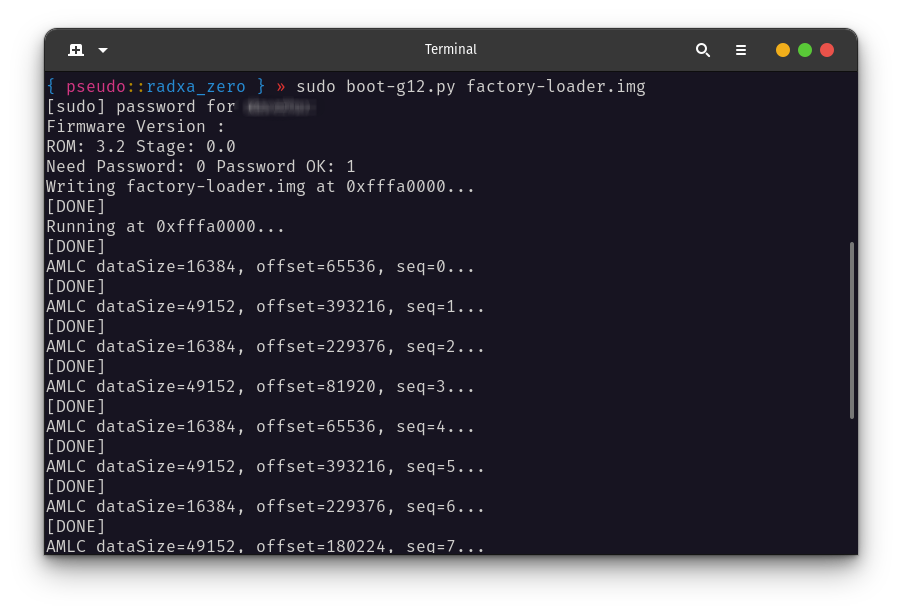
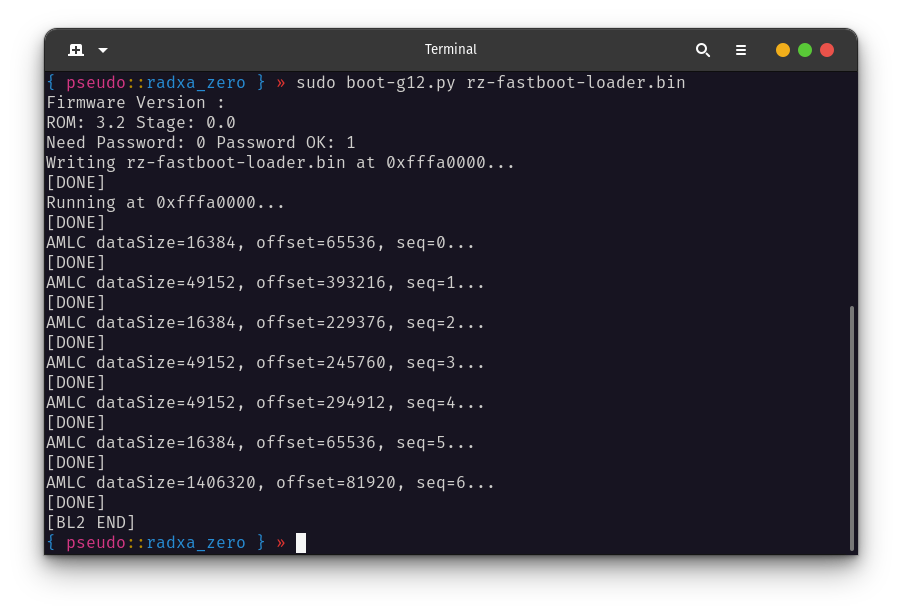
Run the factory loader (same as official instructions):
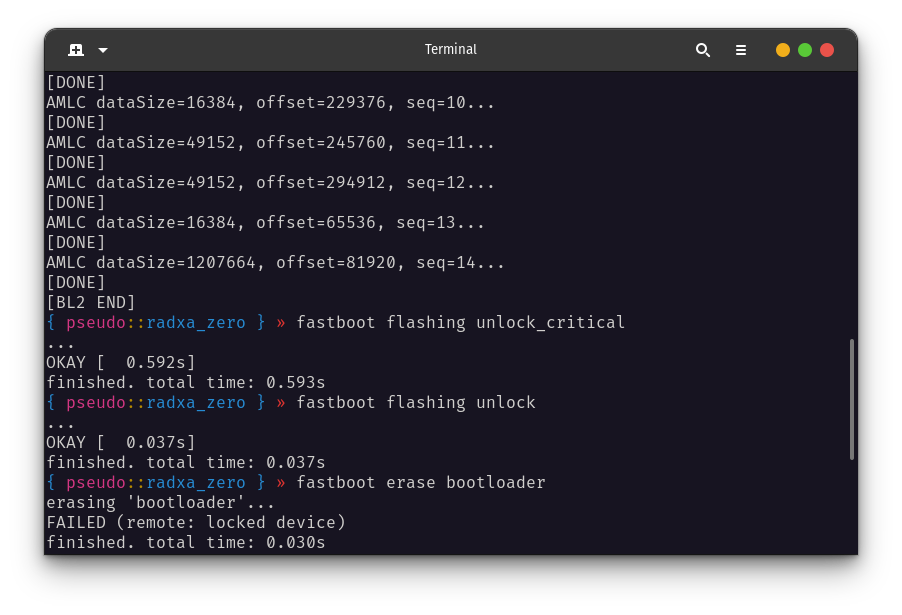
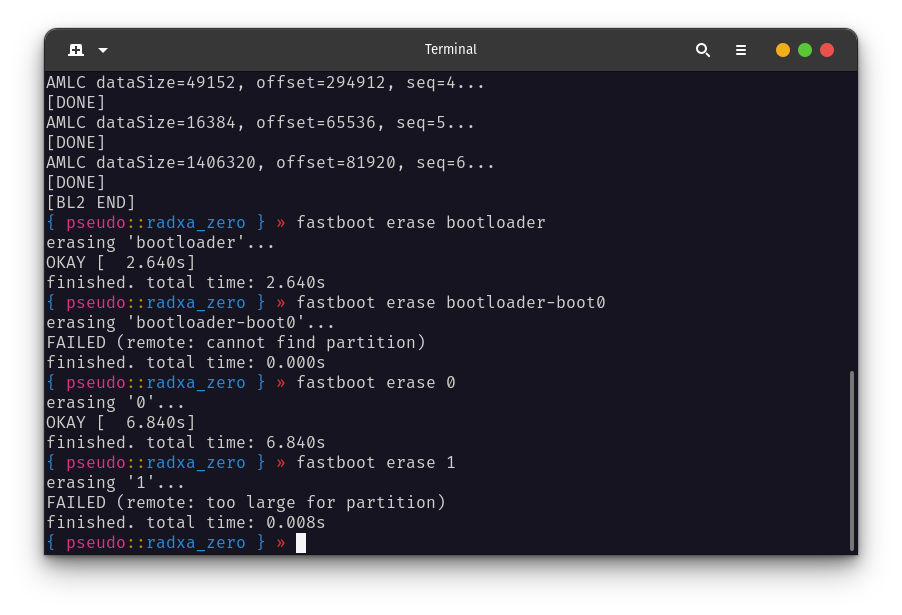
Use fastboot to unlock and erase the bootloader (but it fails):
…following this post to erase the bootloader:
- note that you have to reset the Zero and usb-boot the Zero again or else you’ll get a failure message:
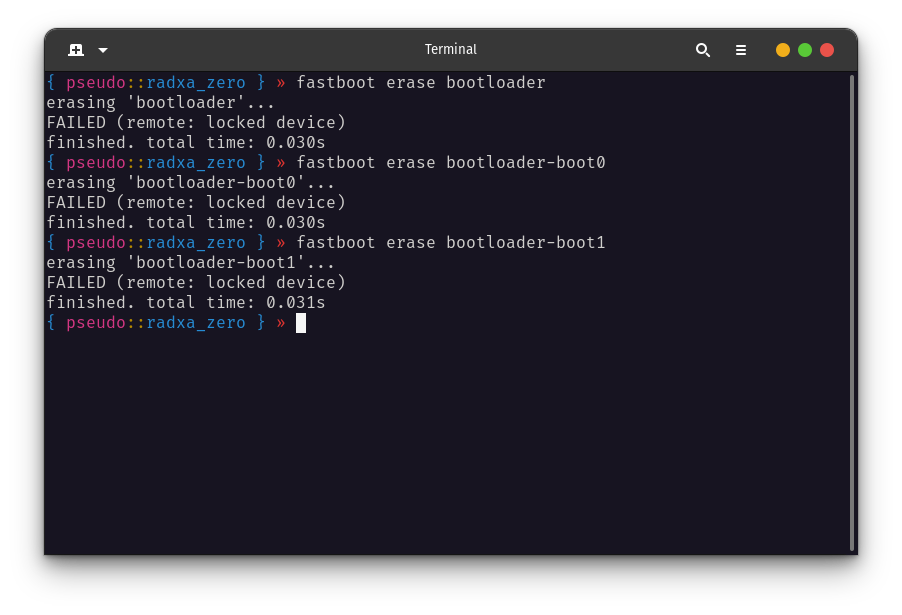
Now you can erase the bootloader…but not without some issues like erase 1 not working as the post suggests. In my experience, this didn’t matter as I would go ahead and use the default disk manager to delete the entire partition anyway…
- note that the official instruction to use
fastboot erase bootloader-boot0 fails and instead you simply run fastboot erase 0
OK, at this point, you have somewhat cleared the EMMC and are ready to boot the Zero as a USB Disk.
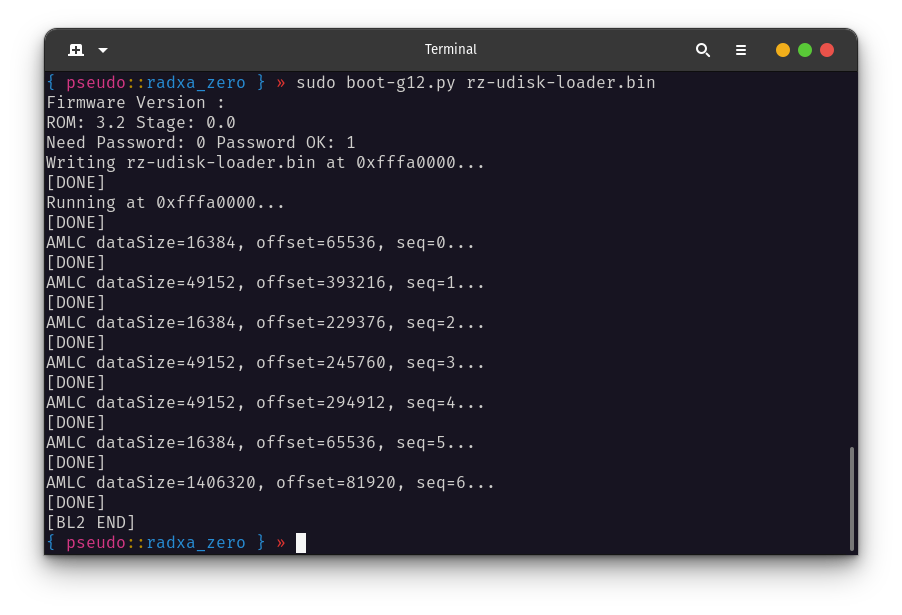
Boot as USB Disk
- note that similar to when we loaded
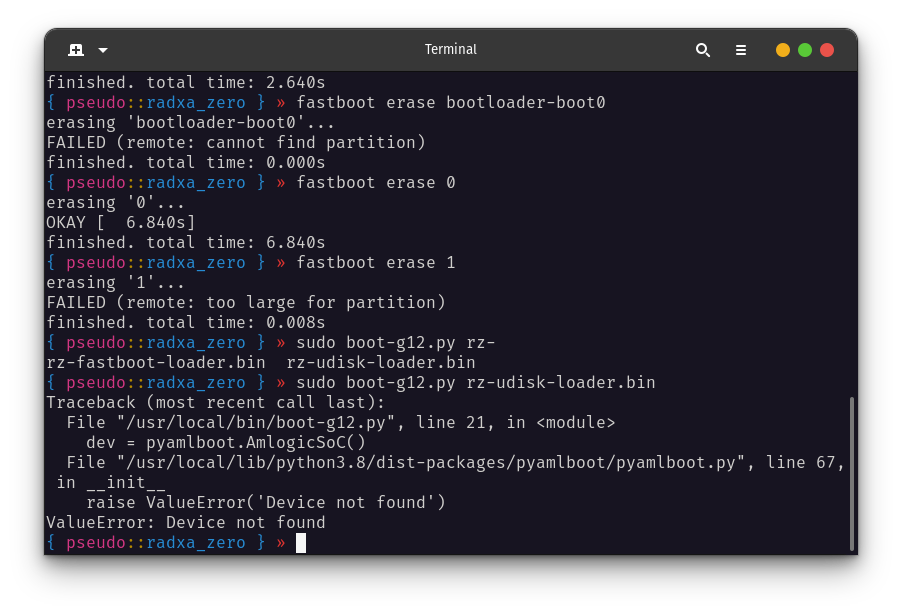
rz-fastboot-loader.bin to erase the bootloader, we need to reset the Zero again here or else we’ll encounter a similar error:
HOWEVER…for me, even after a successful loading of rz-udisk-loader.bin…the Zero did not show up as a USB Disk:
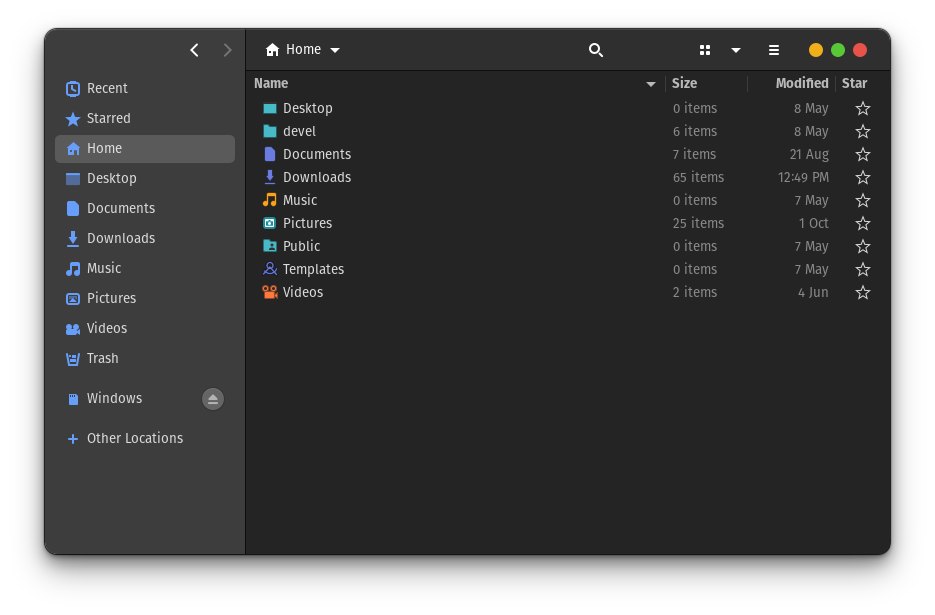
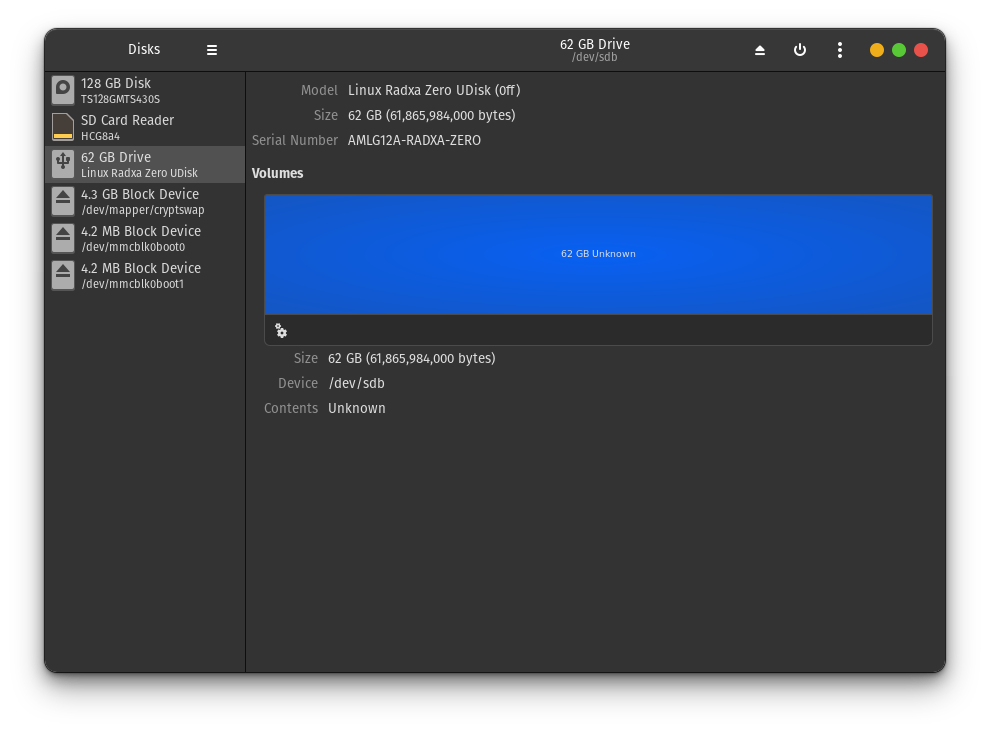
BUT…the default disks app did have the Zero appearing…and that is what matters:
- note: (
disks is the app that I had on my PopOS! machine, but I’m sure something like GParted would be similar)
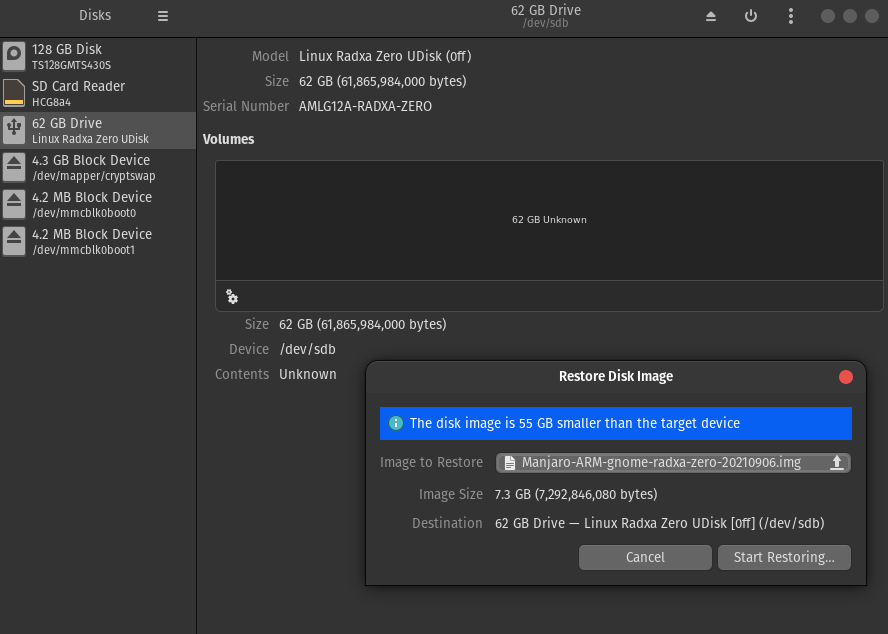
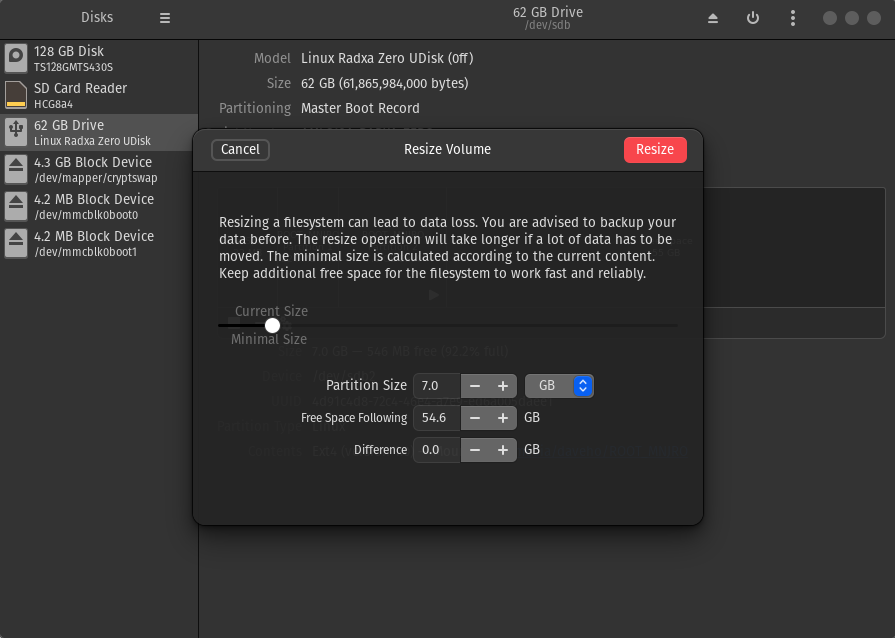
I would delete all the partitions to make a single block (as shown in the image above), then I’d select to restore disk from image:
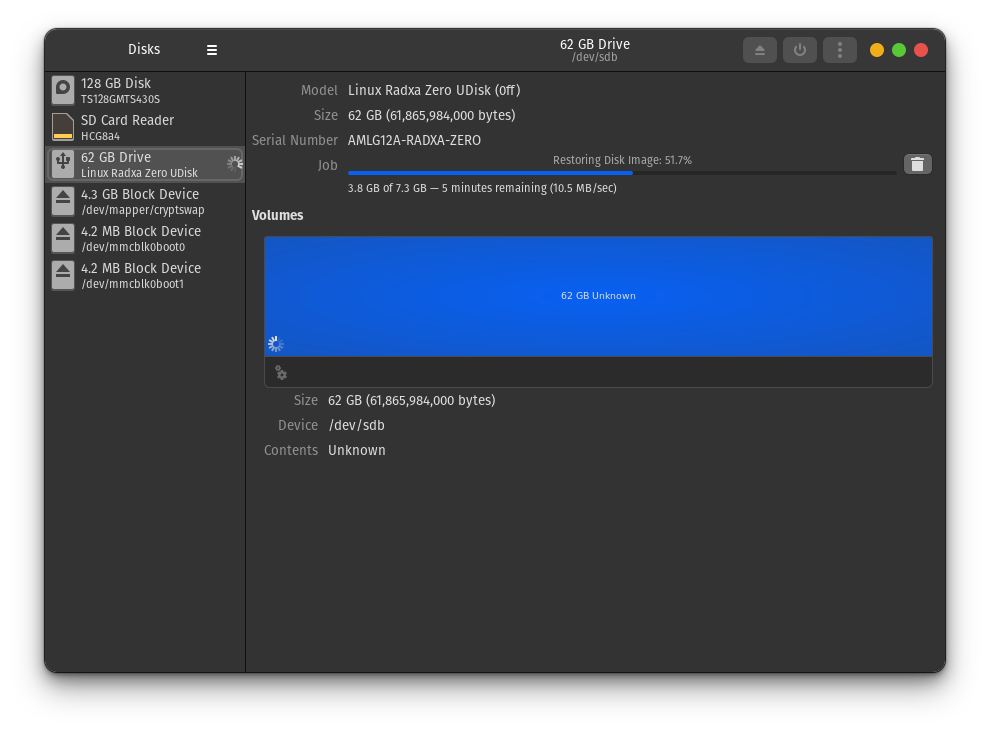
Once the re-imaging finished, I resized the partition to fit my version of the Zero (64GB):
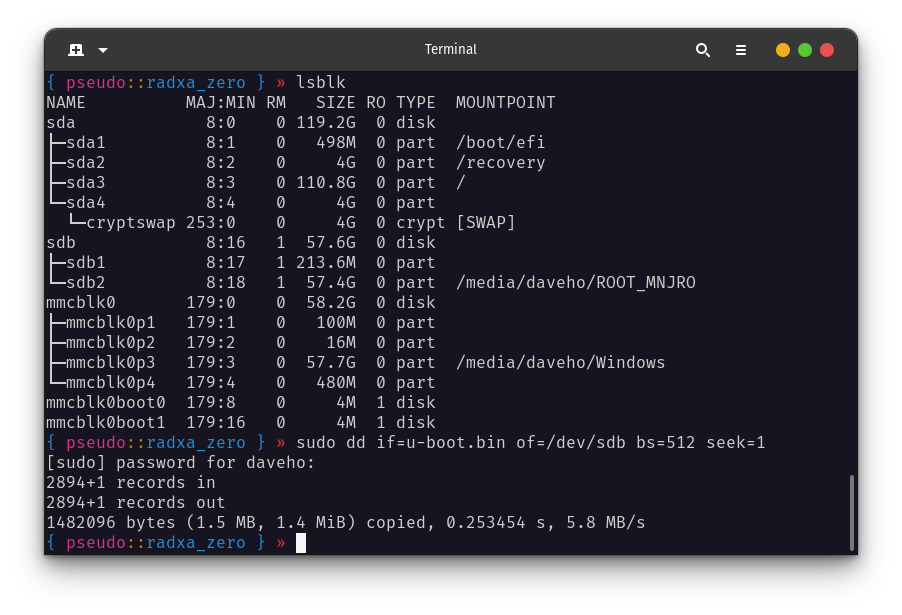
At this point, the device was finally detected and mounted as a USB disk in the file manager and it was mounted as /dev/sdb as you can see from the images above. The problem if you reset the Zero and attempt to boot from EMMC now, is that it doesn’t work. This is a common issue that many threads in the forum have outlined. The solution that I found here is to also write u-boot.bin to the Zero; so do not unplug the Zero at this point! instead…run sudo dd if=u-boot.bin of=/dev/<NAME> bs=512 seek=1 where <NAME> is the label of the Zero that your machine assigned when mounting the Zero as a USB Disk. (In my case, it was sdb as I mentioned earlier).
- check
disks or GParted or run lsblk to see what your machine assigned to the Zero
You should now have a Zero that is booting the distro of choice…(well, I’ve only tested with the Manjaro Gnome image, but I can’t imagine the others not working since the steps are all so similar…and these images are provided by Radxa themselves…so they would have to work if not for the outdated instructions provided…)
In any case, the missing piece was adding u-boot.bin back to the Zero to make it bootable. I’m sure for people more familiar with the matter that would have been obvious…but of course, there was no mention at all in the official instructions so I thought it would be finally worth sharing this here to support others who found themselves in a similar boat as I was in.