In my previous post, Rock 5T Talos Linux Kubernetes Dev Cluster, I detailed how to build a 3-node, dual-NIC, BGP-peered bare-metal powerhouse.
But what about people who don’t actually want/need a High Availability (HA) cluster?
For typical homelab and home automation workloads, HA is often an over-engineered luxury. Plus, with rising hardware prices, buying three high-spec SBCs, multiple NVMe drives and managed PoE switches can quickly turn a fun project into a massive budget drain.
What if you want to run a modern, secure and declarative stack, but on a single board? What if you want to deploy isolated, independent edge nodes across different locations (like a remote site, a family member’s home - greetings to my parents - or a dedicated single-purpose device) without the space, cost or power overhead of a HA cluster?
This guide covers the design and bootstrap of a Single-Node Talos Linux Kubernetes Cluster on the Radxa Rock 5B, driven entirely by GitOps (Flux CD) from a single monorepo.
 Why run Talos on a single SBC?
(The logical evolution from Armbian + Podman + Ansible)
For years, my standard homelab stack has been a single SBC with Armbian + Podman + Ansible. You write an Ansible playbook, push tasks over SSH and run your Applications … simple.
But if 100% of your applications are already containerized, running a traditional general-purpose OS like Armbian adds extra host-level management layers (like handling local packages, dependencies, users and SSH).
Kubernetes is the state-of-the-art standard because it shifts your focus from managing an operating system to managing workloads, natively handling container lifecycles, routing and self-healing. Pairing Kubernetes with a minimal, API-driven OS like Talos means your host hardware exists purely to run your containers, making the OS virtually maintenance-free.
1. The Fall of the General-Purpose OS
Don’t get me wrong I  Armbian but as a General-Purpose OS it brings a mutable root filesystem, package managers (
apt), systemd, cron, a SSH daemon and interactive shells. This opens the door to configuration drift: a manual package upgrade breaks a library, a temporary change is forgotten or a systemd service goes out of sync with your playbook.
- Talos is completely immutable and ephemeral. It runs with a read-only root filesystem, has no SSH, no shell and no package manager. The entire OS config is a single bulletproof declarative YAML file. It either boots correctly or it doesn’t. No “half-broken” states.
2. Push vs. Pull (Ansible vs. GitOps)
- Ansible (Push): Executes task-by-task. If a run fails halfway due to an SSH timeout or network blip, your host is left in a dirty, unknown state.
- Flux/GitOps (Pull): Runs inside your cluster. It continuously monitors your Git repository. If you make a change, it applies it safely. If someone manually alters a resource inside the cluster, Flux instantly detects the drift and reconciles it back to the Git source of truth.
3. Dedicated Network Ingress (L2 ARP vs. Host-Port Clutter)
Under Podman, you map container ports directly to host interfaces (e.g., :8123, :1883) and manage external Nginx reverse proxies with manually templated certificates.
- With Talos and Cilium, we use the Kubernetes Gateway API and Cilium L2 Announcements.
- This allows your ingress gateway to get its own dedicated IP address on your home network (e.g.,
192.168.1.6) via ARP, completely separate from your node’s management IP (e.g.192.168.1.5). No port conflicts, no host-port clutter and lightning-fast eBPF network routing.
4. Local-Path vs. Distributed Storage
In a 3-node cluster, running distributed, replicated storage like Longhorn makes perfect sense. On a single-node cluster, however, running distributed storage is a useless performance tax, because it has no other nodes to replicate to and introduces unnecessary CPU / Memory overhead.
For our single-node SBC, we deploy Rancher’s Local Path Provisioner (local-path-provisioner). It is super lightweight and dynamically provisions persistent volumes directly on your high-speed NVMe storage. It gives you raw SSD read/write performance with zero replication overhead.
 Bill of Materials
| Component | Qty | Notes |
|---|---|---|
| Radxa Rock 5B (RK3588, 16GB/24GB/32GB) | 1 | Our target single-node board |
| Crucial P510 1 TB NVMe SSD | 1 | Real PCIe 3.0 M.2 performance for etcd and local storage |
| Radxa 25W PoE+ HAT or 30W+ USB-C PD | 1 | Power delivery matching the Rock 5B’s footprint and power budget |
| KKSB Rock 5B Case with Heatsink | 1 | Beautiful black aluminum enclosure to keep the RK3588 cool and quiet |
 The Plan
There’s one catch with the Radxa Rock 5 series: the BootROM boot order is SPI → eMMC → SD → USB — it cannot boot directly from NVMe. So our plan looks like this:
- Pre-flash NVMe with the Talos image on your workstation.
- Temporarily boot Armbian from SD to gain access to the SPI NOR flash (
/dev/mtdblock0). - Flash U-Boot into SPI, then remove the SD card.
- On next boot: SPI U-Boot → NVMe → Talos.

talosctlapply + bootstrap → Kubernetes is up.- Flux CD + Cilium + Gateway API + Local-Path → it’s a real cluster.

Below is the full sequence. Everything should be reproducible.
Reproducible plan
 Phase 1 — Bake a Talos image for your board
Open factory.talos.dev, pick Talos v1.13.5, “Single Board Computers”, select Radxa Rock 5B as the target board, and add these extensions:
customization:
  systemExtensions:
    officialExtensions:
      - siderolabs/iscsi-tools         # Storage utilities
      - siderolabs/util-linux-tools
      - siderolabs/realtek-firmware    # Required for the onboard Realtek 2.5 GbE NIC
      - siderolabs/lldpd               # SBC shows up in UniFi/smart switches
Download metal-arm64.raw.xz. Note your schematic ID — you will need this in your Talos configuration patch.
Phase 2 — Extract U-Boot for SPI
The SPI NOR on the Rock 5B is empty from the factory. We need a U-Boot that knows how to chain-load Talos from NVMe. The binary is bundled inside the sbc-rockchip overlay container:
crane --platform=linux/arm64 export ghcr.io/siderolabs/sbc-rockchip:v0.2.0 \
  | tar x --wildcards '*/rock5b/u-boot-rockchip-spi.bin'
Keep your u-boot-rockchip-spi.bin.
Phase 3 — Pre-flash the NVMe
Pop your NVMe SSD into a USB→NVMe adapter on your workstation, and flash the raw Talos image (metal-arm64.raw.xz) using balenaEtcher. Once flashed, install the NVMe drive directly into your Rock 5B.
Phase 4 — Flash SPI from Armbian (One-time, per node)
Talos is intentionally minimal — it does not expose /dev/mtd* and cannot flash the SPI NOR from within itself. We use Armbian’s vendor kernel as a one-time stepping stone.
- Download Armbian Debian Trixie Minimal (vendor kernel) for the Rock 5B and flash it to a microSD card.
- Insert the SD card into the board (the pre-flashed NVMe is already installed — SD wins the boot order). Power on and SSH in as
root/1234. - Verify MTD is available:
ls /dev/mtd* # expect /dev/mtdblock0 - Copy your extracted SPI U-Boot binary over from your workstation:
scp u-boot-rockchip-spi.bin root@<armbian-ip>:/tmp/ - Flash and verify:
dd if=/tmp/u-boot-rockchip-spi.bin of=/dev/mtdblock0 bs=4096 sync md5sum /tmp/u-boot-rockchip-spi.bin dd if=/dev/mtdblock0 bs=1 count=$(stat -c%s /tmp/u-boot-rockchip-spi.bin) | md5sum # Verify the MD5 checksums match! - Note your NIC’s MAC address (
ip link show) — you will need it to pin your interface deterministically in Talos. - Power off. Remove the SD card.
From this point forward, the SD card is never needed again. The boot path is permanently: SPI U-Boot → NVMe → Talos.
Phase 5 — Talos Config
Machine configuration is split into small patches by concern, making it highly readable, modular and reviewable. Below are the core configuration files from the GitOps repo.
1. Common Patches
talos/common/install.yaml (System Disk & Factory Image)
Specifies the target NVMe storage drive and the custom Talos factory image built with your required kernel extensions and firmware modules.
# Common install config for Radxa Rock 5B SBC nodes (NVMe).
# Build the factory image at https://factory.talos.dev
machine:
  install:
    disk: /dev/nvme0n1
    image: factory.talos.dev/metal-installer/4b323f1e66fa76ba7bcb3eff14334ac5f37ce033c4514271c562f10bab63ce9a:v1.13.5
talos/common/cluster.yaml (Disable Flannel + kube-proxy)
Disables Flannel CNI (allowing Cilium to manage networking in full eBPF native routing mode), disables the legacy kube-proxy, and allows workloads to schedule directly on our single-node control plane.
# Cluster-wide settings for every single-node SBC cluster.
# CNI is disabled — Cilium is installed via Flux after bootstrap.
# kube-proxy is disabled — Cilium runs in full kubeProxyReplacement mode.
# Single node: the control-plane node must also run workloads.
cluster:
  allowSchedulingOnControlPlanes: true
  network:
    cni:
      name: none
    podSubnets:
      - 10.244.0.0/16
    serviceSubnets:
      - 10.96.0.0/12
  proxy:
    disabled: true
talos/common/storage.yaml (Pre-loaded Kernel Modules)
Pre-loads essential kernel modules for storage volume encryption and iSCSI initiators (keeping the node versatile for future block storage changes).
# Kernel modules for block storage (encrypted local volumes).
# Cheap to load and future-proofs the node; remove if you will never run dm_crypt volumes on the SBC.
machine:
  kernel:
    modules:
      - name: iscsi_tcp   # iSCSI initiator
      - name: dm_crypt    # Encrypted local volumes
2. Node-Specific Patch
talos/clusters/<node-name>/<node-name>.yaml (MAC Routing, DNS, and SANs)
This node-level overlay configures host DNS servers, binds the static IP reservation to your specific physical network interface (using hardwareAddr so kernel interface renames won’t break things), and configures Subject Alternative Names (SANs) for secure certificate access.
machine:
  features:
    hostDNS:
      enabled: true
      forwardKubeDNSToHost: false
  network:
    nameservers:
      - 192.168.0.1
    interfaces:
      - deviceSelector:
          hardwareAddr: "00:e0:4c:03:2b:bc"   # Onboard 2.5GbE NIC (RTL8125)
        dhcp: false
        addresses:
          - 192.168.1.5/22
        routes:
          - network: 0.0.0.0/0
            gateway: 192.168.0.1
  kubelet:
    nodeIP:
      validSubnets:
        - 192.168.1.5/32
  certSANs:
    - "192.168.1.5"
    - "kube.<node-name>.home.arpa"
    - "kube.<node-name>.internal"
cluster:
  apiServer:
    certSANs:
      - "192.168.1.5"
      - "kube.<node-name>.home.arpa"
      - "kube.<node-name>.internal"
---
# Talos v1.13 moved the hostname into a dedicated HostnameConfig resource.
apiVersion: v1alpha1
kind: HostnameConfig
hostname: <node-name>
3. Generate and Apply Configurations
With the board powered on and sitting in Talos Maintenance Mode, run the following commands from your workstation:
# Generate the base configurations pointing to your static node IP
talosctl gen config sbc-cluster https://192.168.1.5:6443 \
  --kubernetes-version v1.34.9 \
  --install-disk /dev/nvme0n1

# Apply common patches + node-specific patch to the node
talosctl apply-config --insecure --nodes 192.168.1.5 \
  --file controlplane.yaml \
  --config-patch @talos/common/cluster.yaml \
  --config-patch @talos/common/install.yaml \
  --config-patch @talos/common/storage.yaml \
  --config-patch @talos/common/lldpd.yaml \
  --config-patch @talos/common/ccm.yaml \
  --config-patch @talos/common/oidc.yaml \
  --config-patch @talos/clusters/<node-name>/<node-name>.yaml

# Trigger the bootstrap sequence on the node
talosctl --talosconfig ./talosconfig -n 192.168.1.5 bootstrap

# Download your kubeconfig and check node status
talosctl --talosconfig ./talosconfig -n 192.168.1.5 kubeconfig ~/.kube/sbc-node
kubectl get nodes
Phase 6 — GitOps Bootstrap (Flux CD)
Now we hand control over to Flux. Because many home routers block outbound SSH on port 22, we bootstrap Flux using HTTPS Token Authentication:
export GITEA_TOKEN=<your-gitea-token>

flux bootstrap gitea \
  --components-extra=image-reflector-controller,image-automation-controller \
  --hostname=git.your-domain.com \
  --token-auth=true \
  --owner=<your-username> \
  --repository=Kubernetes-SBC \
  --branch=main \
  --path=./clusters/<node-name> \
  --personal \
  --private
Once Flux is bootstrapped, inject your SOPS decryption keys to handle secrets natively:
kubectl -n flux-system create secret generic sops-age \
  --from-file=age.agekey=/path/to/age.agekey

flux reconcile kustomization flux-system --with-source
 GitOps Directory Layout
This monorepo pattern allows our fleet to scale. The core configurations stay in infrastructure/base/ (cert-manager, Cilium, local-path), while each individual SBC overlay is lightweight:
kubernetes-sbc/
├── clusters/
│   └── <node-name>/           # Single-Node Flux Entrypoint
│       ├── applications.yaml
│       └── infrastructure.yaml
├── infrastructure/
│   ├── base/                  # Shared base for ALL single-node SBCs
│   │   ├── sources/           #   HelmRepositories
│   │   ├── cilium/            #   CNI + Gateway API + L2 Announcements
│   │   ├── cert-manager/
│   │   └── local-path/        #   Lightweight Local NVMe Storage
│   └── <node-name>/           # SBC Ingress Overlay
│       ├── gateway.yaml       #   Envoy Gateway instance
│       ├── certificate.yaml   #   Wildcard TLS (*.<node-name>.home.arpa)
│       └── ip-pool.yaml       #   Cilium IPPool allocating 192.168.1.6
└── talos/
    ├── common/                # Shared board patches
    └── clusters/
        └── <node-name>/       # SBC hardware configuration (MAC, Hostname, IP)
 Verification & Ingress Testing
Verify that Cilium has successfully claimed your LoadBalancer IP and announced it via ARP onto your home LAN:
kubectl get svc -A
# You should see your gateway-listener service assigned to the external IP: 192.168.1.6
Test the ingress directly from your workstation:
curl -k https://192.168.1.6
# Should hit the Envoy gateway (returning a 404 or certificate route redirect)
 The full stack at a glance
| Layer | Component |
|---|---|
| OS | Talos Linux v1.13+ (immutable, API-only, no SSH) |
| Kubernetes | v1.34.9 — single control-plane + worker on one node |
| CNI | Cilium — eBPF, full kube-proxy replacement |
| LoadBalancer | Cilium L2 Announcements — ARP-advertised LoadBalancer IP on the home network |
| Ingress | Gateway API (Cilium native) — Envoy-backed, no deprecated ingress-nginx |
| Storage | Local Path Provisioner — Lightweight, dynamic NVMe storage with zero replication tax |
| Secrets | SOPS + age, encrypted in Git |
| GitOps | Flux + image automation |
 Gallery
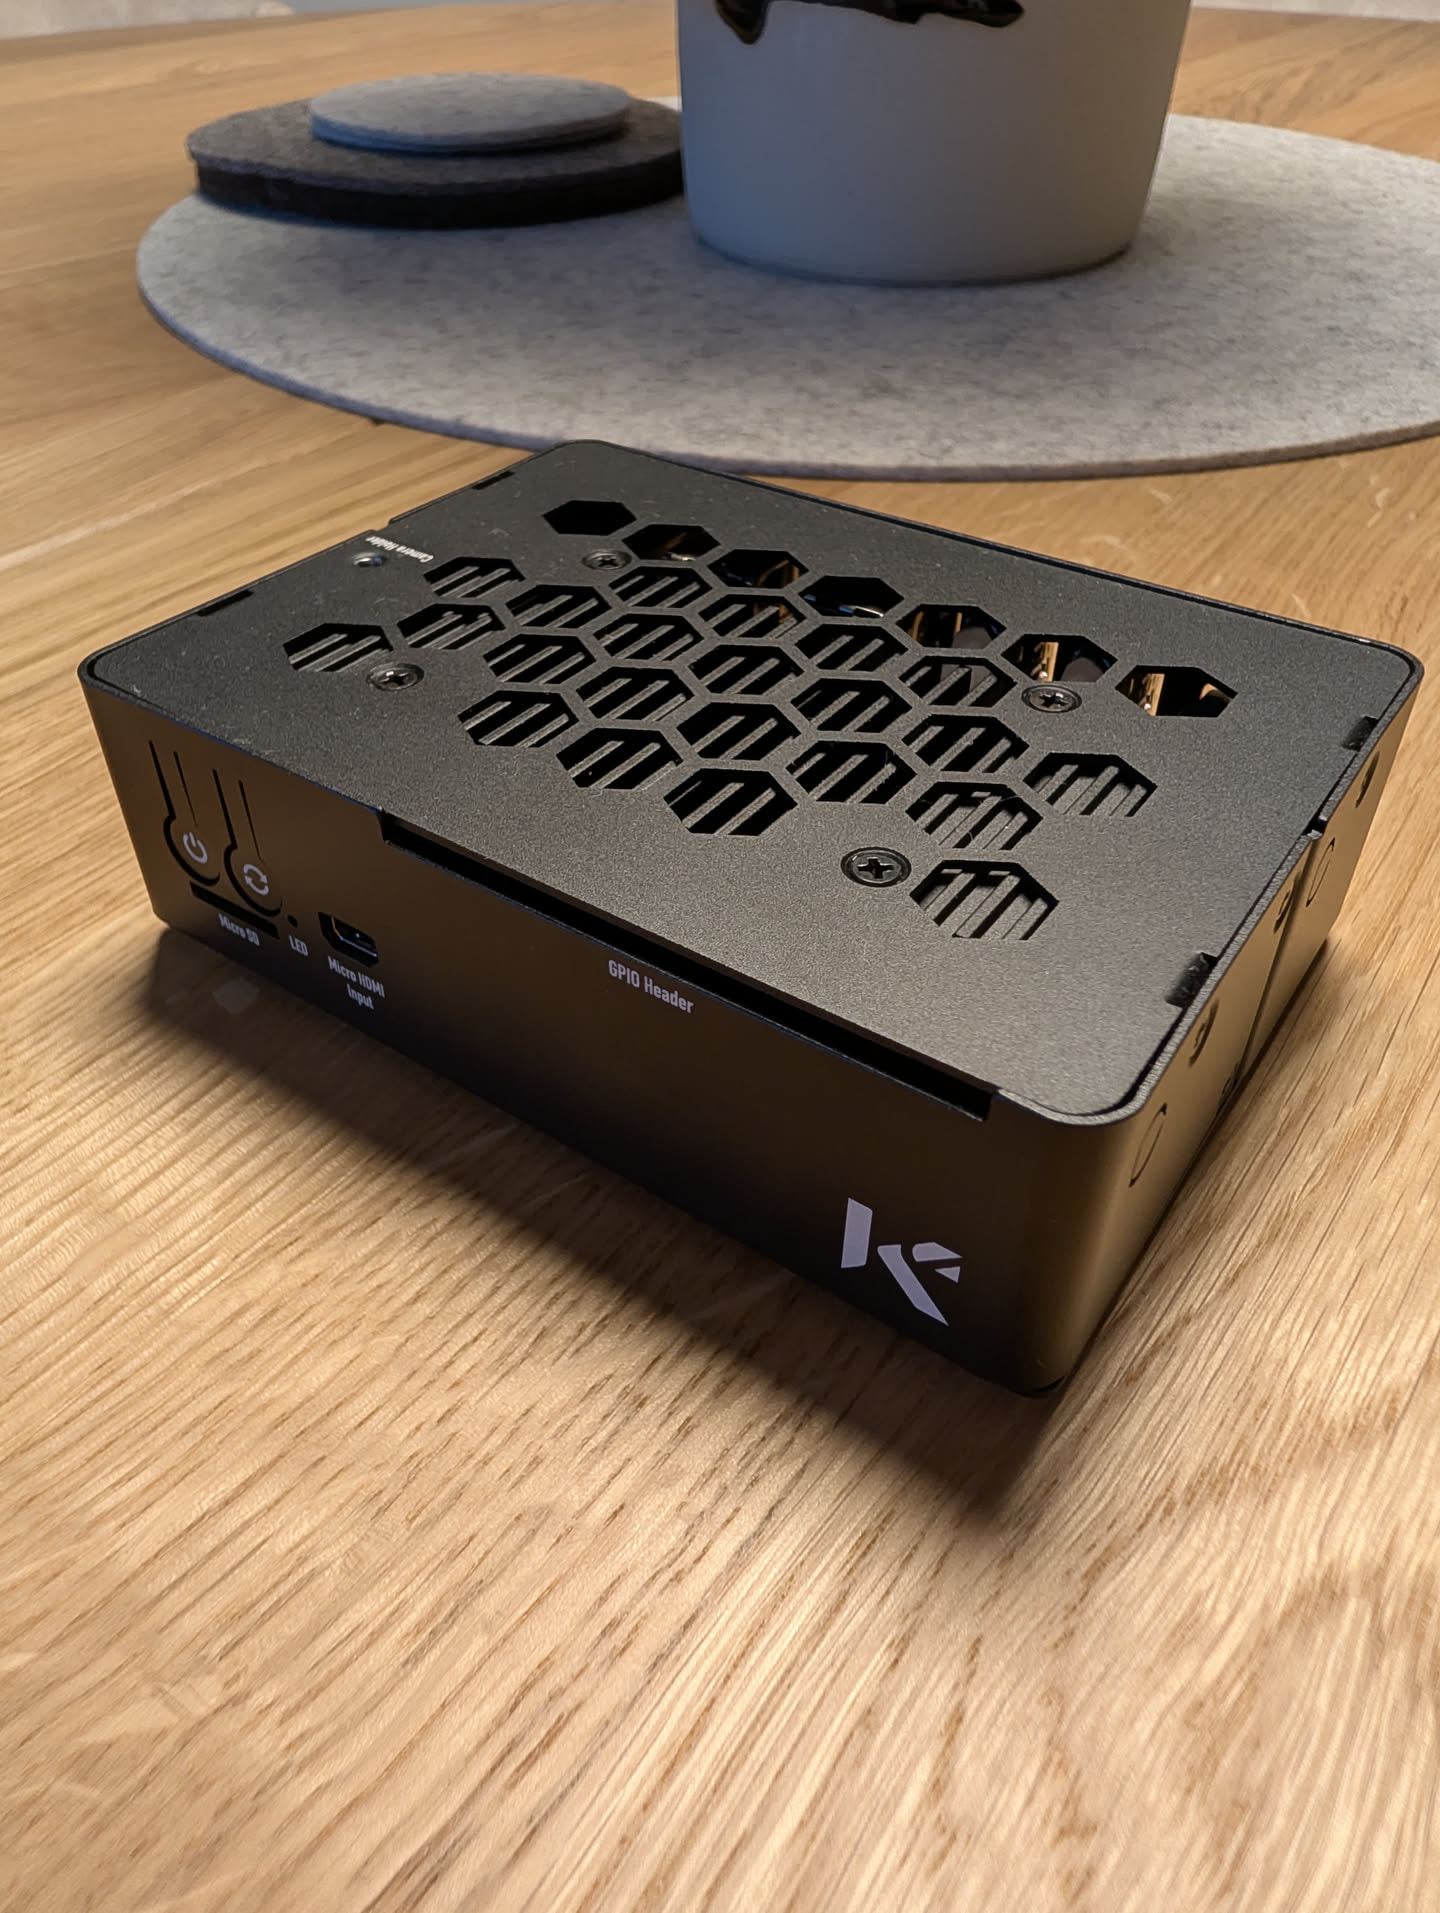
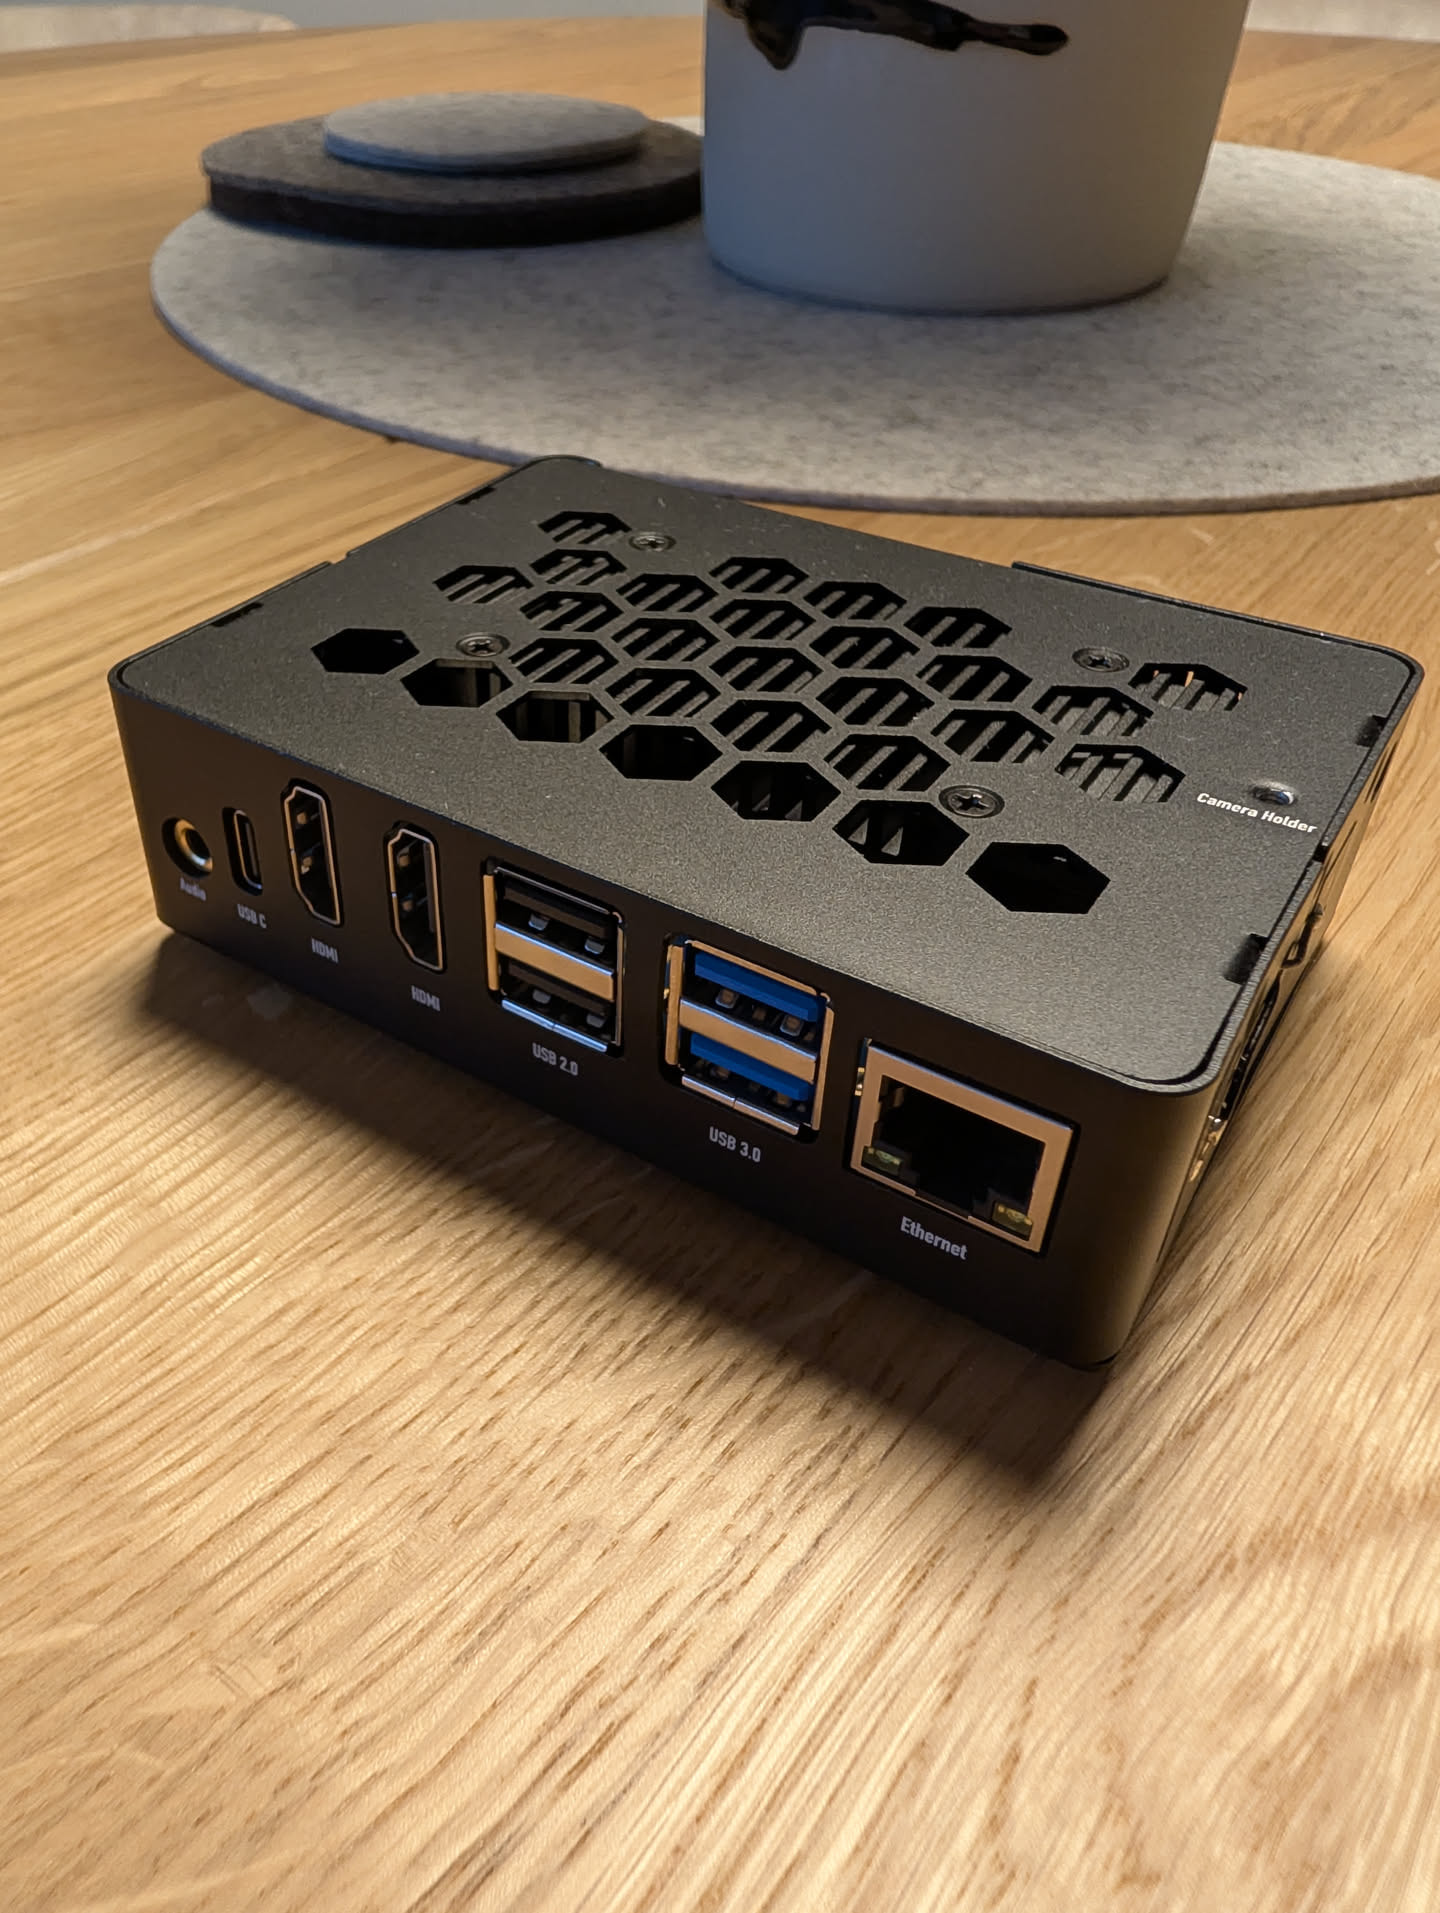
 Thank you, @radxa
This wouldn’t be possible without the Rock 5B. The combination of a native 2.5 GbE, a real PCIe 3.0 M.2 2280 slot, 32GB LPDDR4, an optional PoE+ module and — critically — a first-class Talos Linux overlay maintained alongside upstream releases makes this board a perfect Single-Node Cluster.
I’m happy to answer questions about reproducing any part of this and hoping for feedback and suggestions 