Raspberry Pi 3D print penta hat case quirks

somehow the other pictures I added dot seem to have transferred here by a new try

Hello Ray71,
thx for the information. So I have to wait until Radxa will fix the problems with the Powersupply hole and usb-c & display output house.
Thx a lot

Hi,

Apologies for adding remarks as I actually the DIY case option is awesome.

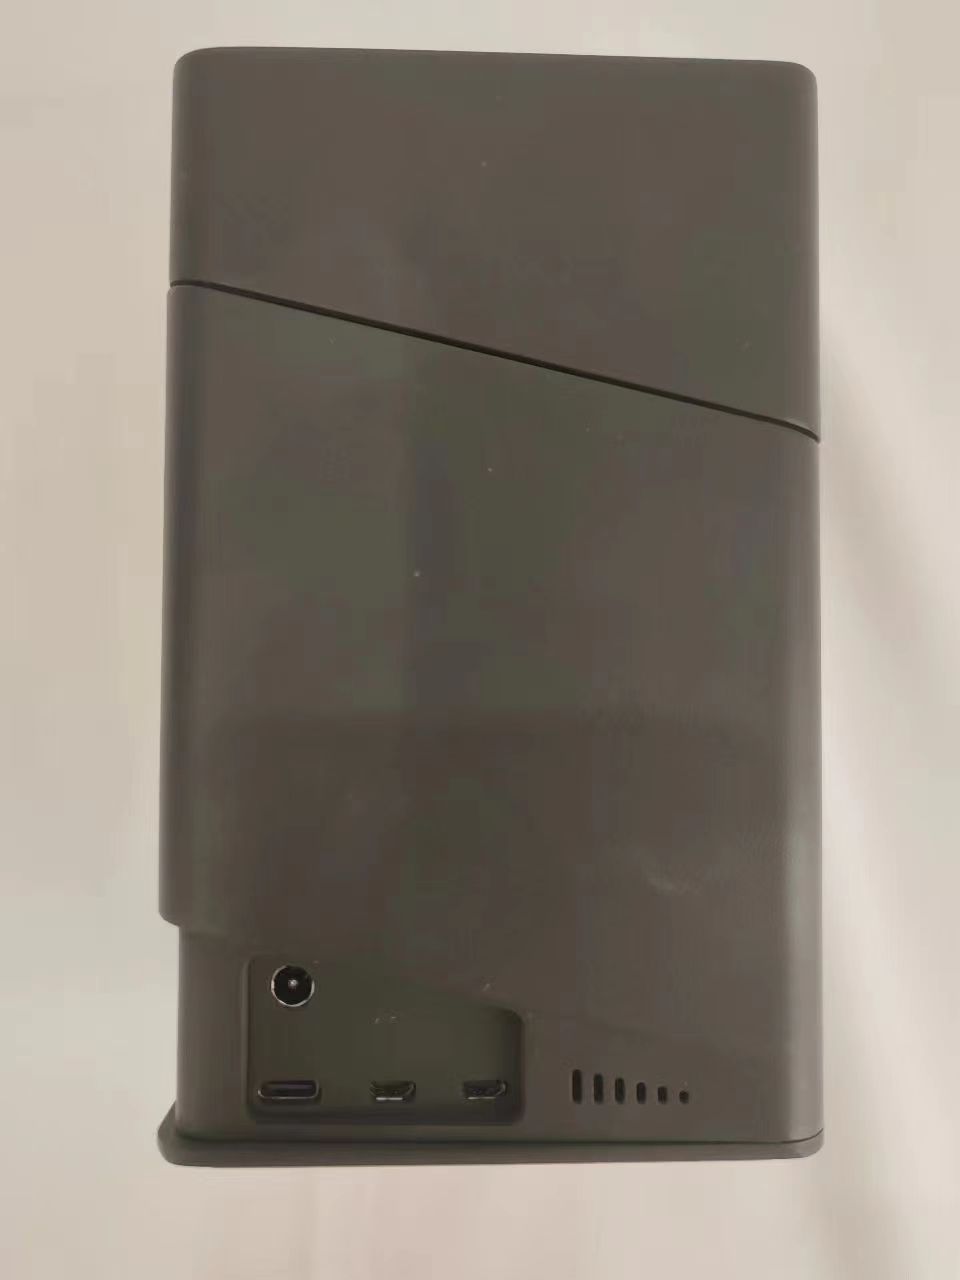
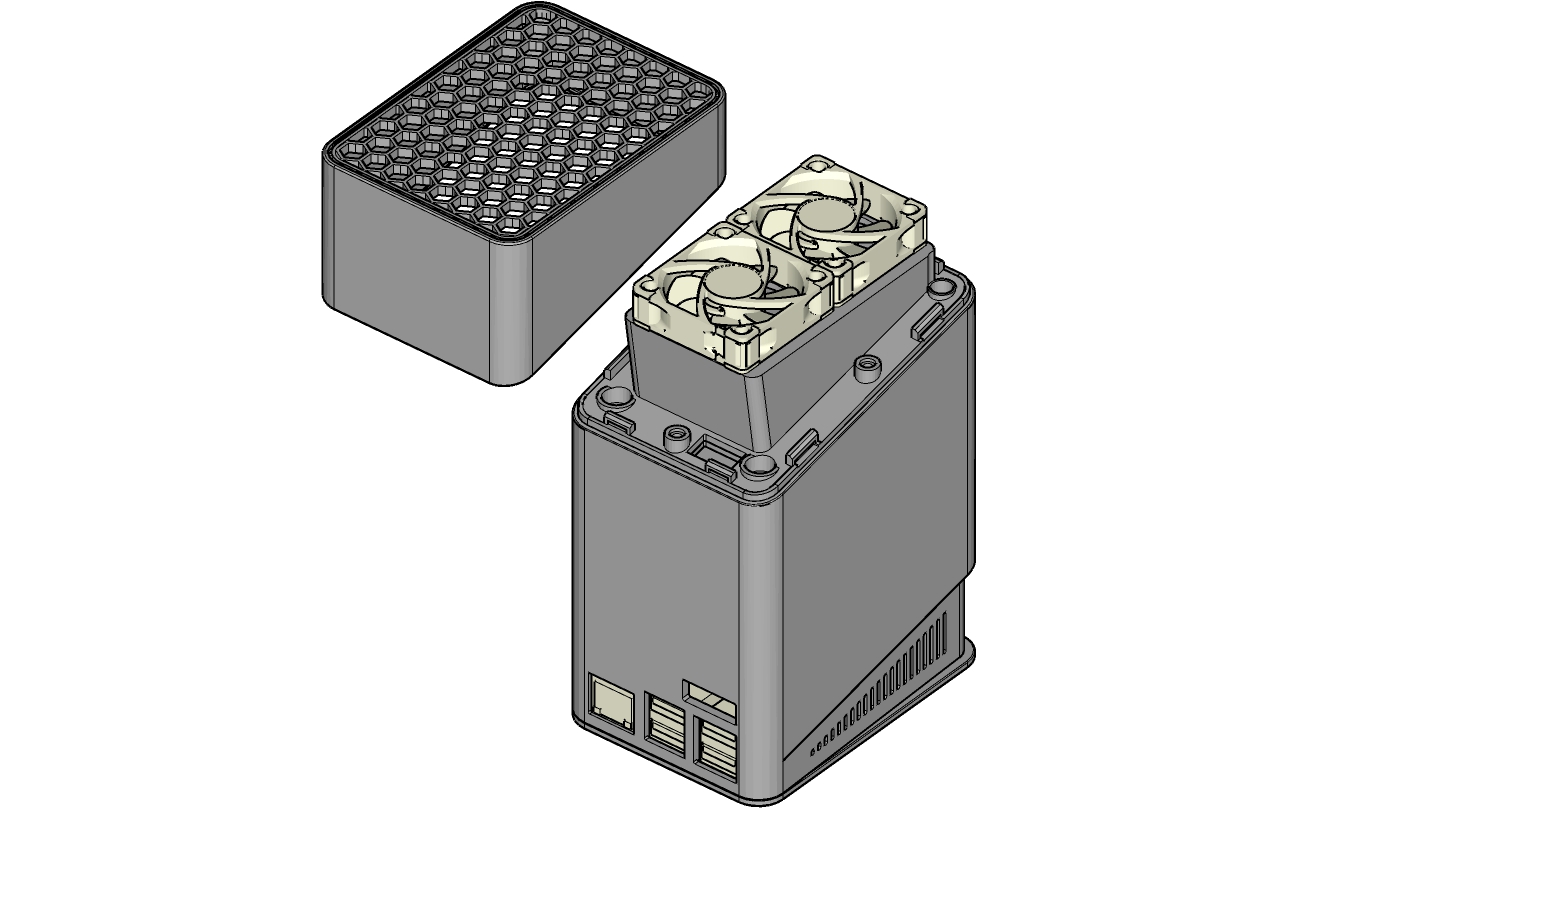
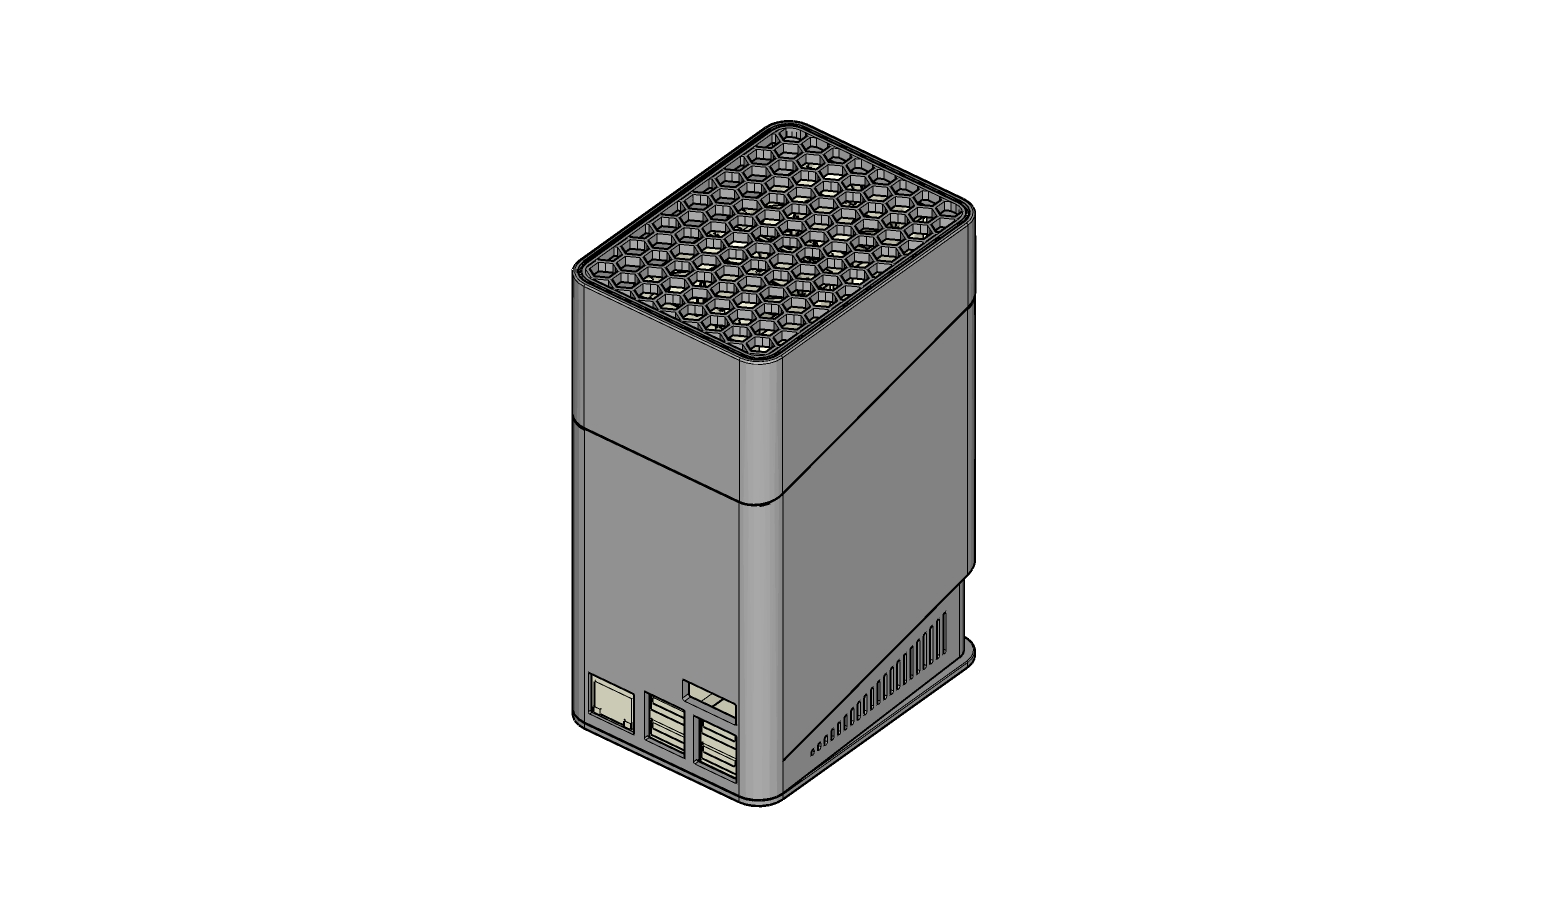
  1. Since the case is closed on the front side there is no way to remove the SD card from the Pi without opening the case removing the SSDs and partially removing the PI. I recognise there is no easy fix for this a the SD will not pop out when pressed. The bast way (not the most beautiful) would be to add a U shape slot to the underside of the case. Slightly better looking would be to add a slightly oversize slot to the front so that a pair of tweezers could do the job. In this case a small extra cleaning to the base plate owed be sufficient.

  2. Not a critical item but it might be nice to add a hole to the case to be able to a access the on/off button

for both these to changes I can imagine it is a matter of preference. so just adding them for completeness sake.

Regards
Remi

I’m really disappointed when I read how many errors there are in this case. Did “Radxa” never print and assemble the housing themselves?

@Ray71: Thank you very much for the investigation
@setq: This is not good quality and does not inspire confidence in Radxa

No problem

I agree that it is not ideal, but then in “Radxa” defence they are providing the case free of charge.
(I do agree though that several problems could have been spotted relatively easily)

Most of them should also be fairly easy to fix by individual user provided you are somewhat savvy with 3D programs. My own problem that I am very well aware of what I would like to change but changing it (for example moving the power hole) can be more of a hassle than you would expect (probably because I am doing it wrong).

One tip: when attempting your own print, be very mindfull on the about edges not curing up on your prints, especcially for the top and bottom outside pieces (not the inserts) this is proving somewhat of a challenge (it might even be worth while to temporarily add material here that can later be cut out)

Hi Ray71,

i will wait a little bit more otherwise i correct the case files. Printing is not really the problem i am using Ultimaker S3 with Dual Extruder, i try CPE+ with Breakaway filament for support,

We printed it, found some minor problems in the original version, corrected it and then uploaded the file. Not printing again seriously is indeed we are not rigorous enough.

Hi @Ray71,

I apologize for a serious error here. The initial version of the Penta used a DC jack type 5521, but we later switched to a 5525 to accommodate higher current. When we were making this 3D case, we mistakenly used the previous version.

Hi @setq setq,
would you be so kind as to upload a corrected version?

Our colleagues are checking, maybe a version suitable for v1.3 will be uploaded in a few days.

@tims007

We have collected other 3d printed cases here[1]. If you are interested you can try them too.

[1] https://docs.radxa.com/en/accessories/penta-sata-hat/penta-for-rpi5#3d-print-case

@tims007

We updated the files, please try the v1.3.

To all the 3D printing gurus, i would love to make a feature request. is it possible to add a ledge or holder for a 2.5" ssd above the e-sata port? would be awesome to be able to just plug in the 2.5" ssd and have it “secured” in place…

Thx a lot. I will start printing :slight_smile:

the screen on the hat top is too low compared to the model it doesn’t sit flush with the top of the case. Any recommendations? has anyone actually built it and has a picture of how they fitted the hat top?

Would it be possible to have separate files for each piece rather than one model file?

Hi,

In your slicer software you can quite easily split them apart an decide which part you would like to print.

Regards

Cura cant open a stp file and when converted to a stl it only sees it as a solid piece.

1 Like

Ok, i suck at 3D printing, and i cant use Fusion360 even if my life depended on it… I had to convert the files to sketchup which i was more comfortable working on and make some modifications to Radxa’s original files…

Things i changed:

  1. Lowered the height, hence the top board is not compatible. Changed the top to hexagon mesh for airflow.
  2. Allows for 2 x 40mm noctua fans (you need to jerry rig the fans together with a JST-SH 1mm pitch connector to connect to the Pi5 fan header)
  3. removed the solid walls between disks for better airflow
  4. adapted a power button from Michael Klement’s power button solution

WARNING!!! I do not have a 3d printer, so i do not know if the changes will work out well or not… I have exported the parts out from sketchup in STL format so YMMV… i have included the files in the link below for you guys to try out…

Sketchup File: https://www.mediafire.com/file/8nz4iwhcqdrm2t0/radxa_penta_sata_hat_case_v1_3_v1.skp/file
STL component files:
https://www.mediafire.com/file/izcw0bdf0gu0gzu/Penta_Sata_Hat.zip/file

Hi,

I recently received my top board and although I am pretty happy with that it also revealed a new issue in the design of the 3D printable casing.
On the inside of the top cover there is a ridge that should fit around the display of the “Sata top board”.
In principle the sizing of this ridge is correct however it does not take into account that there is a flex cable protruding from the side of the display.

If you would force the “Sata top board” in to it intended position you would almost certainly damage the flex cable.

The top board I am using is a v1.200

A few other quirks that I am now getting to test with the new top board in place:

Although the idea of having a fan on top of the disks is ok
The airflow in the existing far form optimal.

A few nrs (all under very light load):

  1. Without a fan the temperature of the sata driver reaches 60 degrees
  2. With box closed (excluding the top lid) + 1 disk inserted (= 3 big open ventilation holes) the temperature drops to around 45 degrees and the fan even slows down to its lowest speed
  3. With the top lid on the case the temperature raises to almost 50 degrees
  4. With all bays filled (simulated by closing al slots with tape) temperature raises to 55 degrees
  5. All bays filled and top plate in place temperature raise to 57 degrees

Bottom line:

  1. The top lid will need to be improved to maintain a decent ventilation, I like the design of @eskimo and guess a version of that that supports the top board could work
  2. a better ventilation between the top half and the bottom half is absolutely needed. Especially we people would use regular drives. Also here the desing of @eskimo makes sense (but maybe there are other nice options)

Hope this helps