Hi
Here is a useful guide I made to better use my firmware on RockPi 4.
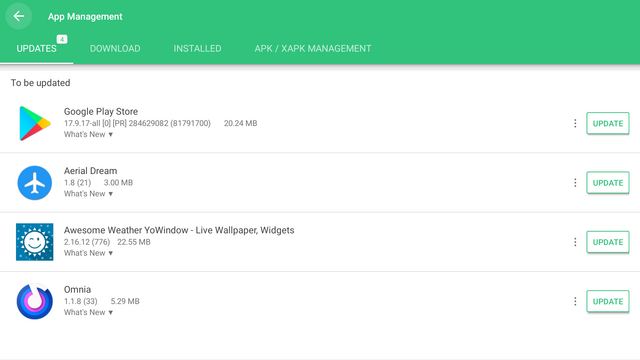
APKPure App Store
-Use it to download apps not found in the Google Play ATV store.
-Most installed apps will appear in the AppDrawer, 1st icon on the Homescreen since they don’t
have AndroidTV banners and were actually meant for phones/tablets.

To update apps click the 2nd icon at the top as in the previous picture and then select the apps to update.
All the non AndroidTV apps will need to be updated here if they are not in the ATV store.
You can leave the Google Play Store app alone here and not update it as it might try to install the phone version and break things.
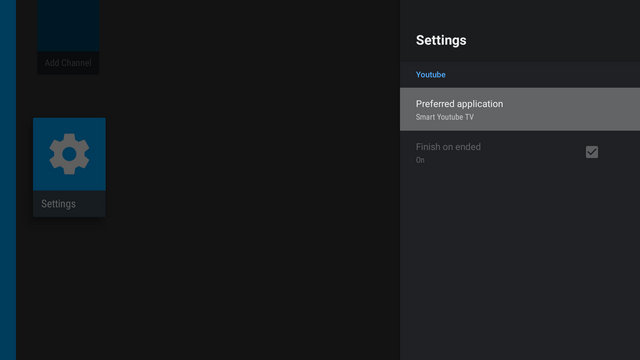
Channels App
- You can use it to put different Youtube channels as channel rows on your homescreen.
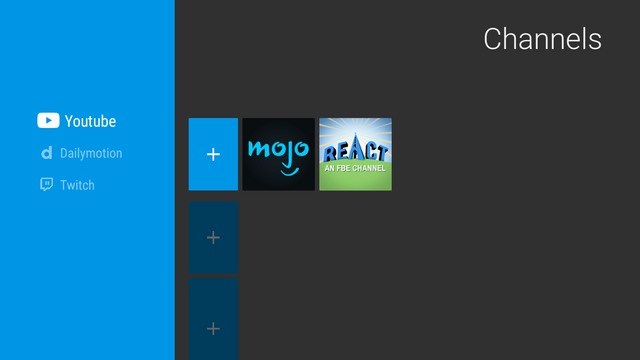
You can also change it’s default Youtube app to use eg. Smart Youtube TV then you won’t get ads and have more settings and resolutions to choose from when playing Youtube videos.
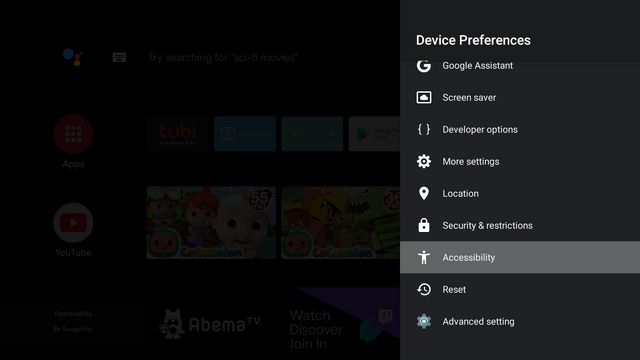
To use RefreshRate or Button Mapper app
- Go to TvSettings - Device Preferences - Accessibility options and enable those 2 apps’ services.

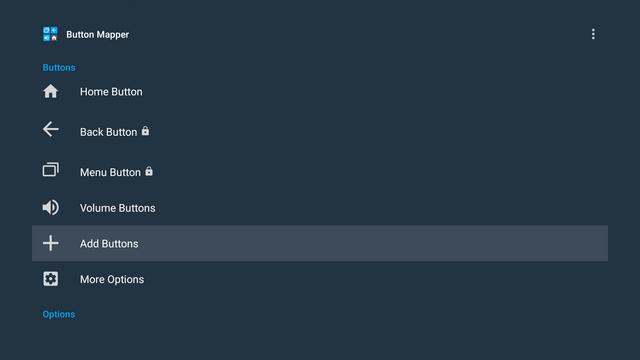
Button Mapper app
- To map a button to a USB/USB Wireless keyboard or airmouse or bluetooth keyboard/remote, You can click on Add Buttons
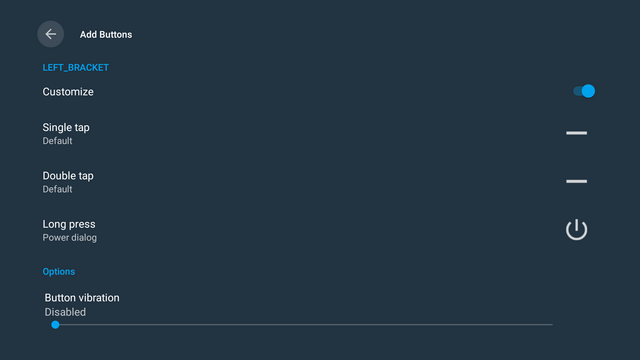
To map the Power menu to a button
- I used the ‘[’ left bracket key on my airmouse since it’s never used for typing
- Select Customize button and then eg. long press, select Actions and then Power dialog.
- Now when you long press ‘[’ it will bring up the power menu to shutdown or reboot.
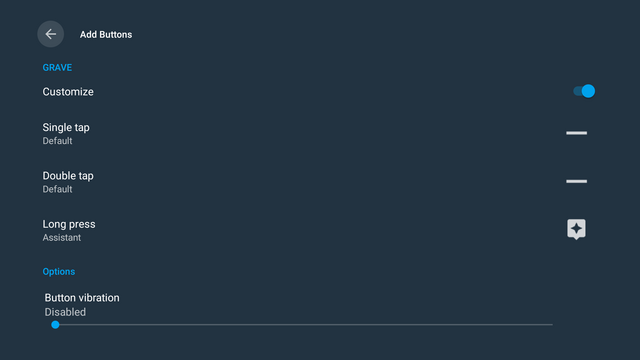
To map the Google Voice Assistant to a button
- Select Assistant and follow the same instructions
- Some voice remotes, after long pressing this key, you will also have to press and hold the actual voice key on your airmouse to send voice commands.
Voice remotes are quite cheap on places like Gearbest and Aliexpress for between $7-$20
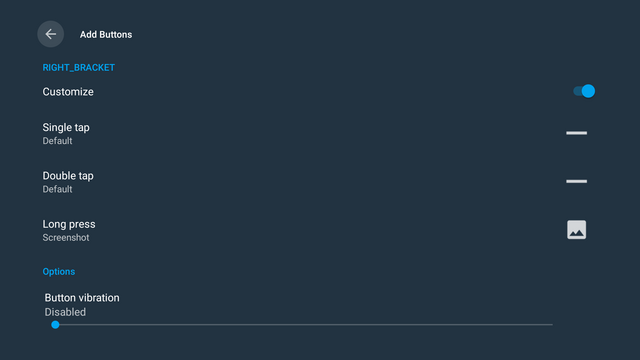
To map the screenshot button
- Choose screenshot
- Now if you long press this key, you can take a screenshot of your actual screen without installing any additional apps.
RefreshRate Tool
- You need to change an additional setting to use it, Display over other apps

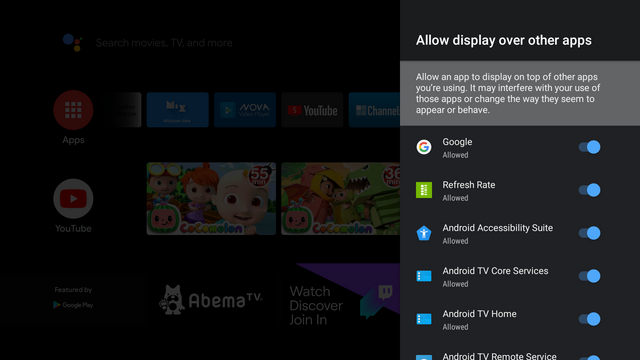
Once done, you can set the OSD shortcut key
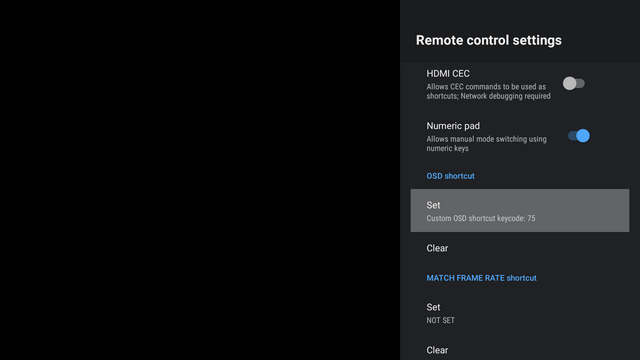
Every time you press this key, it will bring up a menu to change the refresh rate, you can choose.
So map it to a key you will never use for typing.
You can also enable the numeric pad then you can press 1-9 to change the refresh rate easier if you remember which one it is.
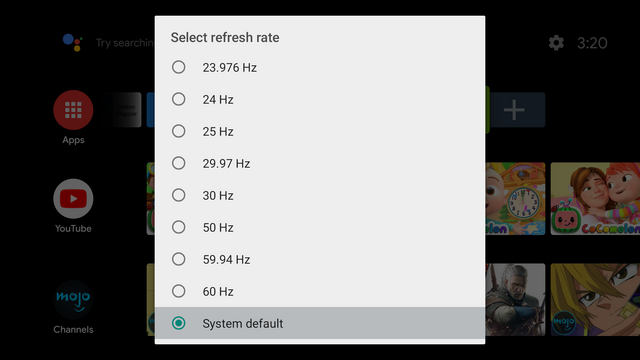
Netflix US shows are mostly 23.976fps, EU/UK/German shows are usually 50hz.
If you use a local paid streaming IPTV app, then you can also change the frame-rate to 50hz in most cases. Videos and streams will play much smoother without judder if played at the correct frame-rate. Before this everything played at 60hz if you used any app besides Kodi.
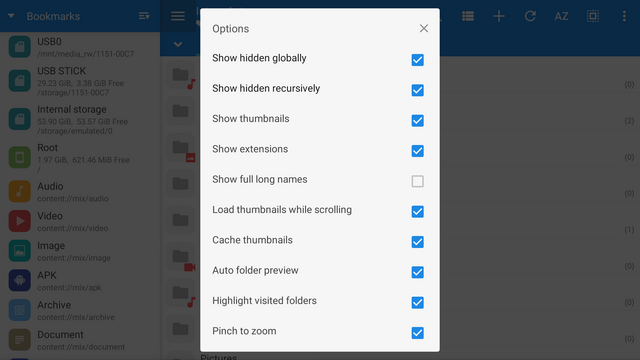
MiXplorer
- To see hidden files and folders
then enable the top 2 items
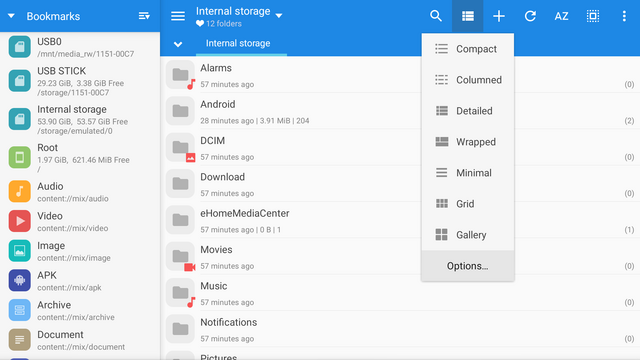
To enable multiple tabs
- Long press on a folder then it will open a new tab for the folder so you can easily copy files between folders.
To Backup your apps
- Click on the APK menu on the left, then it will search your system for all your installed apps and new ones that were updated. You can now copy the APK files to some external storage device for safe keeping.
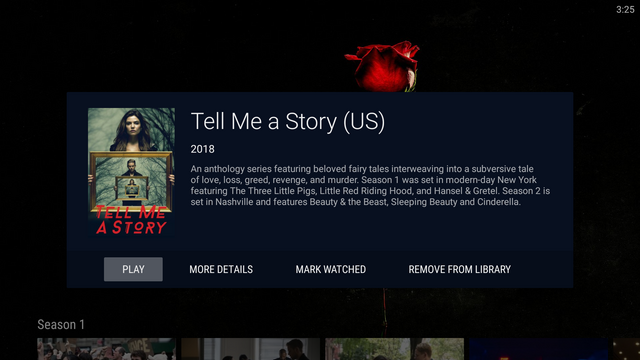
Nova Video Player
This is a very good open-source video player for Rockchip devices, better than VLC and MXPlayer.
- It supports poster art, show information
- Subtitle downloads
- AC3/DTS Passthrough
- Auto frame-rate switching
- Network, external storage playback
- Very fast and easy to use, sometimes I prefer it over Kodi to quickly play something.
The developer is also open to suggestions for new features to add.
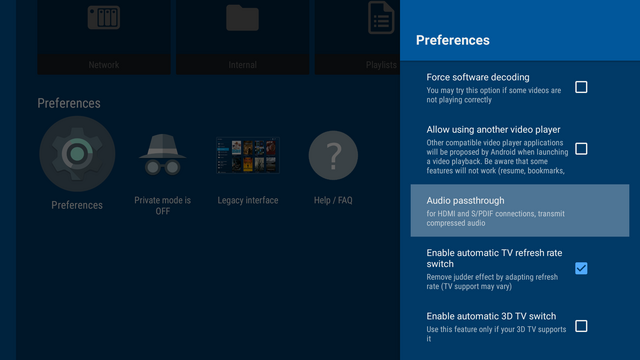
To enable Passthrough and frame-rate switching, enable these 2 options
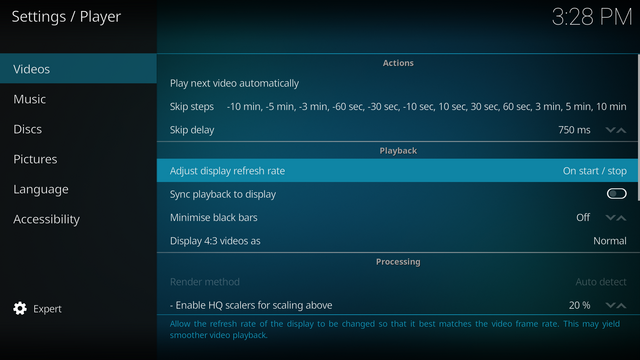
Kodi
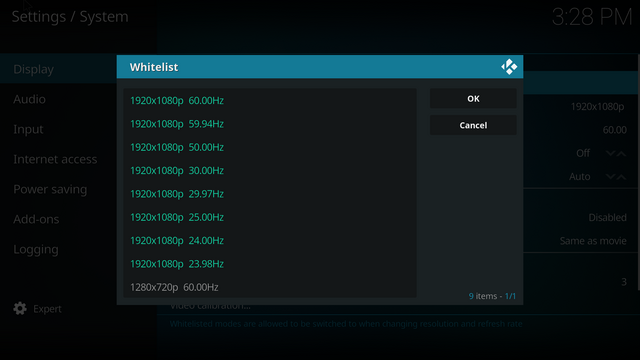
To enable frame-rate switching
- Enable Adjust display refresh rate and set it to On Start/Stop
In Settings - System - Display - Whitelist, enable the resolutions supported by your display
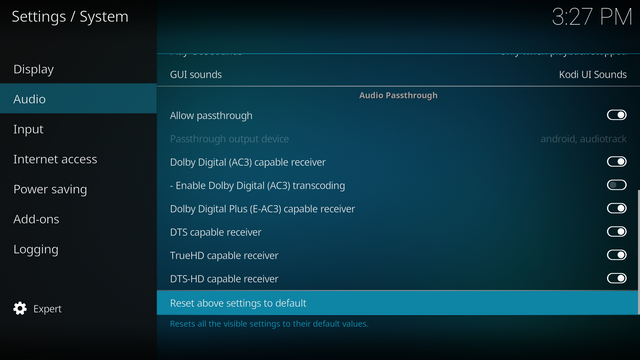
To enable passthrough
Set the codecs your device supports here under System - Audio
Shortcuts
- Long press the Home button on your remote to see the All Apps screen
- Double press the Home button to see all your Recent apps
**Long press OK/DPAD_Center on an app window to close it
** Long press Back to close all apps in the Recent apps screen.
How to root with Magisk
-
Copy the boot.img to a USB drive and connect to the RockPi 4 or download it directly with a web browser(Lightning or Chrome) on the RockPi 4.
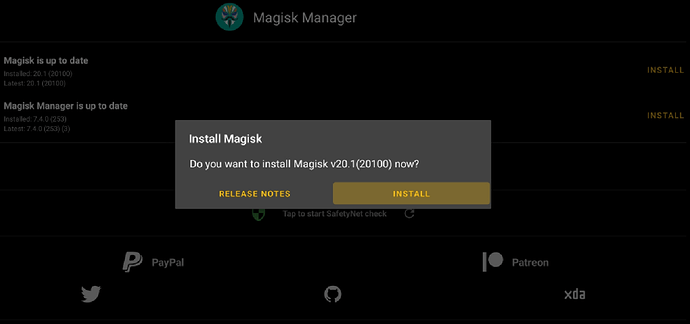
-
Use Magisk Manager to patch this boot.img

- Flash the patched_magisk.img either by PC AndroidTool v2.67 which is complicated or the new easy way I added on the RockPi 4 itself.
Go to About - Click 7 times on build info to enable Developer Options
Inside Developer Options - Choose ‘Select Image to Flash’
Then select the patched_magisk.boot.img - Works well if you use MiXplorer interface
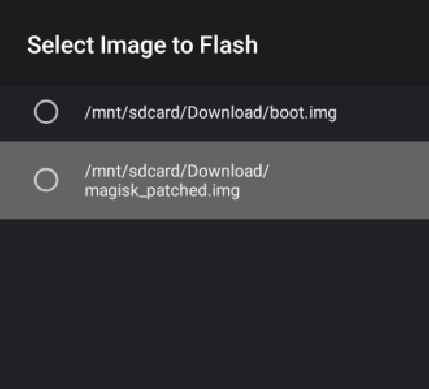
Then select boot partition and OK.
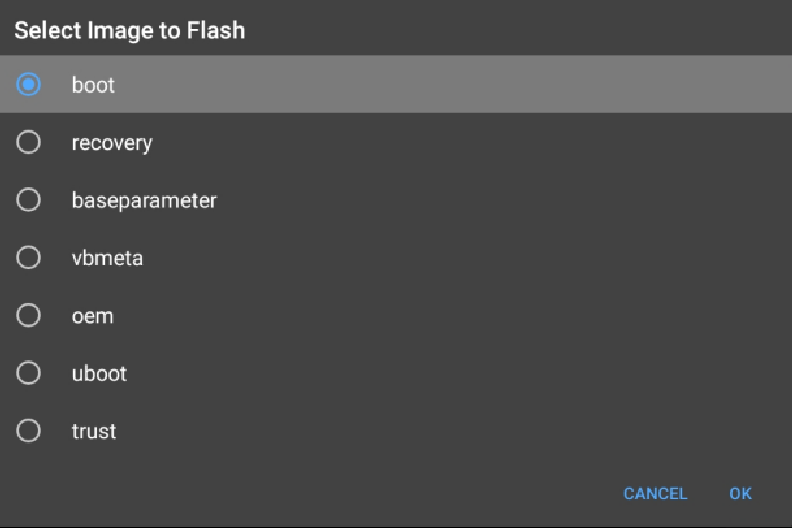
In a few seconds it will be flashed and you can restart your device and will have Magisk root.