Ok, I guess I’m too dim to figure this out. Either the wrong standoffs are in the package or you cant use these two items together. Anyone get the combined two items assembled?
Big HeatSink with M2 Extender. Assembly Help
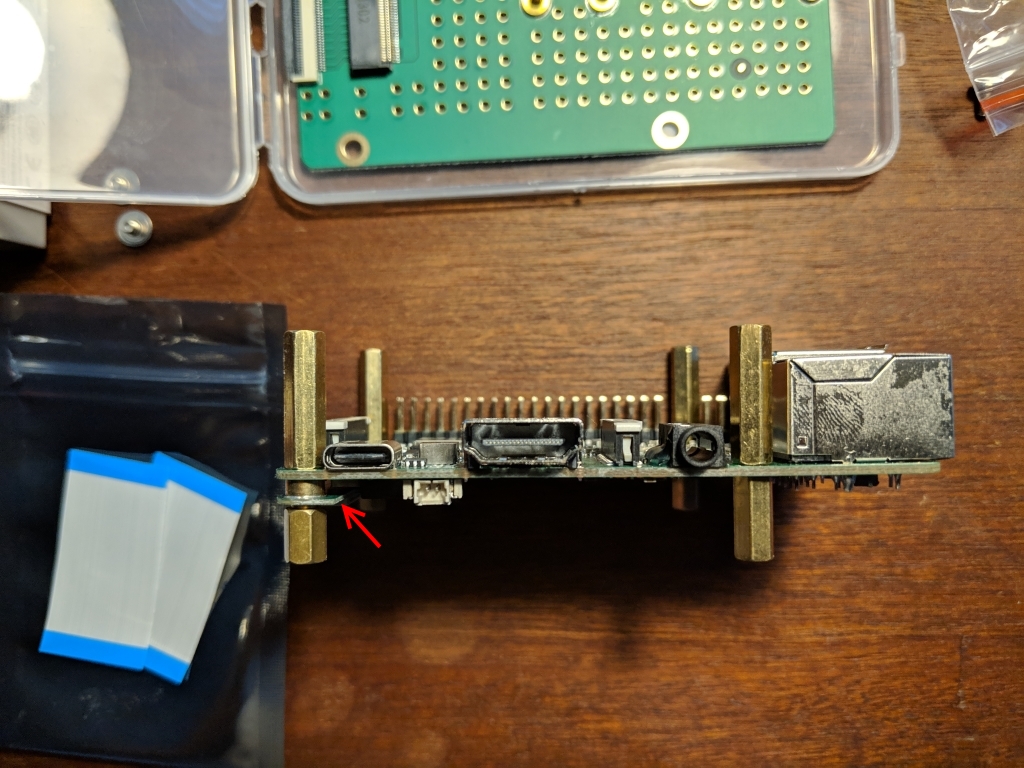
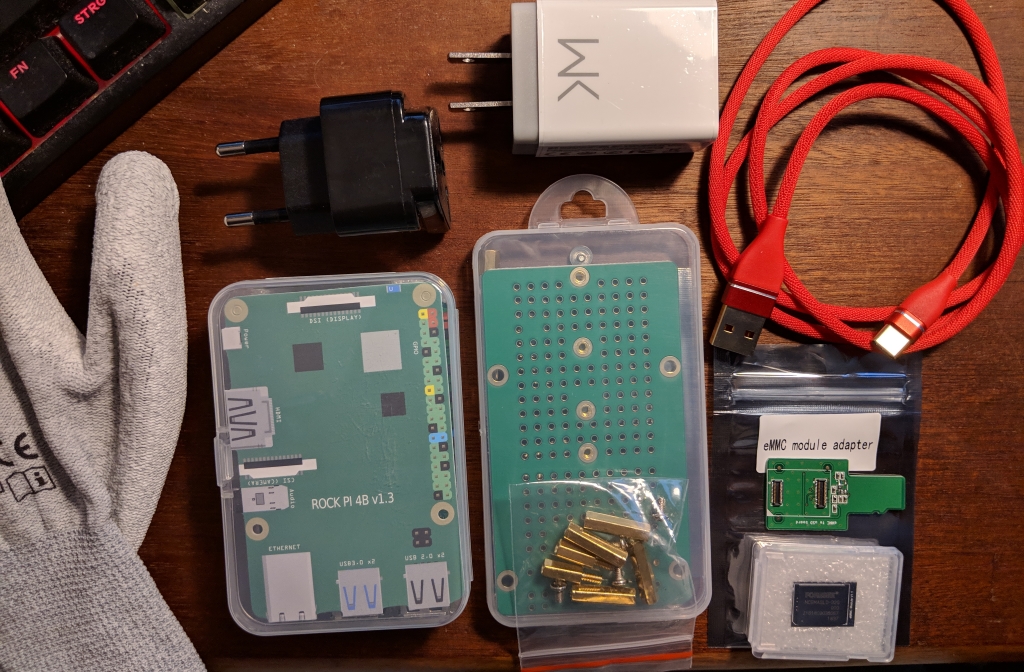
I have bought all the accessories offered. Among others the big heatsink and the M.2 NVMe adapter. And I think the latter comes with additional spacers. In total I have 8 spacers, 2 very short, 2 medium and 4 long. I think the M.2 NVMe adapter had a small circuit board added for connecting the short ribbon cable. The short spacers come from below, the middle ones from below at the front and the four long ones at the top. I inserted a red arrow where I screwed the small circuit board with the 2 short spacers. And with the four screws supplied, the M.2 NVMe adapter is screwed onto the long spacers from above. The heat sink has not yet been delivered and is therefore not visible. It will be delivered later, together with the RTC Battery.
Yeah, wait till you receive the heatsink. That setup you have won’t work.
You’re missing the support on the RJ45 end and mismatched height from one end to the other. That can tweak the board (As seen in your picture VERY crooked). In addition, the stacked risers are too high IMO.
I have been in contact with RADXA and they have a proposed working solution with copper spacers for the correct mounting.
1 Like
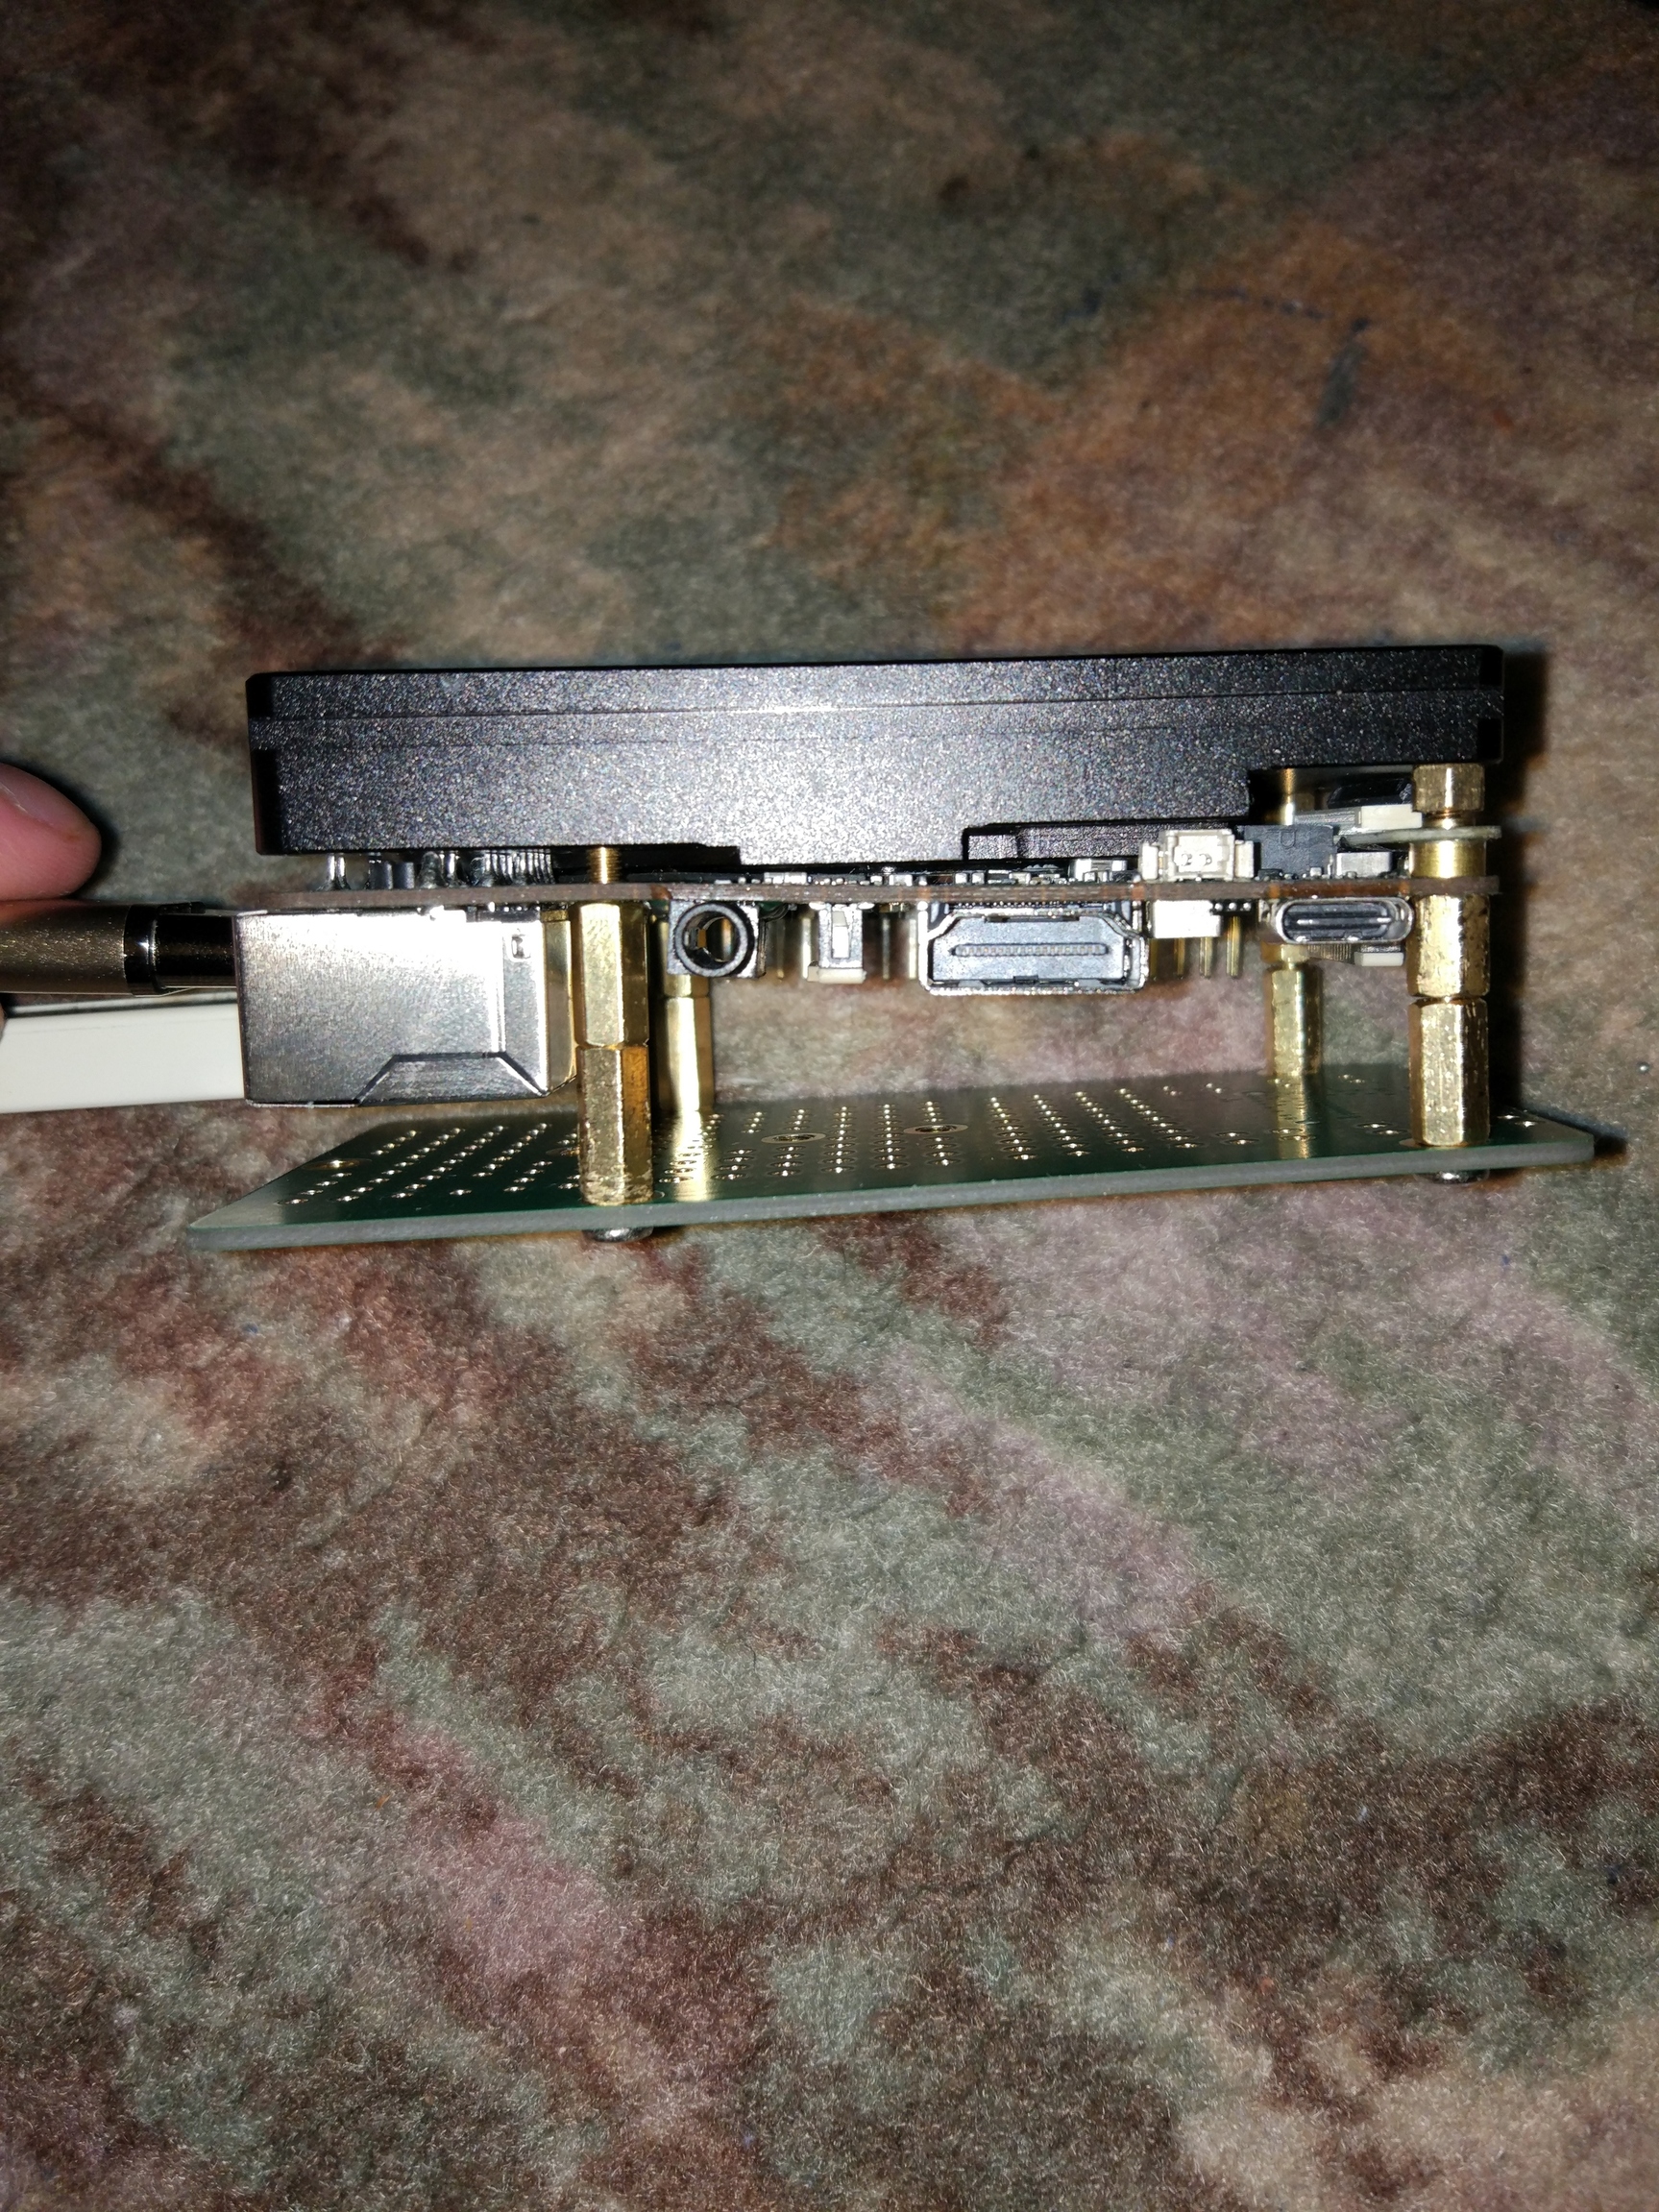
I would like to correct 2 thigs.
First, i do not miss support on RJ45 side, because this “screws” goes to heastsink itself
Second, i didn’t said it’s good-looking solution. Only that it’s working-solition
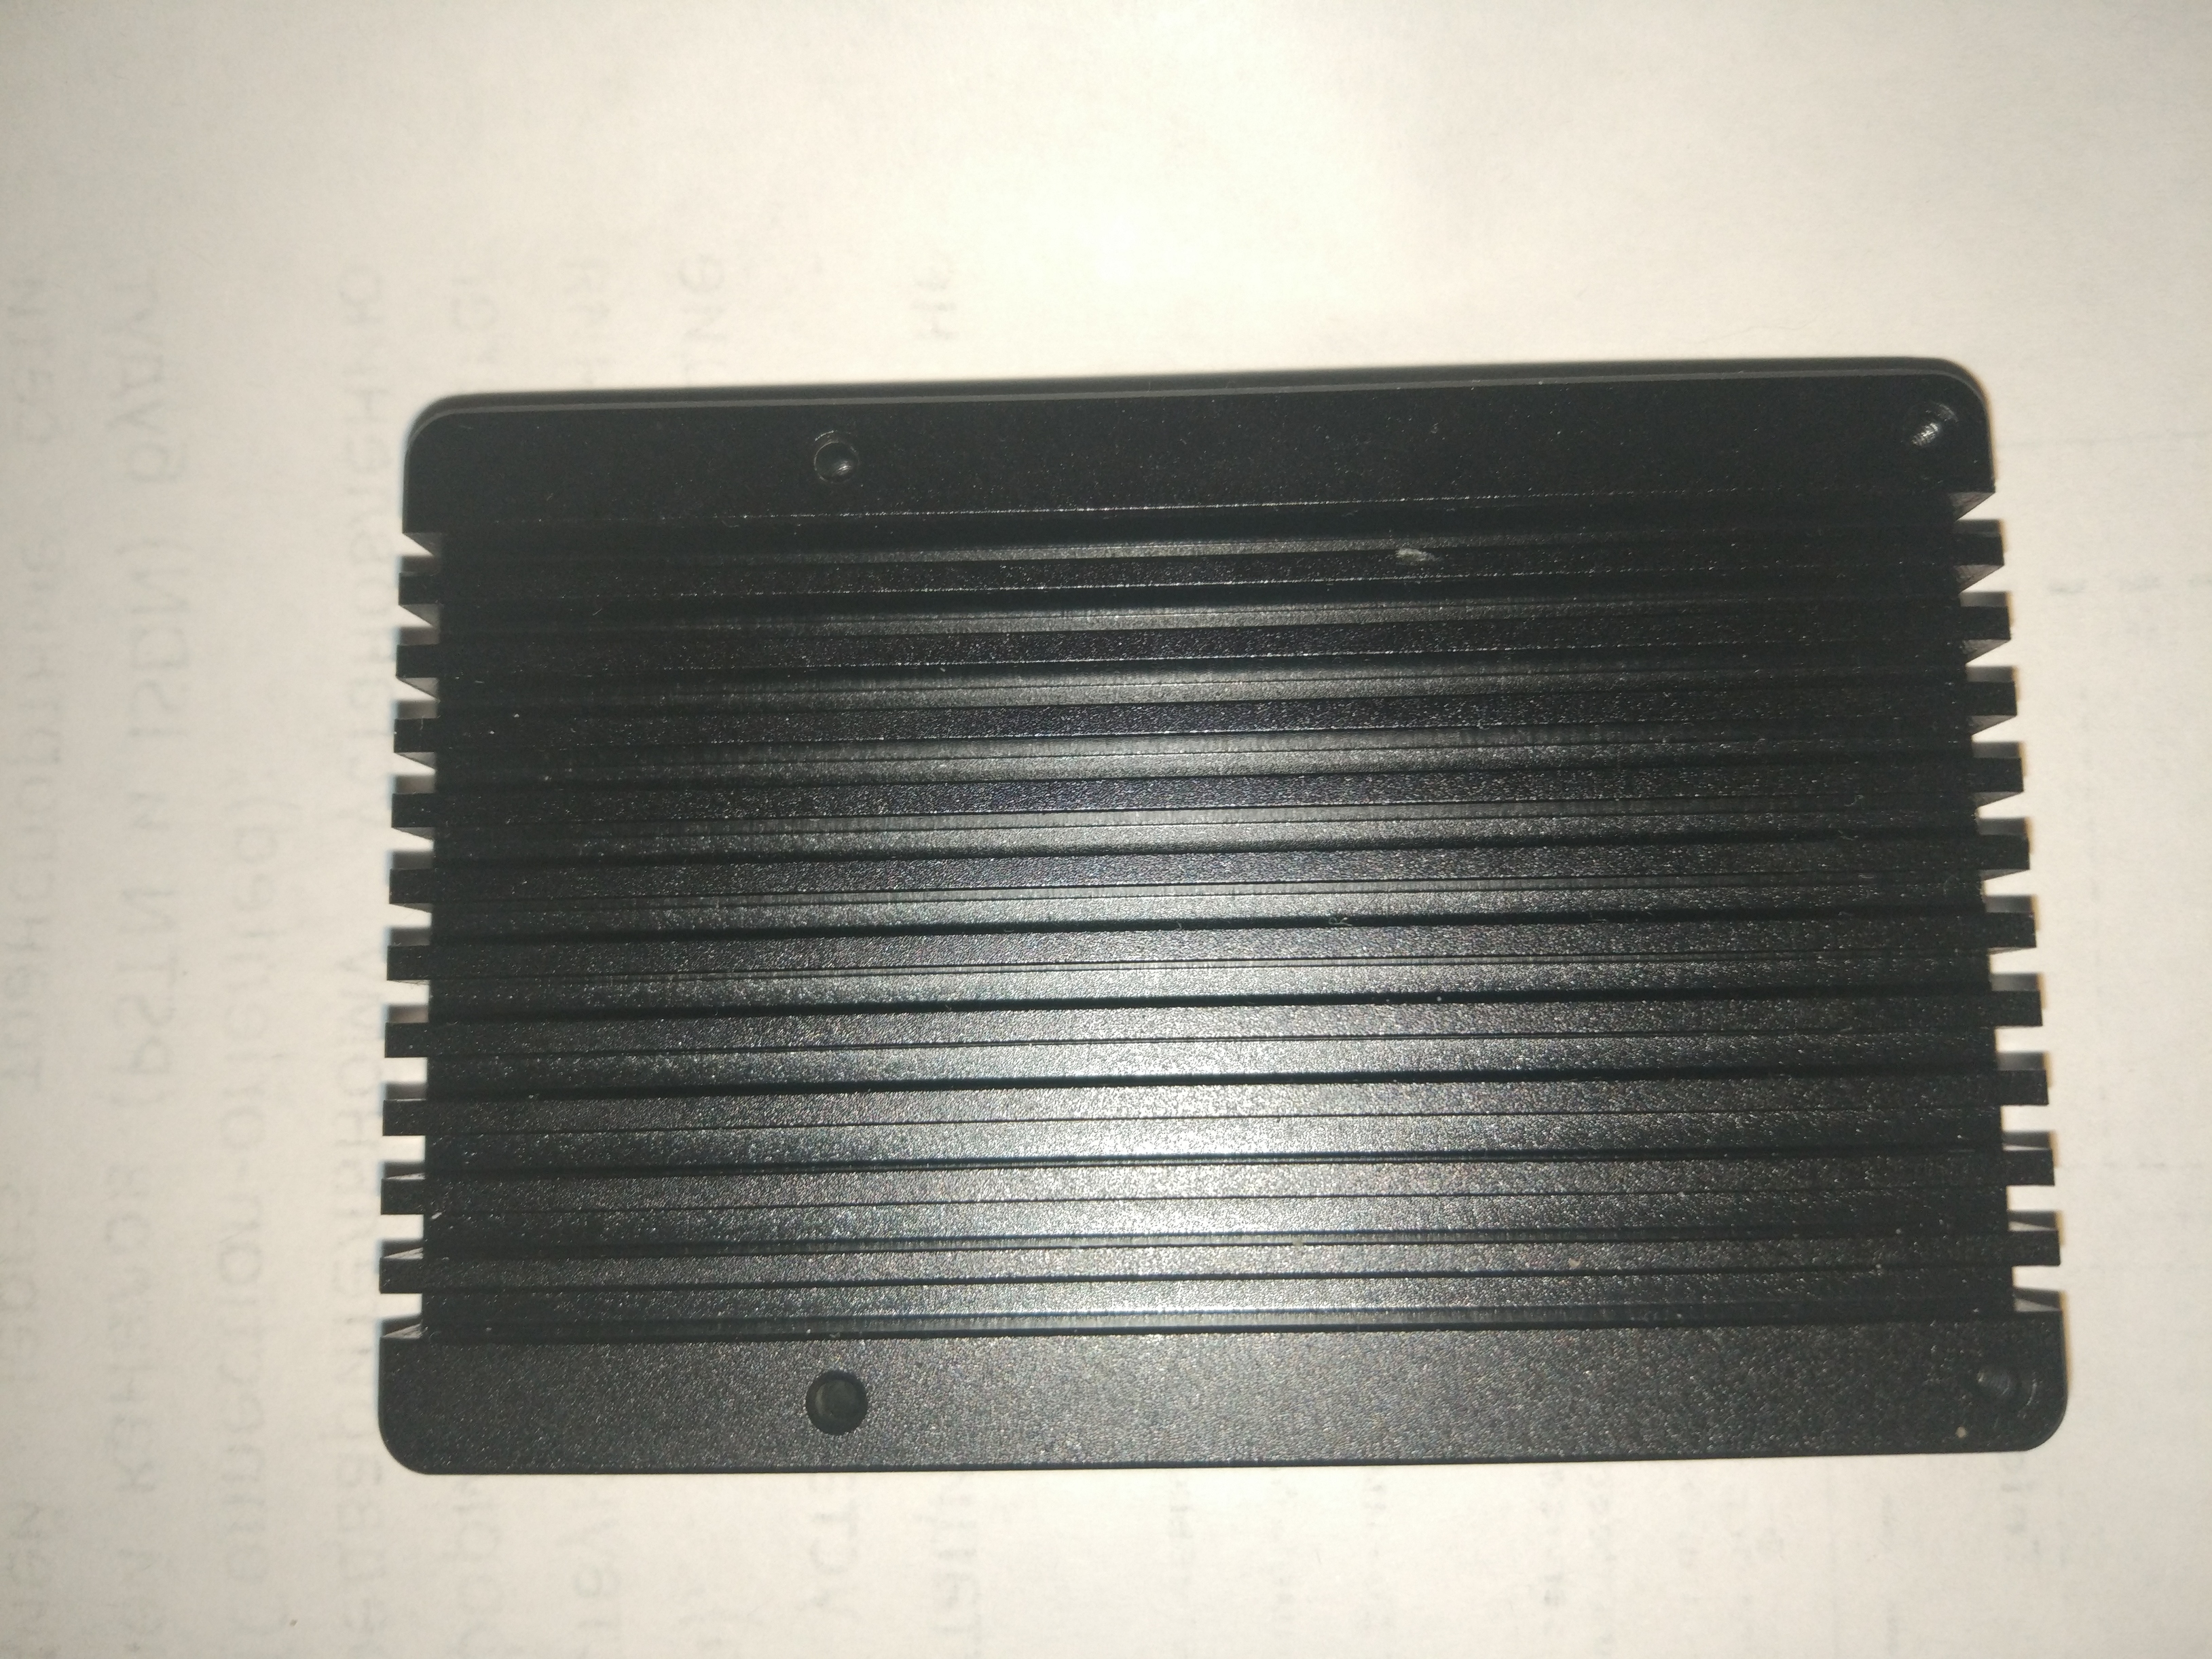
Could you please take a picture of the underside of the heatsink? I would like to know if I can put some kind of feets on it so the heatsink doesn’t need to sit on the table.
I’ll buy the heatsink next month. I’m sick of the fans 
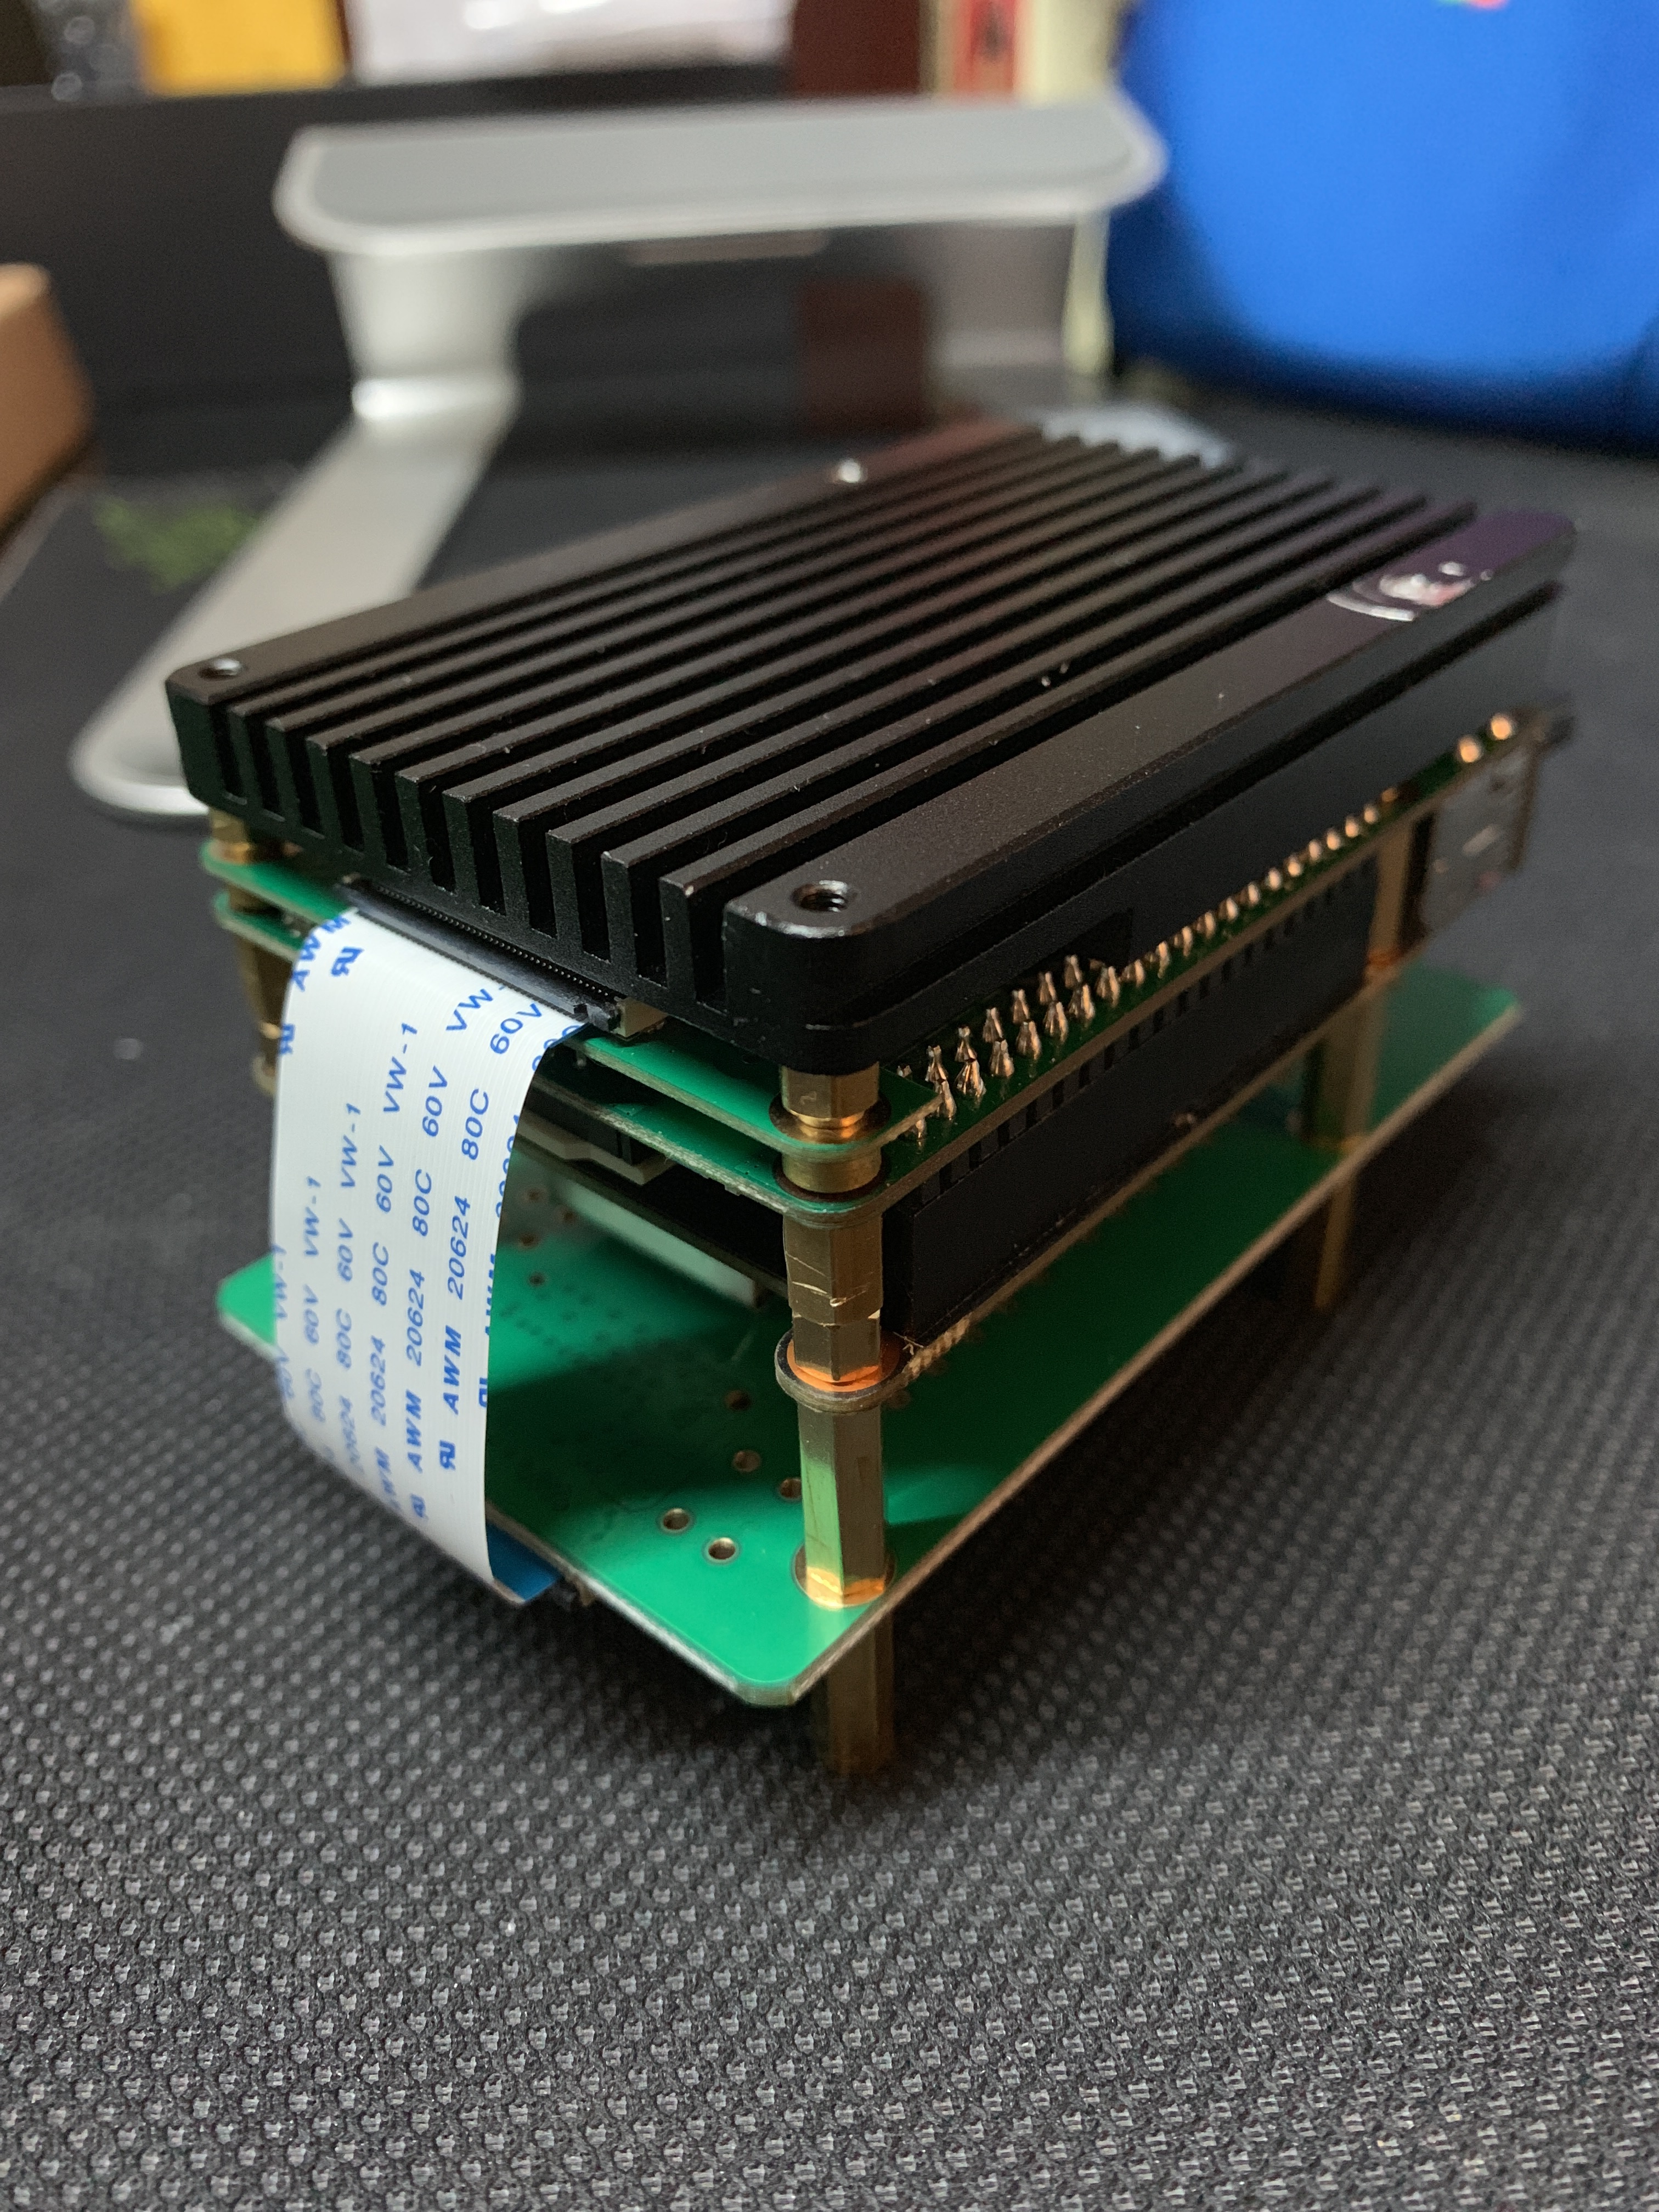
My heat sink arrived today. Now it turns out that the spacers supplied with the heat sink only work without the M.2 NVMe adapter and the spacers supplied with the M.2 NVMe adapter only work without the heat sink. Heat sink and M.2 NVMe adapter do not fit together. Since the heat sink must rest evenly on the CPU, there is no room for the spacers to be arranged differently.
On the photo you can see on the left under the small additional board that belongs to the M.2 NVMe adapter, all spacers that were included with the M.2 NVMe adapter and right beside the heat sink, the spacers that are included with the M.2 NVMe adapter. What is additionally noticeable is that even if the small spacers would fit, the big ones would be wrong as female/female. To mount them, they would have to be male/female.
If Dante4 has the same spacers I have, then I am firmly convinced that its CPU does not rest well on the heat sink.

I just didn’t used one type of spacers and used shorter one to connect board to heatsink, so heatsink have connection to chip.
And for this. If you just combo heatsink and chip with very small amount of thermal compound - there will be no connection between them, but with glue or big amount of thermal compound there will be connection
I didn’t take the metal oxide paste that came with the heat sink because it seemed to me that the distance wasn’t optimal. I still had self-adhesive thermal pads left over from either a Rock64 or Nanopi Duo.

If you don’t use fan - yes, there will be no difference, but if you are using it with fan - difference around 10°-11°. And this metal boards is just too tall
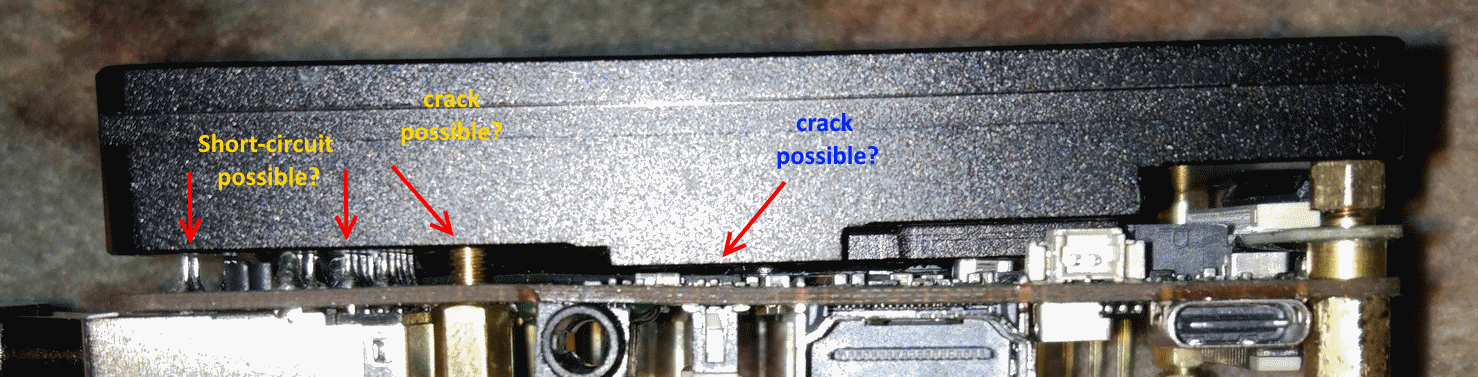
It was a reasonable solution to do a test but you are missing the spacer (support) on the RJ45 end. Your screw is in too far and bending the board. It might even crack. I don’t mean to sound harsh, just an observation.
1 Like
That’s not good.
I would buy myself a box of spacers in all sizes. Doesn’t cost much. And maybe also a copper shim so the space between the board and the heatsink is bigger.
Something like this.
And this. The size is probably not right, I just looked for an example, be sure to measure
Yes, here you right. My construction not stable if board is going to be in harsh enviroment
The spacers in this box all have the wrong diameter. M2.5 is the right size, M2 works but is shaky. In addition such mixing boxes are too expensive, because you usually only need a few of them and the others were paid unnecessarily.
Copper is a better heat conductor than aluminium, but considerably more expensive. Therefore no copper is used for cheap heat sinks and for expensive ones, only for the direct contact surface to the CPU or GPU. Actually it plays only a small role whether aluminum or copper is used. Due to a larger volume (more weight) and a larger surface (milling, less weight), almost the same effect can be achieved with aluminium as with copper. Only if you want to use the cooling power extremely, aluminium is too slow at some point and the heat accumulates near the CPU. But if you’re going into extreme areas, you should ask yourself if you’d rather use a heat pipe instead.
I guess NicoD is about what i said, that there space between chip and heatsink even if you install it normal way
Its just an example I gave so youd know what I was talking about, I said to search for the right ones yourself.
I use spacers all the time. So I`m happy to have such a box. It was a lot cheaper from AliExpress tho.
I dont care if you use copper, aluminium or gold, or whatevers shiny. As long as its something to put in between the cpu and heatsink.. Because it needs to be done better than that if people want to keep using the board. I love sbcs, I don`t like to see them get hurt