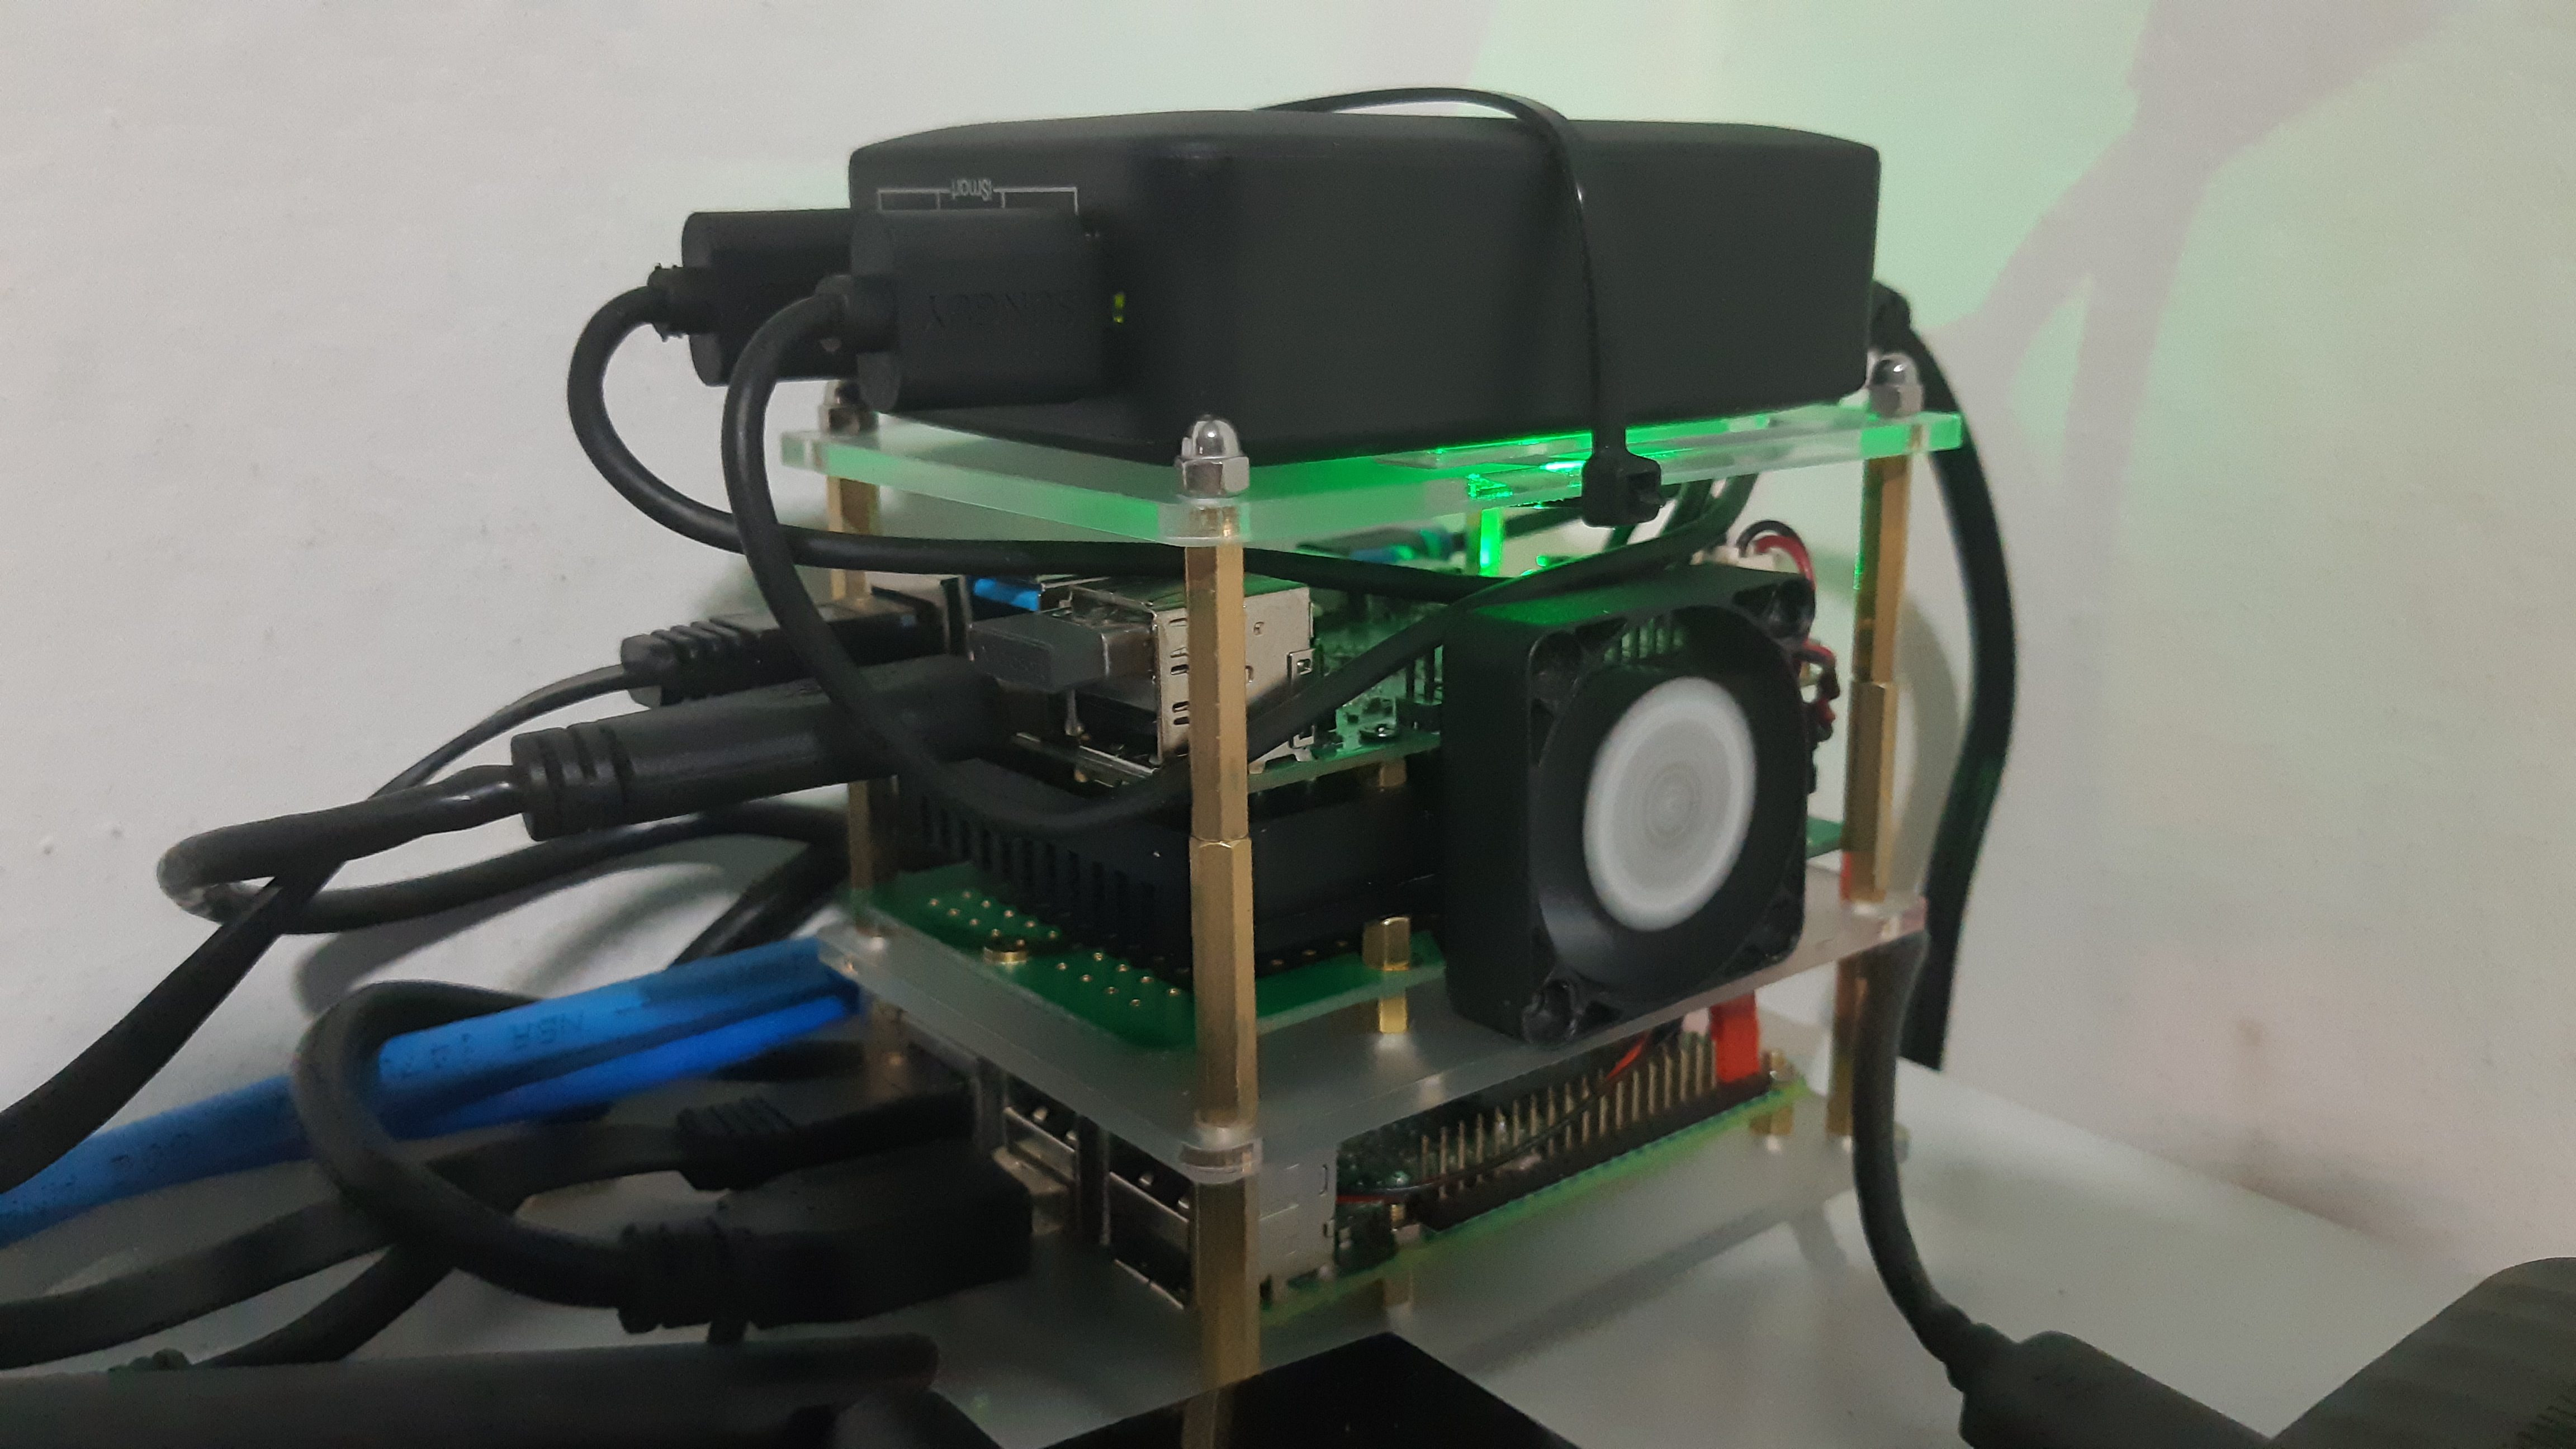
It looks really cool
The custom copper columns
M2.5 18+10 ——2
M2.5 18+3 ——2
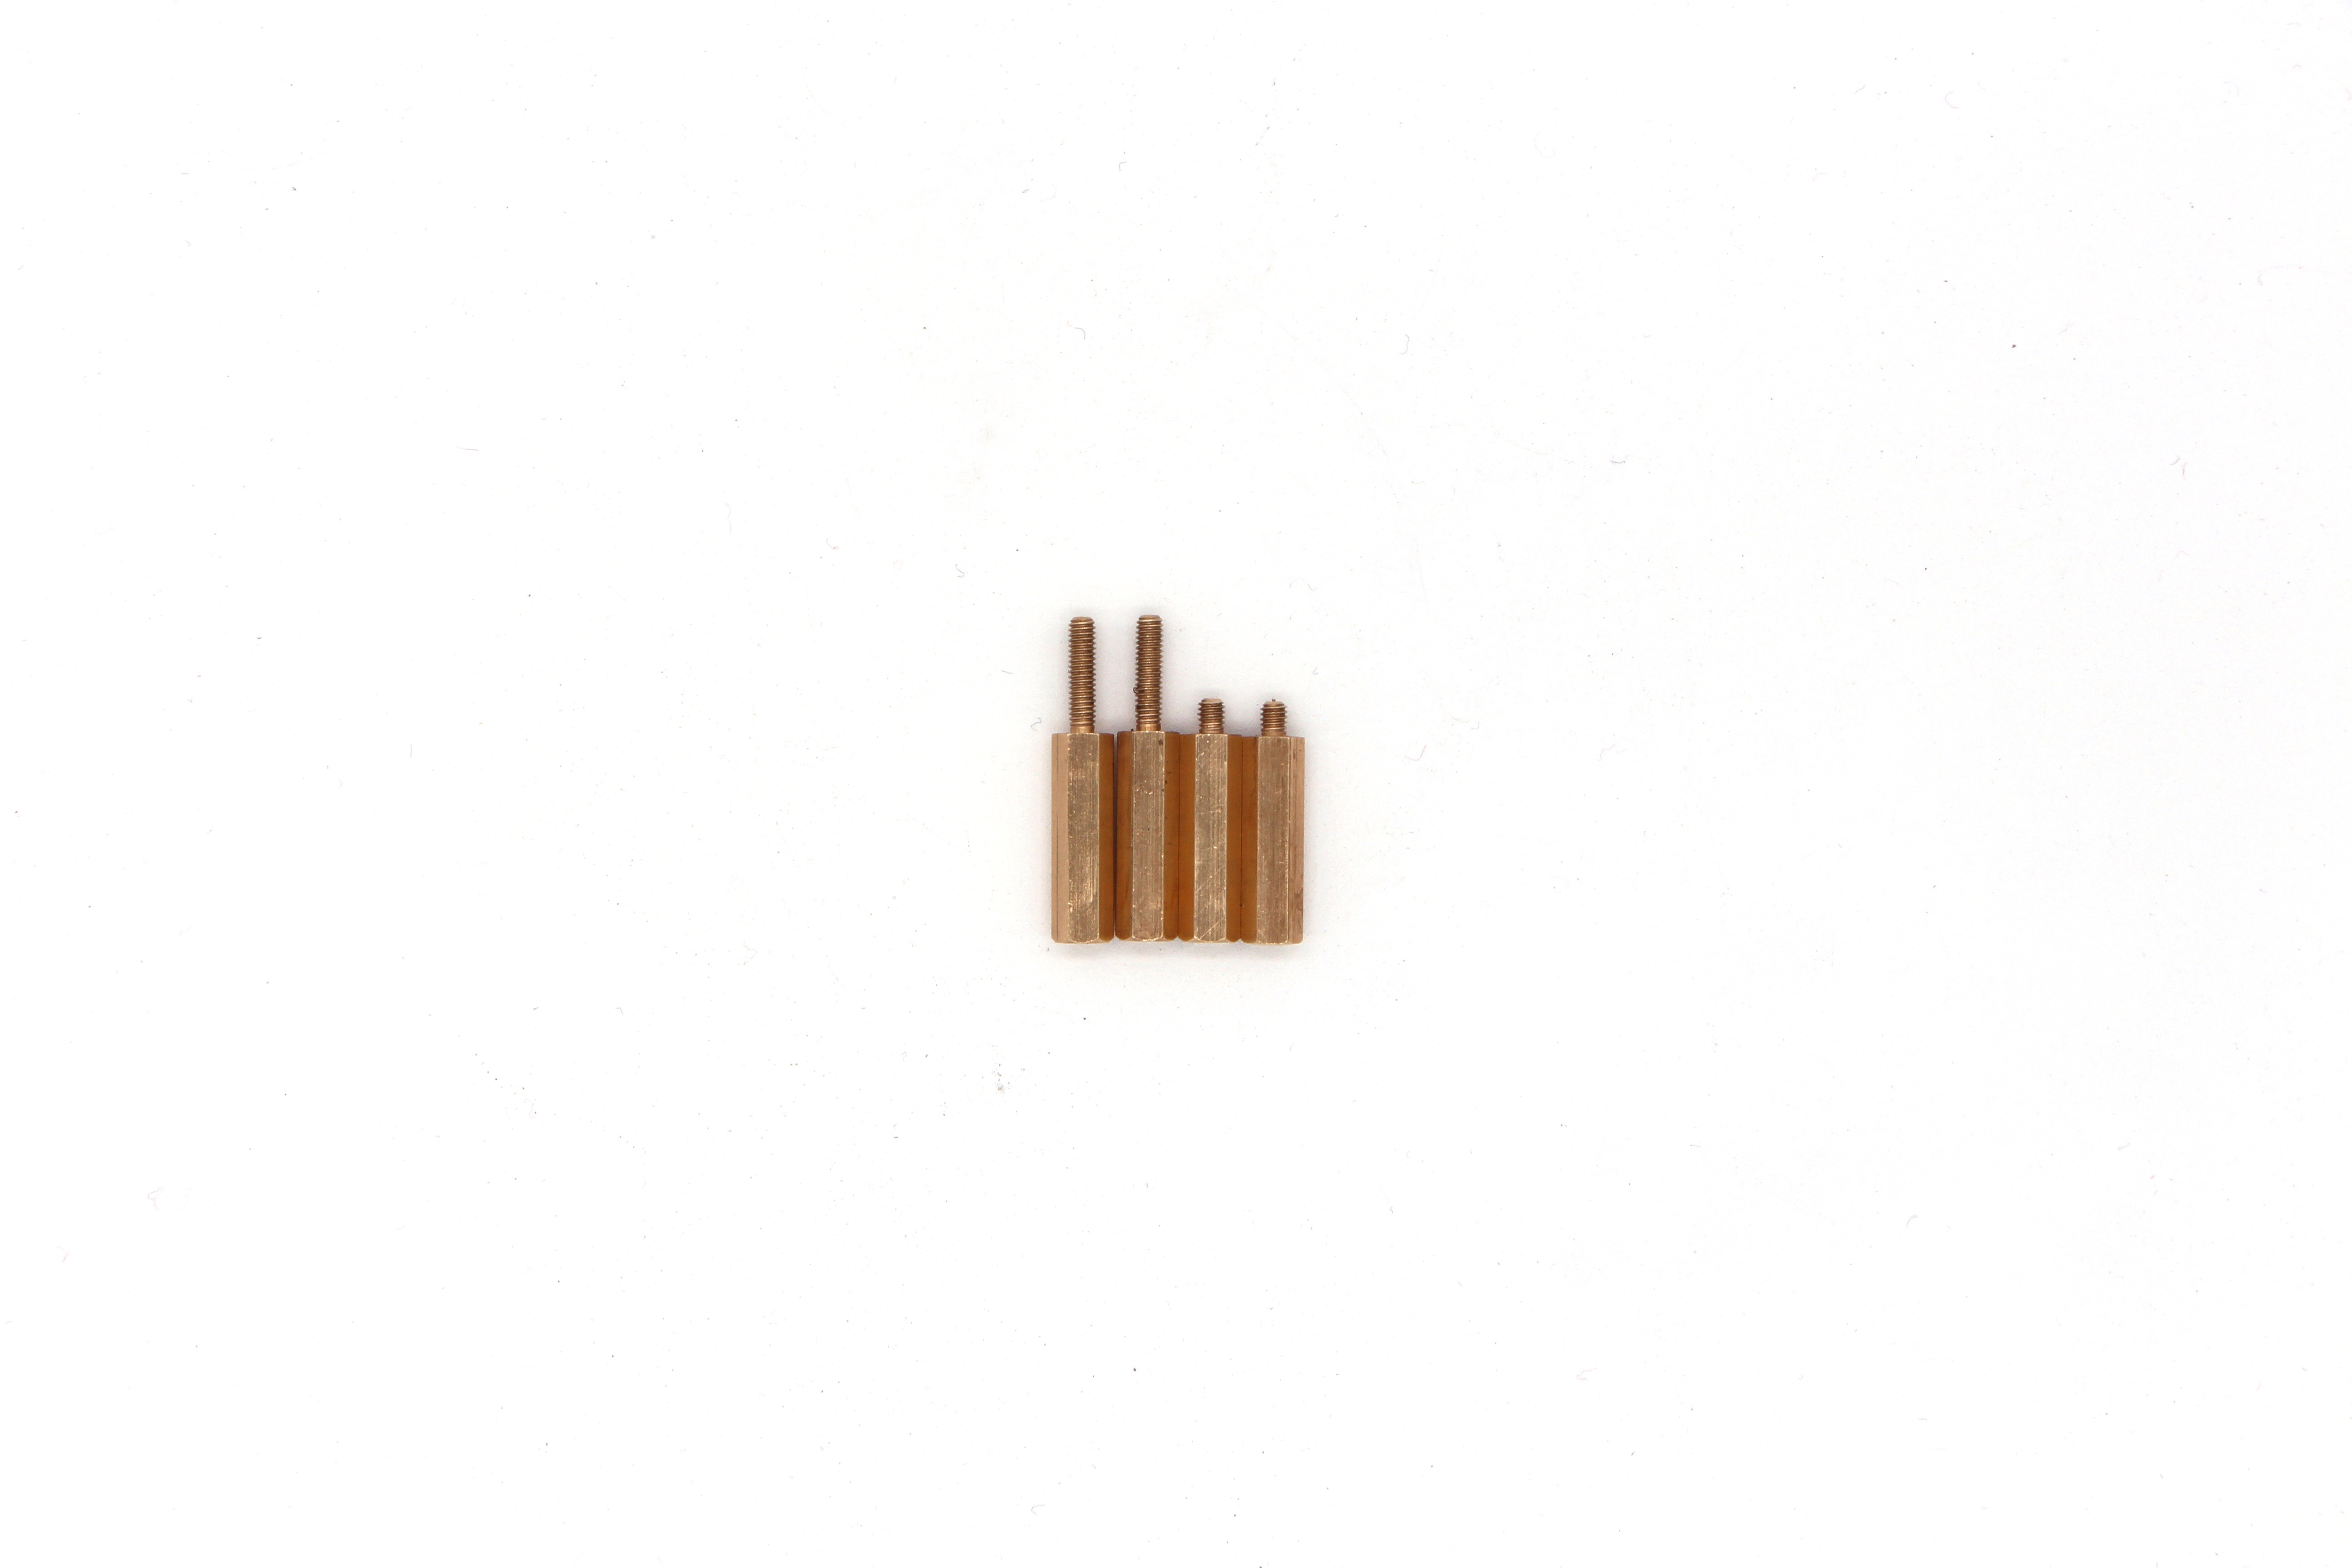
We will add 4 customized copper columns in the M.2 extend board package, to facilitate the use of heat sink with it.
2 Likes
Great news!
Is there another customized version of copper columns for PoE head mounting?
Yes, definitely for PoE Hat
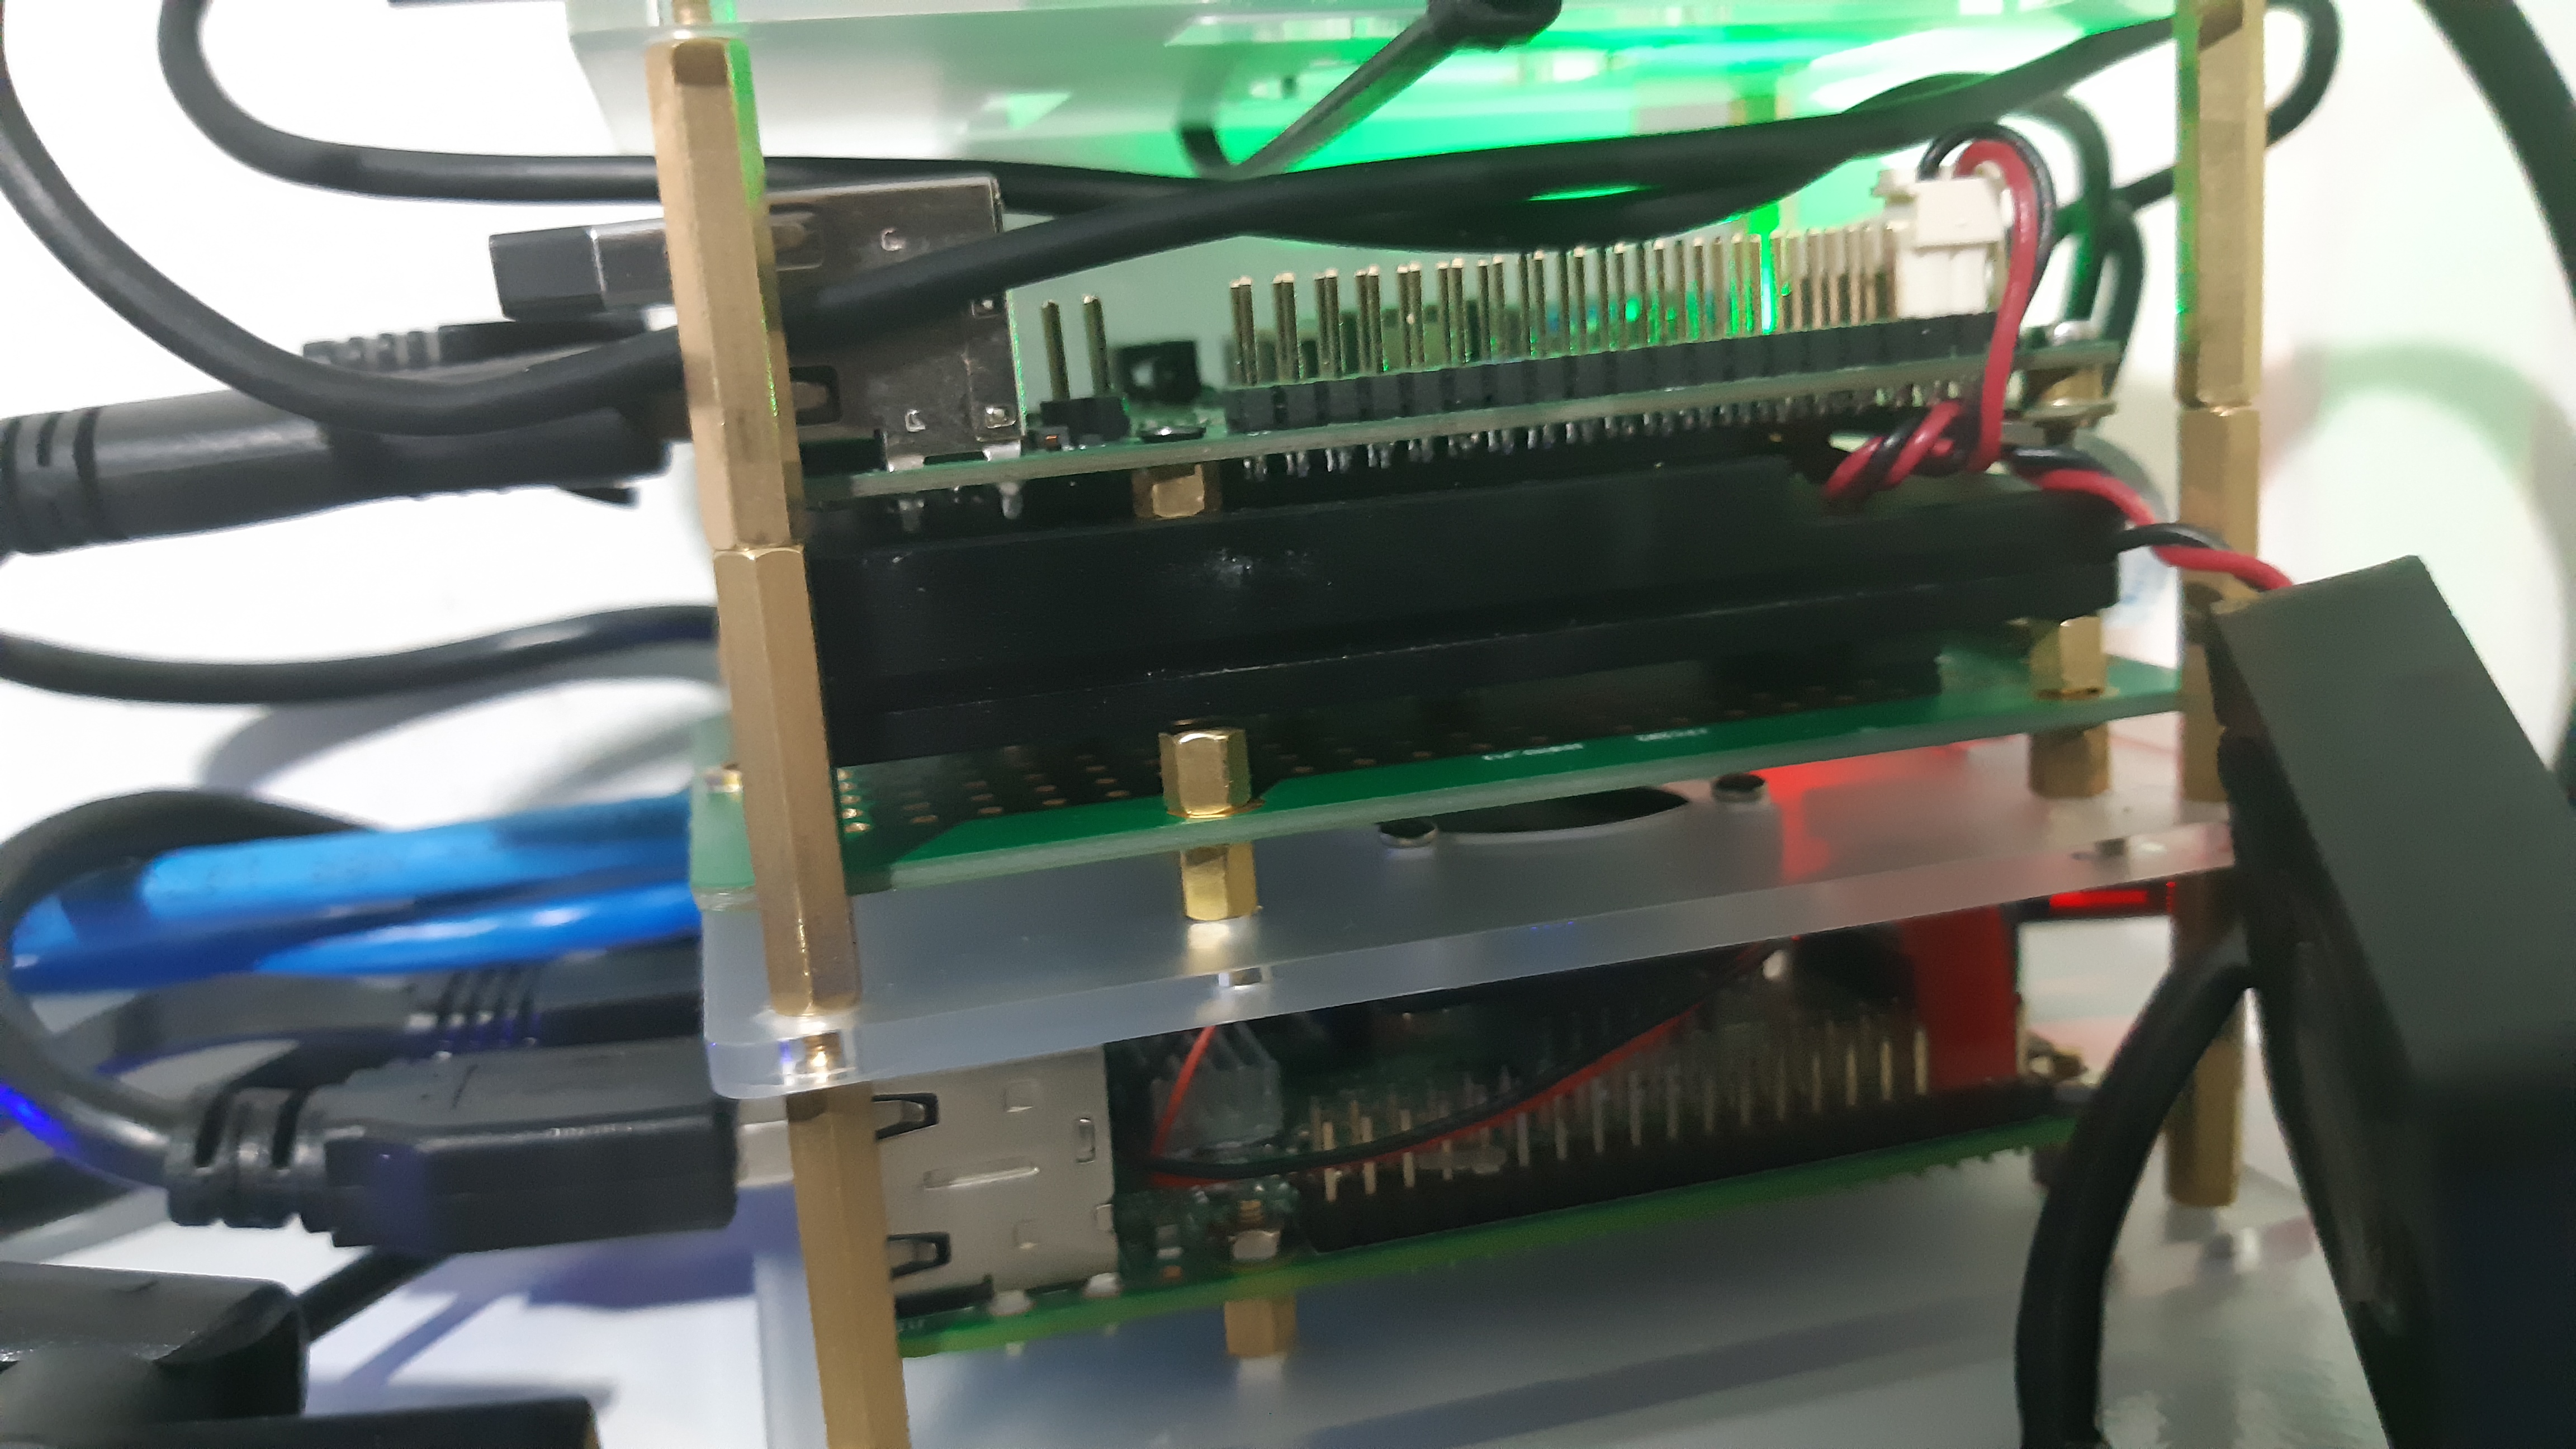
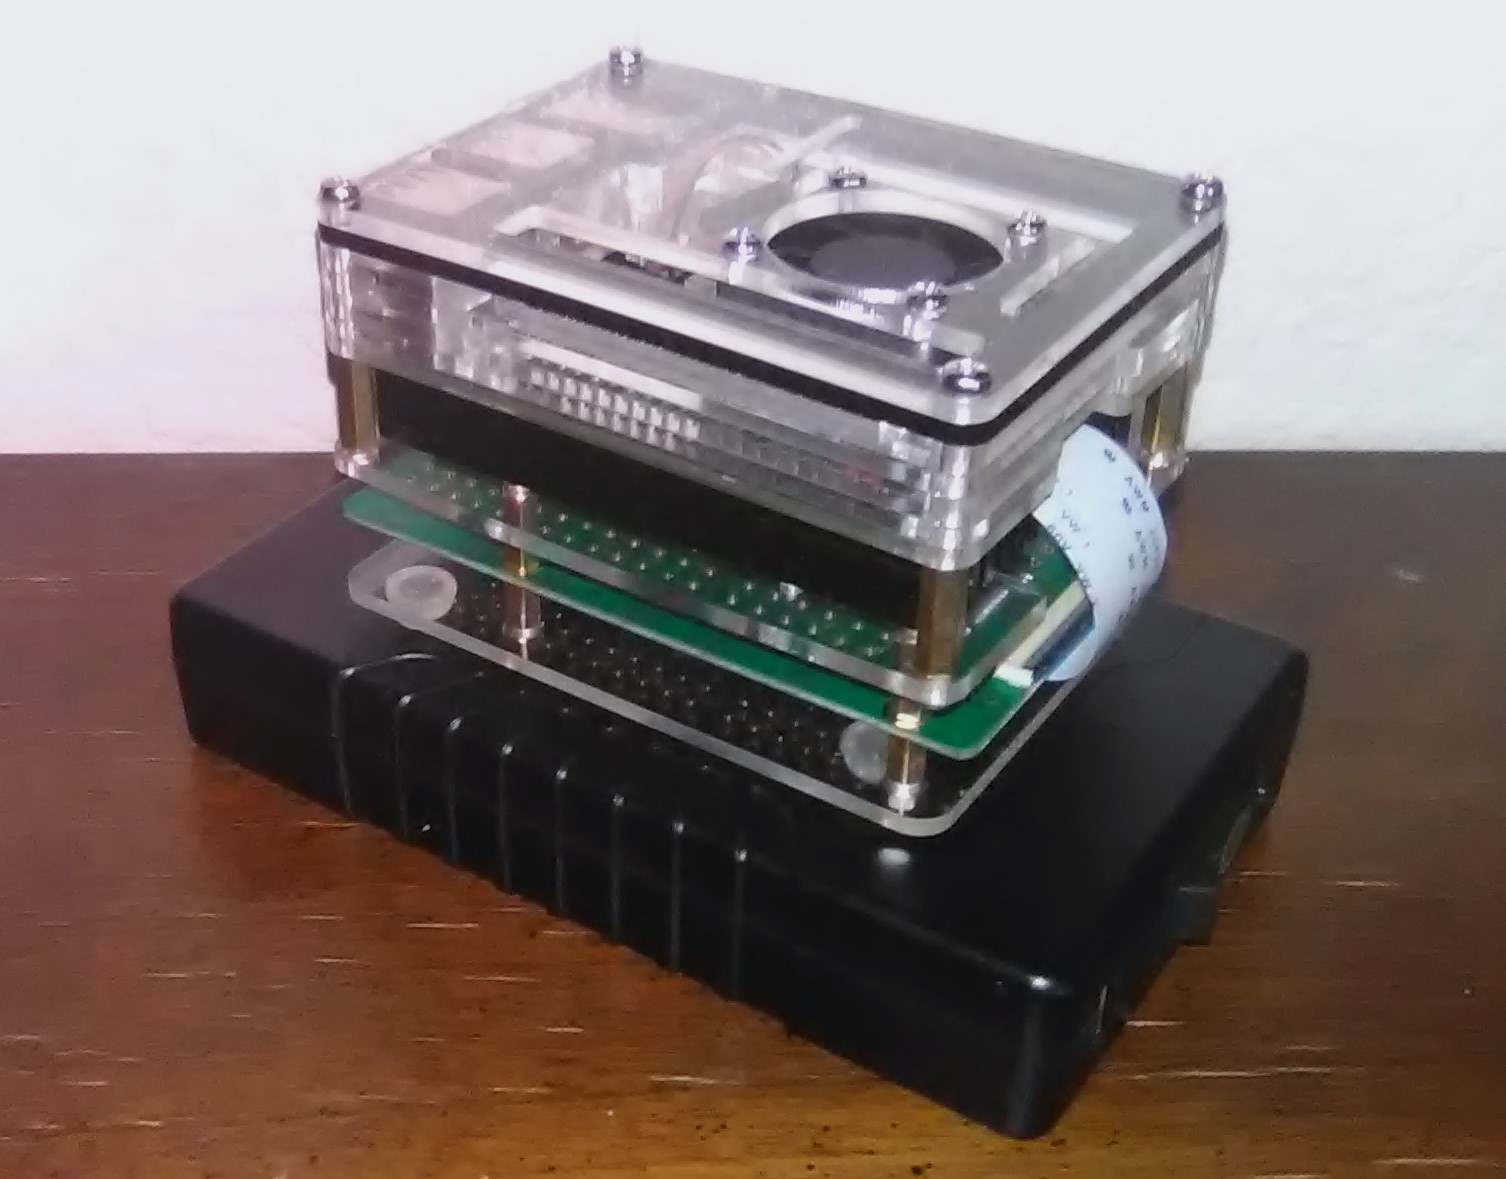
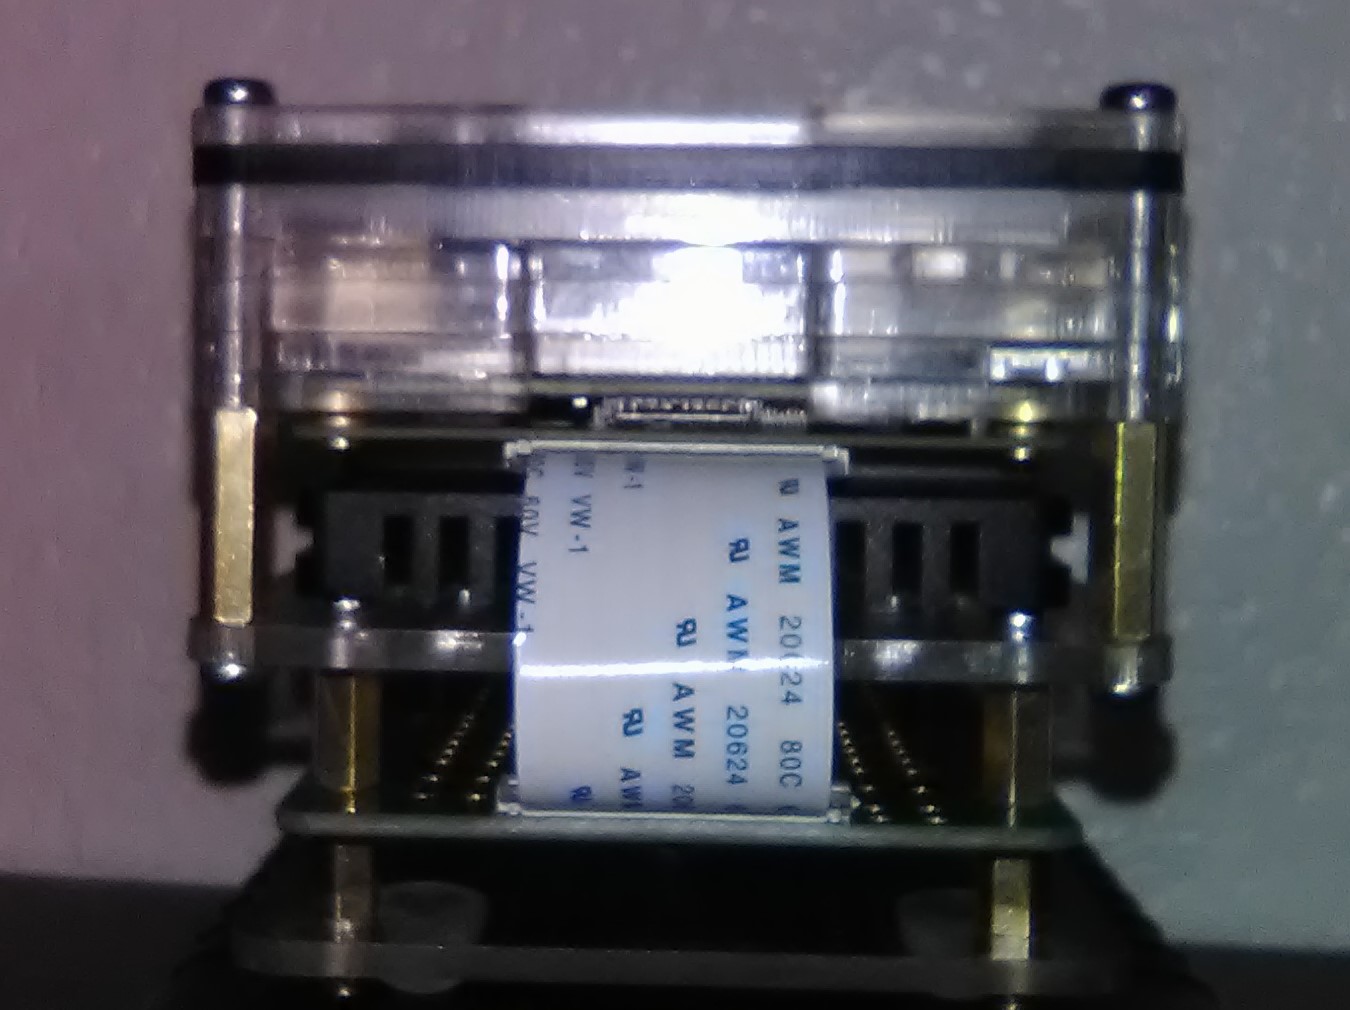
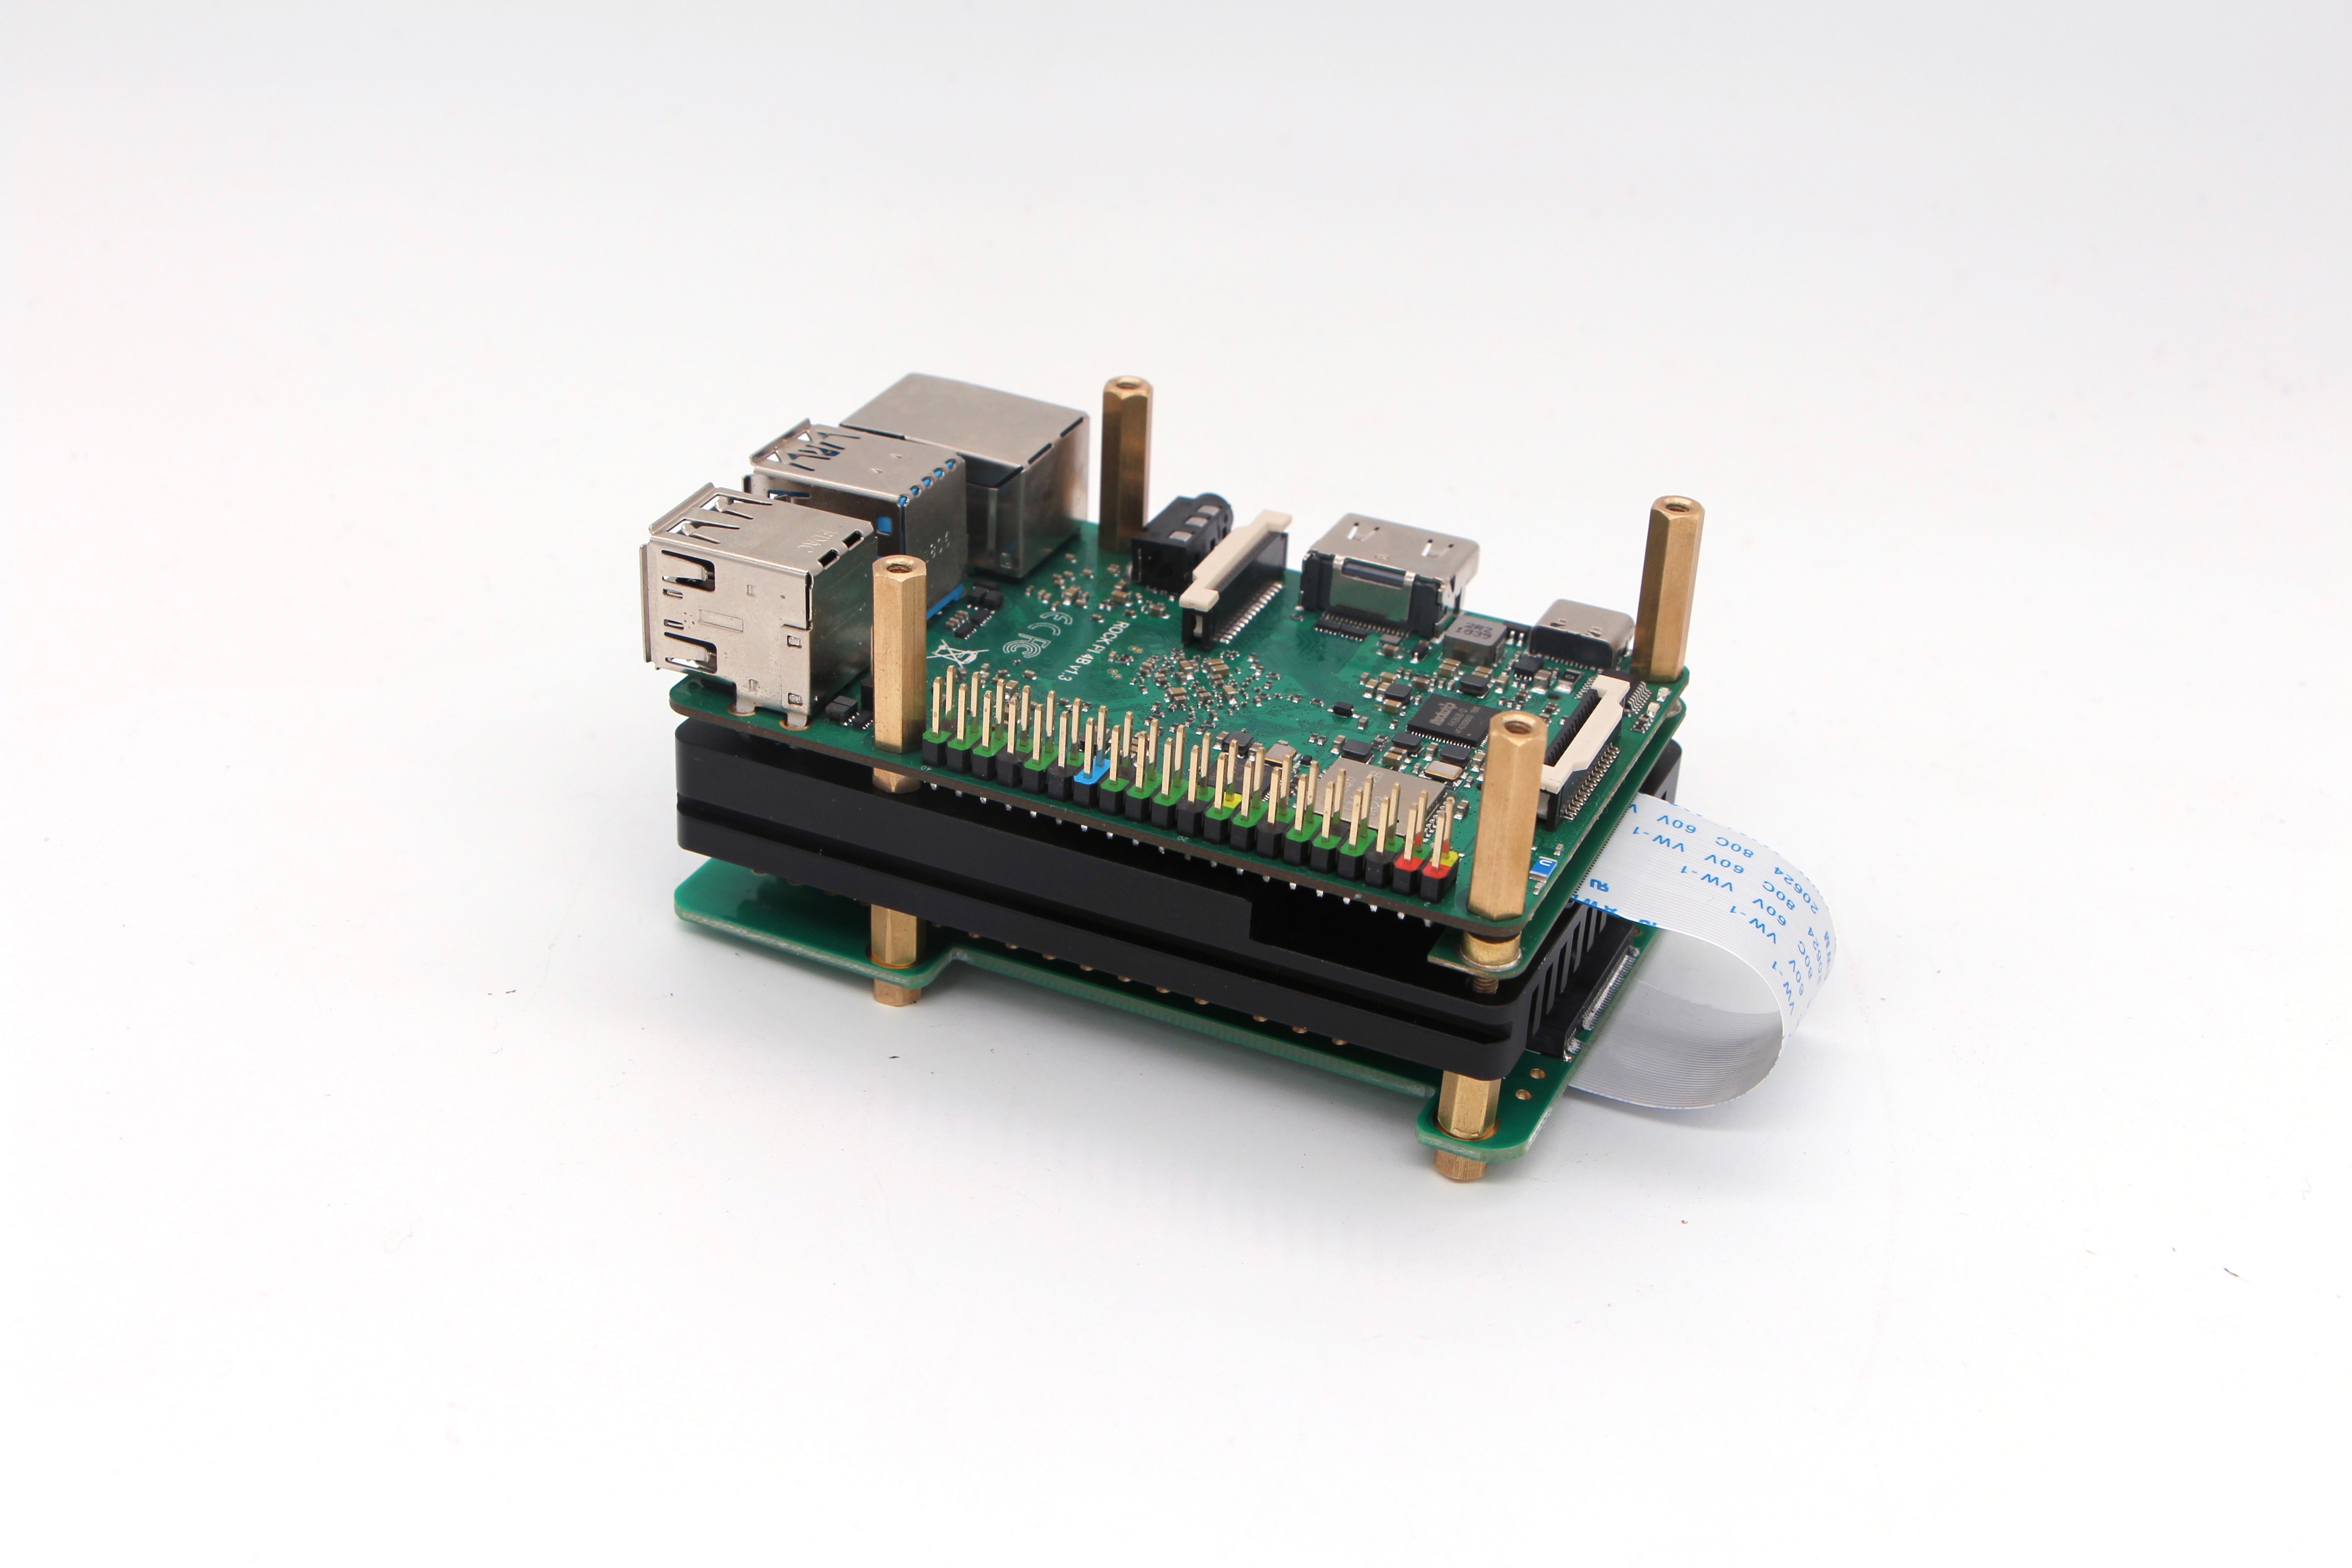
just sharing the solution I found to put the rockpi + big heatsink + m2 extender together with the raspiberryPI ..
All right so far .. temps at 48C for raspberry and 46C rockpi ..

4 Likes
It looks really cool and keeps the temperature under control. 
Hi,
I just installed my M2 extender board and connected the cable like on your picture (the blue writing on the outside). Noting worked. After I changed the cable (writing inside) everything works perfect. So did it work for you in this direction?
Norbert
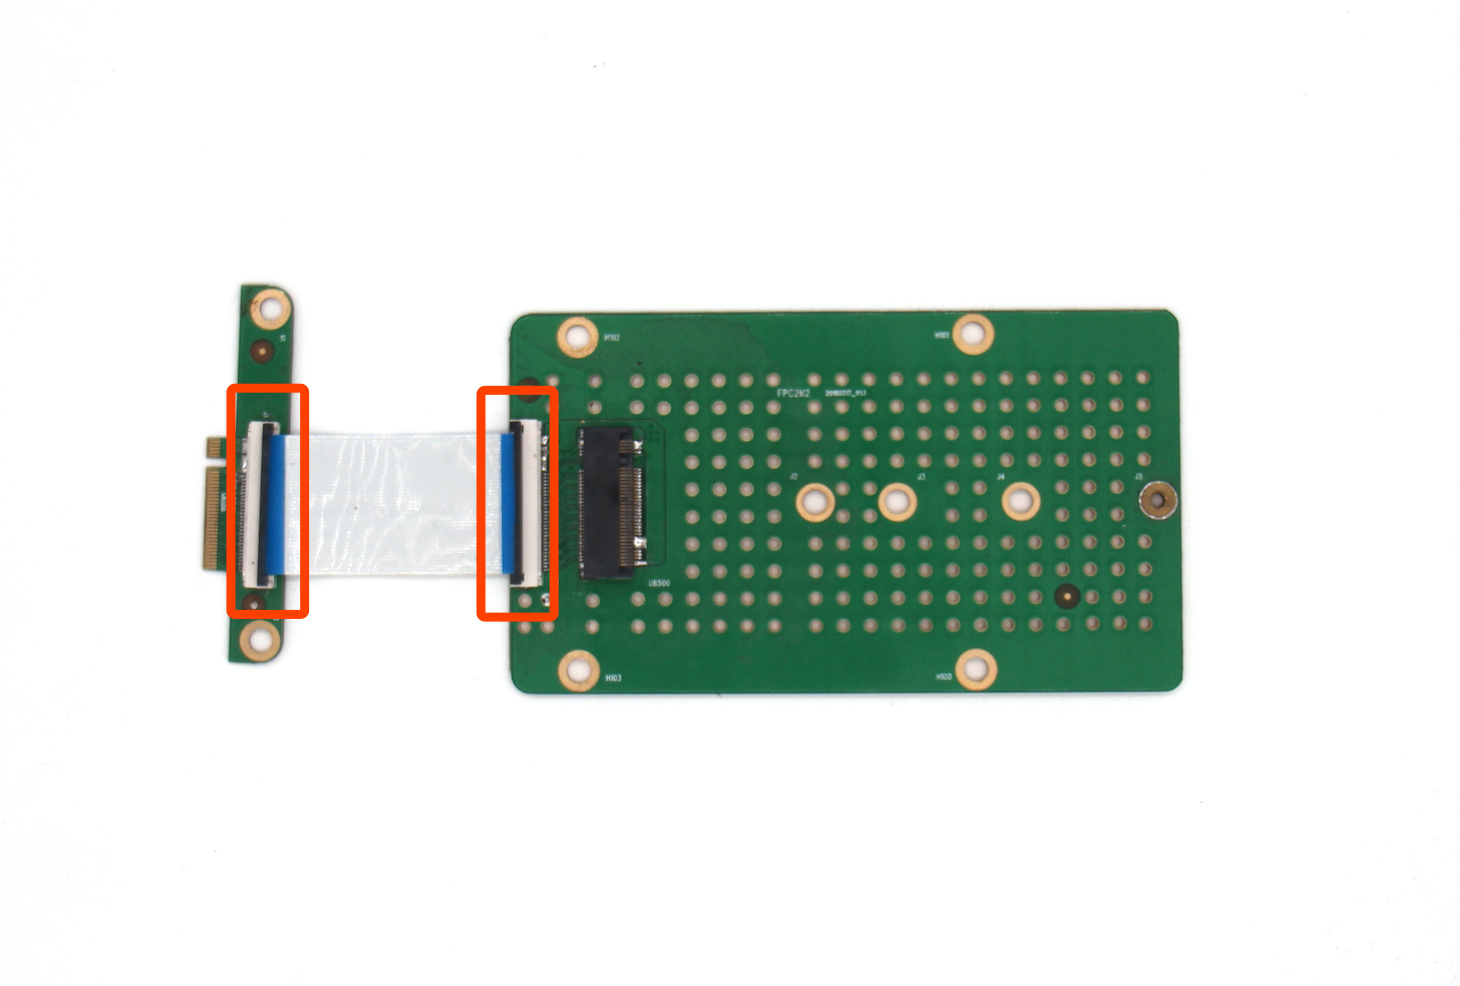
Sorry, maybe the previous picture gave out the wrong direction.
Please pay attention to the correct installation of FPC wiring.
Hi,
on your other picture the flex cable looks longer than the one which comes with the adapter. Do you know where I can get longer flex cables?
Norbert
We will provide one long and one short two FPC cables to the customer.
I already bought my M2 Extender and there are two exact same short cables in the package.
Norbert
The original intention was that the shorter the line, the less loss to the signal. So choose the right length.
The feedback we received now is that the line needs to be longer, so we will adjust it in the following product.
We will also contact our agent to add a variety of different length specifications FPC line for choosing. Satisfy different usage scenarios.
1 Like
Excuse me, you’re absolutely right, of course. For a secure data transmission, especially at high clock rates, every additional millimeter of line length is an additional risk and should be avoided. But if you want to shrink PC technology to SBC size and still keep prices low, you have to be willing to compromise. This willingness to compromise should also be brought along by us buyers. In a few months, when everything is running smoothly, hardly anyone will be interested in whether they can easily change the SD card when the M2 Extender is connected, because a change is hardly necessary.
@luffy, there needs to be 12 mm threads on the screw (or standoff) that is inserted into the top of the board, threaded through the M2 adapter, then (with everything lined up) threaded into the heatsink. The threads can be used as an adjustment for the position of the M.2 shim, prior to installing the heatsink, but nylon washers would ensure that it doesn’t contact the eMMC module.
I would also like to use the mass of the heatsink to mount the SSD to it, but the holes are not threaded on the other side, so I will need to tap my own threads.
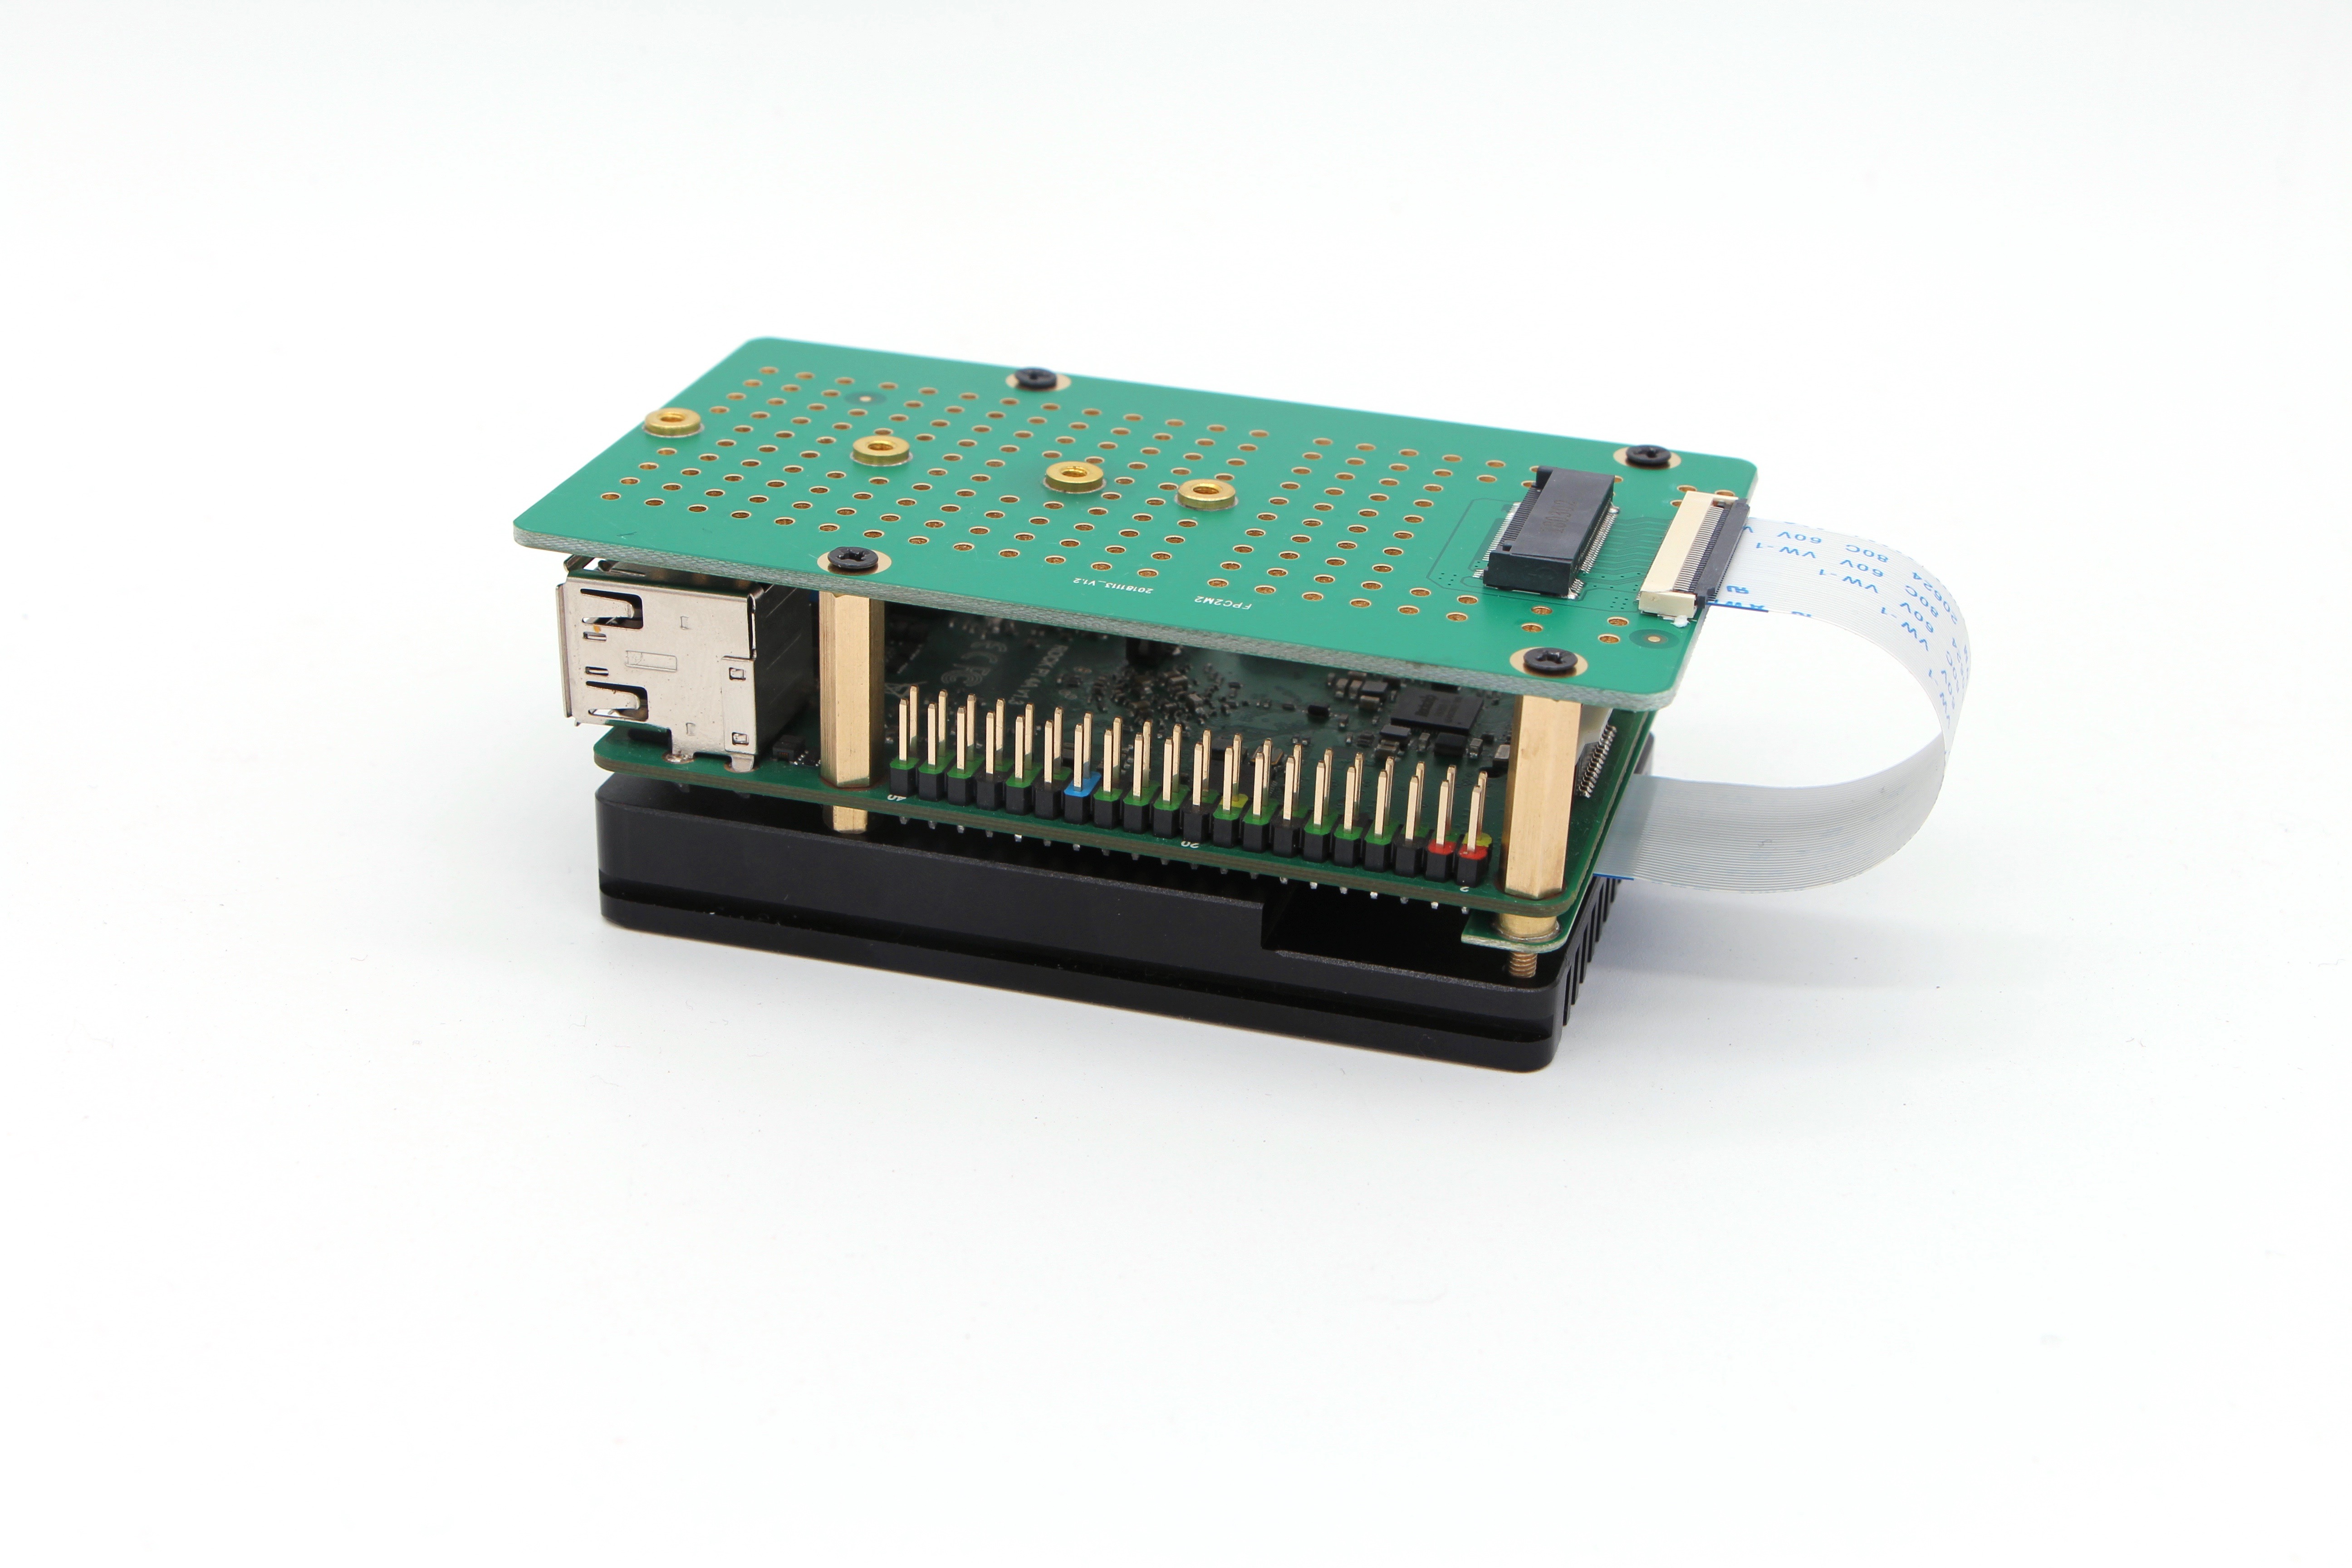
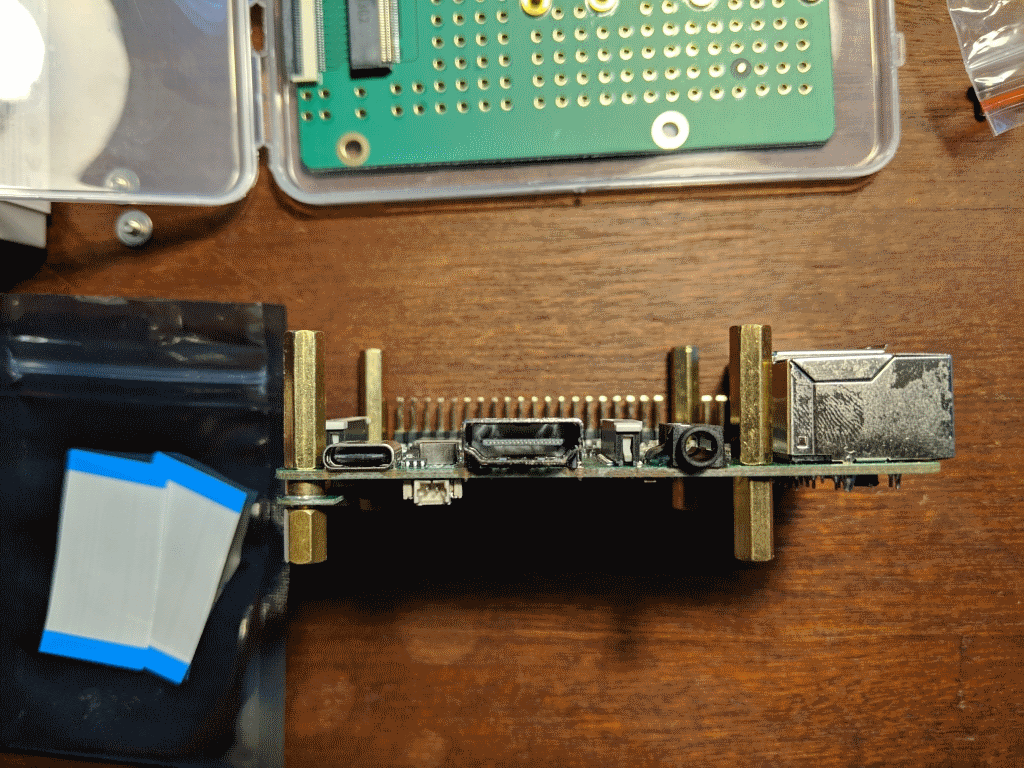
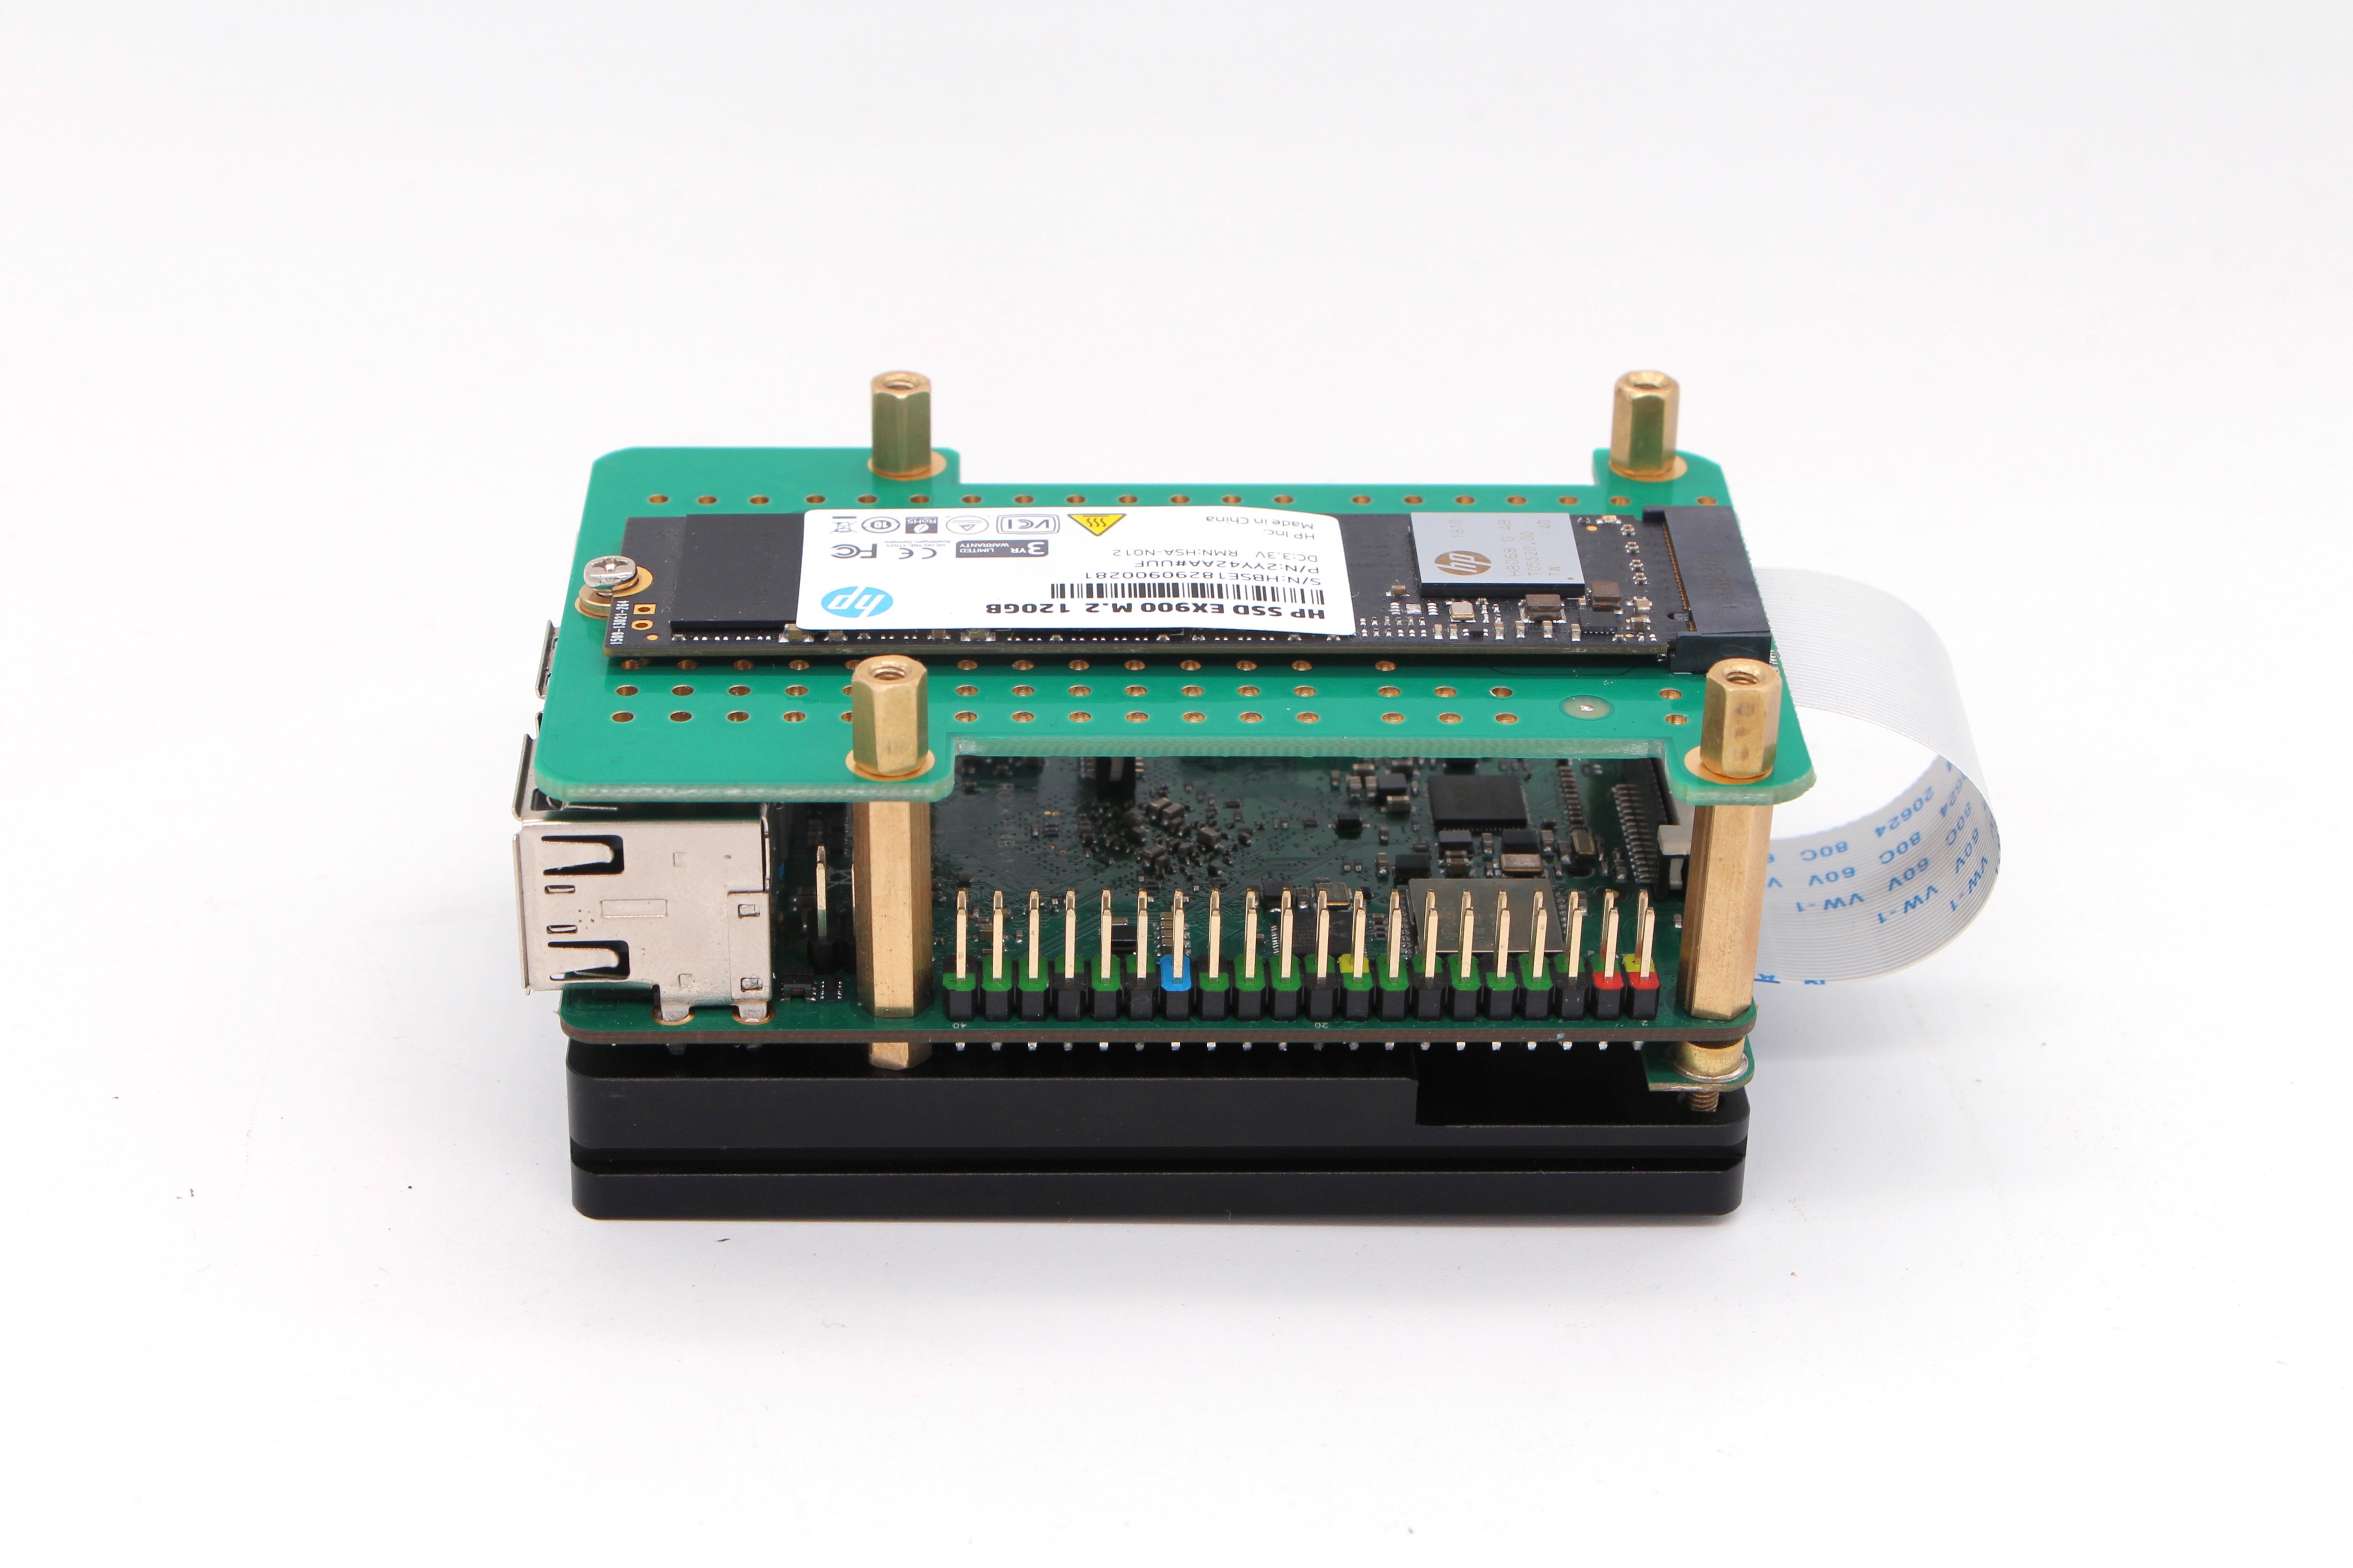
I would like to share how I have mounted the SSD underneath the heatsink, which exposes the uSD slot, GPIO header, and allows for an fan to be mounted inside the top of a layered RPi 3 case. It looks like this configuration might solve some issues that other folks have mentioned, such as FPC cable length, uSD access, cooling, etc.
I think it’s kinda cute, Might call her Purdy Pi, lol.
Hope this is helpful.
Disclaimer: I had to file away clearances for the RTC connector, USB-C connector, and USB3 switch. The lower standoffs could be shorter or the SSD card could be enclosed inside a box, which screws onto the bottom of the heatsink.
1 Like
Your feedback is very helpful to us.
We will update the design based on your feedback.
I particularly like the idea of mounting the M2 Extender on the heatsink, so you can easily get the SD card and both parts, which I would like to know in an air stream, are together. That was also my first thought, but unfortunately I got away from it, because the holes for it don’t have a suitable thread. I have to order a screw tap.
mounting the M.2 extend board under the heatsink

also can mounting the M.2 extend board on the board

being more convenient
also getting smaller
3 Likes
I welcome the evolution of the M.2 extend board. Due to the streamlining, access to the GPIO Connector is improved.
I have the M.2 Extender along with my RockPi and the acrylic case (and small heatsink, I don’t need that monster one). Unfortunately it didn’t come with a very useful set of the brass spacers. I can assemble the case without the M.2 Extender, but with it I just don’t have the right parts. This is unfortunate as I will have to find/buy a spacers kit with the right elements.
The biggest issue I see is the M.2 Extender sliver of a board that mounts to the RockPi. It has two very short spacers built onto it, so I need a pair of spacers that are exactly that much shorter than the pair at the other end of the board – how many mm is that? 4mm maybe?
Also, I don’t see how I can have a spacer above the below the board at that end because the male ended spacers all seem to have a 6mm male screw which just reaches through the board and to the end of the M.2 Extender sliver. Are there longer male screws available so that I can achieve what is pictured above? Does anyone have a link? Are they described using a nomenclature like this:
Thanks in advance for enlightenment!