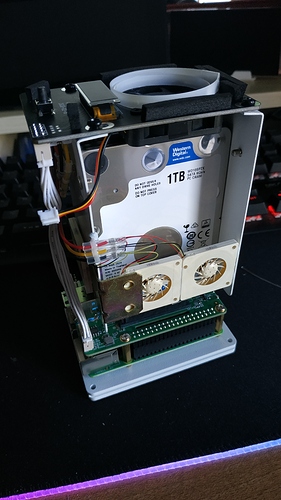
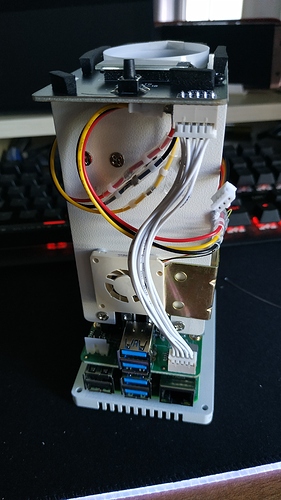
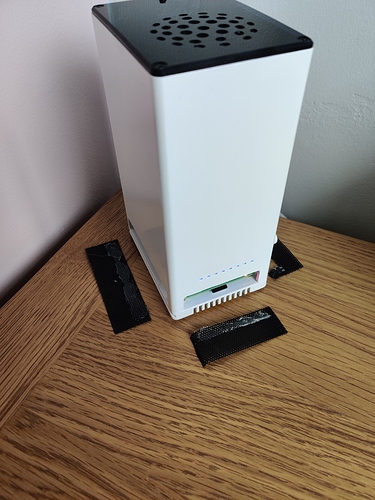
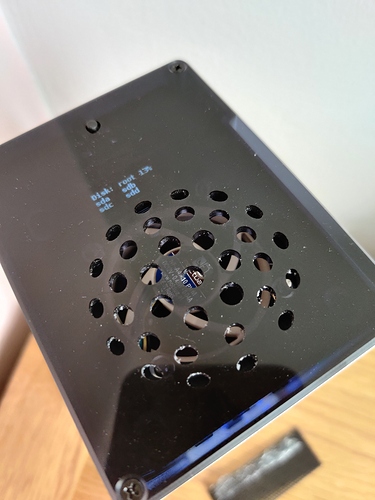
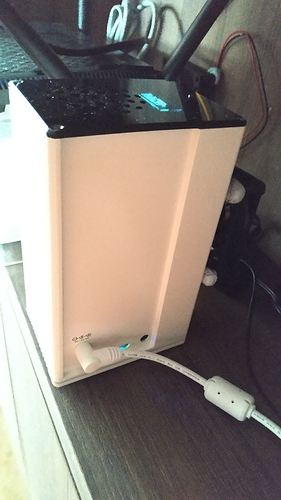
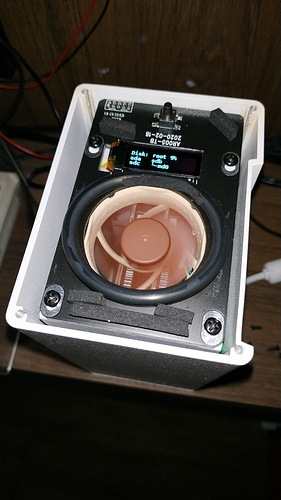
With top fan reversed the problem is the entry air flow : no enought holes to have efficience air flow. I’m really thinking about add some homes on bottom of HAT.
Also searching and option for CPU because air flow in/out is not egal then not efficience.
AirFlow on SATA HAT quad
have you guys considered putting the whole unit on its side? lol… that might help with airflow?
@setq can I check, how many fans can the top hat support? I tried connecting one extra blower fan to the top hat and the original fan was running at a much slower speed…
yes  SATA HAT box have a true airflow issue. It’s Logical : very thin box.
The PWM frequency of the fan is 25khz, if the frequency is wrong, it may not work.
How many fans can I Daisy chain together? I tried adding a second fan, and the original stock fan was running at 5% power only… it’s like there isn’t enough current to power more than one fan…
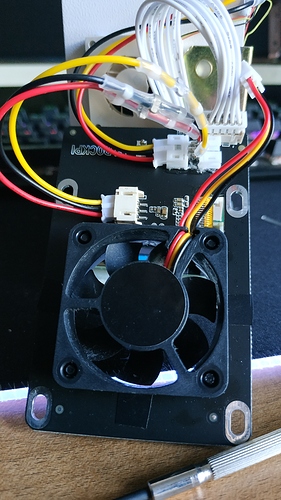
Edit: this is how i tried to wire up the additional fans…
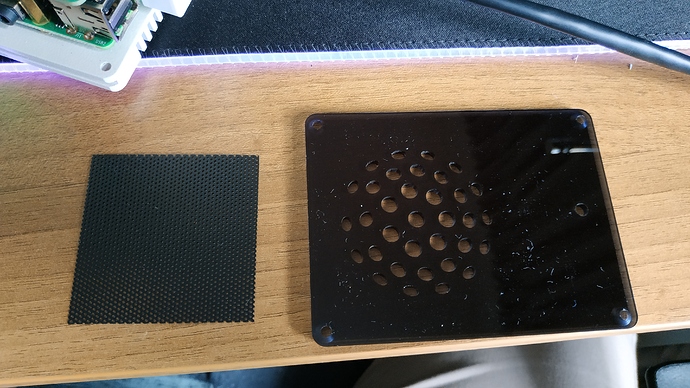
Bonus: added a dust filter to the top cover for dust mitigation…
I’m sorry for my misunderstanding. How many fans can be supported probably depends on the amount of power left.
I only have 3 drives in the system, so i should have more than enough power… but it doesnt seem to be the case, because adding even one more fan causes the original 40mm fan to spin slowly… the new blower micro fans are not affected though and spins as intended…
this is the spec sheet for the blower fans that i added…
http://portal.sunon.com.tw/pls/portal/sunonap.sunon_html_d_pkg.open_file?input_file_name=7264646F632F3230313430312F3137373435312F5F443033303138313931462D30305F2D392E706466
I’m a little busy today. I’ll test it for you tomorrow. Connect multiple fans.
Sorry, just a theory… using gpio.hardware_PWM(12, 25000, dc * 10000) means there is the assumption that the fan frequency has to be 25khz right?
what if we used set_PWM_dutycycle(12, dc * 10) instead and define set_PWM_range(12, 1000) where the range will be set to 25-1000… we could avoid the whole fan frequency complication?
just a thought and theory only… waiting for my noctua fans to arrive before doing anything further on the nas…
Hello.
I have the same problem. I noticed that the temperatures have worsened after installing the Noctua fan. Around 5 - 10ºC more than with the original fan.
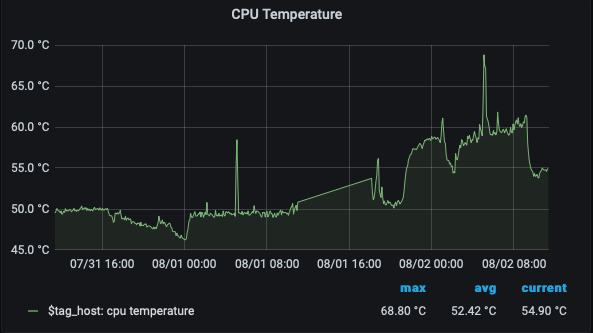
I haven’t been able to install the latest update yet. Have you noticed any improvements after it was installed?
The Noctua fan makes less noise than the original, but I am doubtful that at 100% revolutions it has the same airflow as the original fan, I would say the airflow is less, or that feeling I have.
Has anyone noticed the same thing?
Regards
Here’s what i discovered…
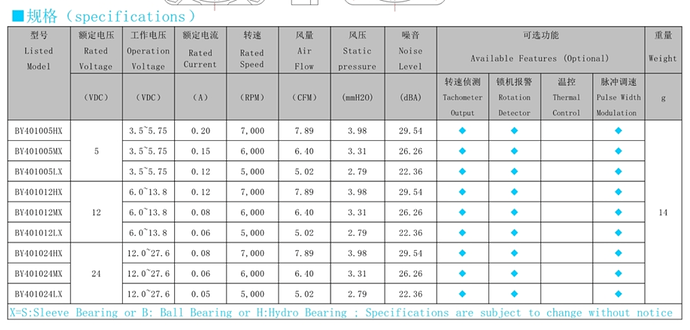
- The fans provided by radxa comes from the xinboyang factory (BY401005MX with PWM option) with the specs listed at the bottom.
- The XBY fan has max 6,000 rpm speed, 6.4CFM rated wind speed and 3.31mmH2O static pressure.
- Noctua fans by comparison, has 5,000 rpm rated speed, 5.24CFM wind speed and 1.95mmH2O static pressure…
On paper, Noctua fans loses to XBY fan due to lower wind speed and static pressure. However, its noise level is much lower at 19.6dbA vs 26.26dbA. Plus, we do not know what is the lifespan of the XBY fan, but Noctua is rated for 150,000h of operations (17 years non stop use) and 6 years warranty. Noctua fans also have a lower operating current at 0.07A vs XBY 0.15A, which leaves a little headroom for another small fan.
The way i arranged my fans is for the top hat to suck in fresh cool air to cool down the hdd. i left the cpu fan alone. i have also jerry-rig installed a micro blower fan (Sunon micro blower) to force air directly through the slot hole in the SATA PCB next to the connector to cool the CPU.
XBY fan spec:
Noctua fan spec:
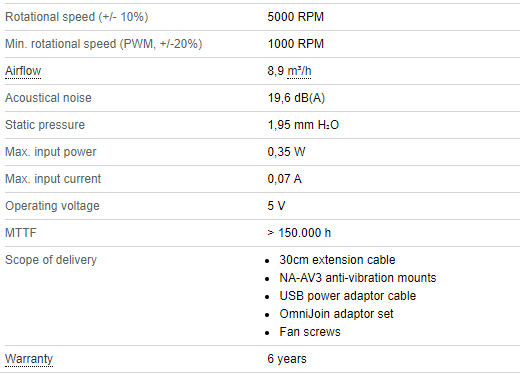
The Noctua fans need a PWN signal between 21kHz to 28kHz, so the default 25kHz can be left as is. This is only the switching frequency of the PWN signal, it has nothing to do with the rotational speed of the fan.
See below the required PWM signal from the Noctua published white paper:
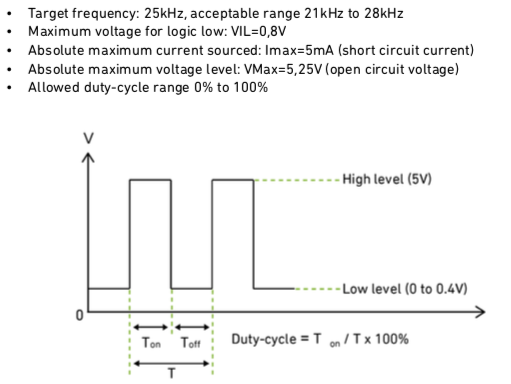
I’m actually not sure if the sata board has a voltage regulator to pull the 3.3V up to 5V though… i do not have a voltmeter to test out… plus i’m pretty sure the XBY fans supplied are also 5V pwm signal fans…
You’re right, there is no pullup to 5V, the PWM signal runs 0-3.3V. The 3.3V high signals from the Pi are high enough for the Noctua fans to see the PWM signal correctly. The fan gets 5V from the power so there was no reason it wouldn’t be able to run full speed.
The reason my fan was not running full speed was actually because of issues with the software PWM I was using. I have switched to hardware PWM and now have the Noctua fan spinning at full speed.
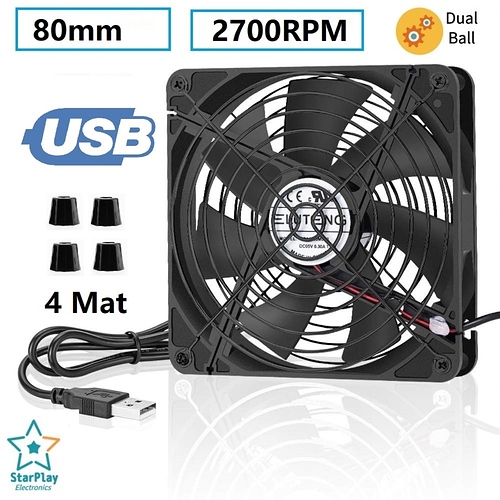
For those talking about heat, i found the most effective way to shave off a few deg from the setup… buy a cheap 80mm usb fan and use blue tack to attach it to the chasis, such that the air is blowing right on the chasis… something like the one below… This is because the whole metal chasis is acting like a giant heat sink, so to help dissipate heat, the best way would just be taking advantage of this…
Hi All,
Thought I’d share my experience on this subject. Firstly, got my kit recently (love it) but the fans were constant and just loud enough to get weird looks from my wife every now and again (I have it on the TV cabinet in the living room) so I set about making it cooler and quieter.
I will also clearly state my unit is not doing a great deal currently, pihole, openmediavault, docker, portainer, cockpit, DDNS and VPN. My 4x SSDs are in Raid5 and it’s all setup for my future projects when I get time. The main thing is if it doesn’t annoy anyone, it WILL actually still be there when I go to use it.
Tried inverting all fans, intake versus exhaust, this dropped a few degrees but only delayed the inevitable ramp up as the airflow was still struggled.
Tried the A4x10 PWM Noctua fan and it was quieter but as commented the air obviously wasn’t moving as efficiently and CPU temp was rising quicker.
So I kind of bit the bullet here and decided all or nothing. I then used a Dremel to remove the excess metal casing around the PI 4. This not only meant I could add a passive XL heatsink to the pi, but the Noctua fan (now an exhaust again), rarely climbs above lvl0 or 1 so my drives are kept in high 30s and low 40s. My CPU is high 40s, creeping to low 50s on sustained light use (I modded the config file to start ramping heavily from 50-65).
This actually works quite well for me it seems. Early days but thought I’d share. I’ve also made some grills but I need to glue them better so they don’t get caught by the board.
I’ve observed the same. After flipping fans and replacing the top one (Noctua) my bottom fan began making lots of noise. I believe it is bad and probably has been, as no changes I’ve made have had much of an impact…until I removed the fan completely. Even with the stock heat sink I’ve noted a significant reduction in temps.
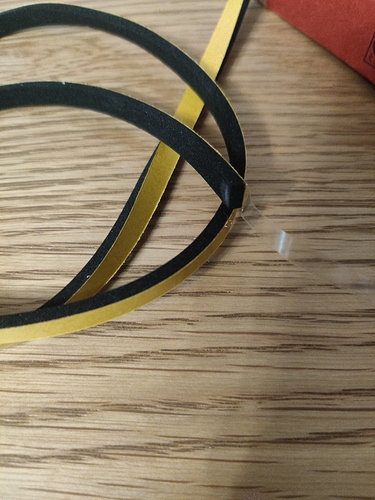
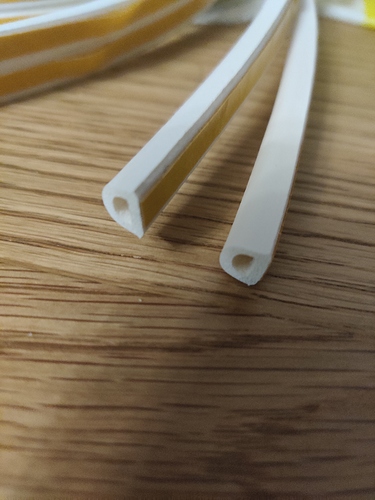
I also believe a big help was filling the gaps around the edges of top board. I put some rubber window seal over those gaps. I think, now, air is forced though the case and out rather than air being pulled in from those gaps and just circulated by the top fan. I had also drilled the holes in the bottom plate to a larger size so, maybe, that has helped air flow.
I may try the dremel to make a gap around the bottom. Your openings look clean and straight, nice work! I may also try a larger heat sink. I was going to try to replace that fan but at this point, probably not!
Thanks for the feedback and I’m intrigued by the top board sealent… Are you referring to the Quad hat SATA or the actual Fan/LED/Button board? If you mean the Fan/LED/Button board, then I’m assuming a better seal around the circular vent on top might also achieve this?
Hmmm, I may need to try that. Everything is silent now, but I guess there’s no harm in improving efficiency. I think I have some rubber stick on door seal.
After doing a lot of experimentation (other than drilling holes in the exterior shell), i finally found the most effective way to keep temps down, but this method is not quiet unless you invest in a good quality noctua fan… I tried adding micro blower fans internally to blow into the pi, it doesnt help… I did reverse the fans (ie, the top fan sucking air into the unit, and the bottom fan is blowing on the heat sink), and it helped a little with the temps… staying in the tropics, heat is really a big problem…
Basically i theorised that the shell is acting as a huge heat sink since its “connected” to the pi via metal standoffs as opposed to plastic ones… when you first turn on the NAS, you will notice that the base heats up first, then the heat slowly spreads upwards to the body and achieves equilibrium in about 10min or so… so, like any heat sink, you need to add a fan to the body to remove heat from it…
These are the stats before adding a fan to the shell and after adding to the shell (disks are spinning in both cases):
Without external case fan (average disk temps recorded at 47-49 °C)
Time | 19:00:01
Uptime | 16h 47m
Temps | 57.0 °C
CPU | 1500 mhz 1.03%
With external case fan (average disk temps at 42-43°C while streaming a show via emby)
Time | 18:00:01
Uptime | 1w 2d16h
Temps | 45.0°C / 45.3°C
CPU | 1000 mhz 0.31%
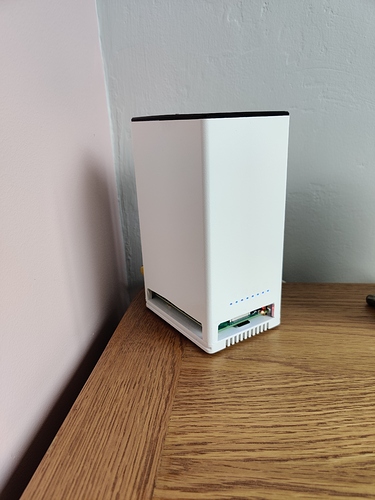
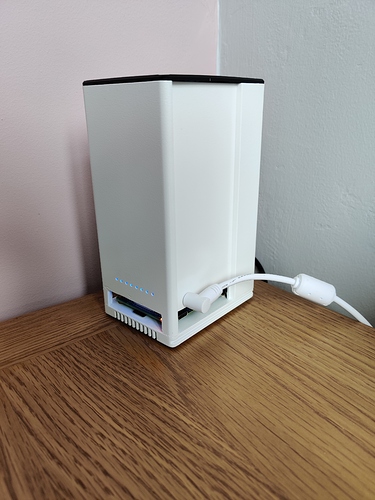
This is how i hacked the thing together with bluetack, didnt have time to make it neat and tidy (fan is at the back with blobs of tack)… I also added a 5mm diameter O-ring to the top fan so that it doesnt draw re-circulated hot air…
