Use ROCK 5 as NAS?

So yeah if front side had fan brackets and the top was straight with a lid I would still leave the back open for the cables.

You can get left/right type cables that don’t need that much clearance as example


That with the Rock5b Orientated that way the data cables just go out the back and there is enough room also for the fan controller and 5v Buck.

I wish Radxa did a cutout for the I/O like you get with Mobo’s for ATX cases and maybe do a riser cable for the rear I/O and stop having onboard switches and just simple jumpers :slight_smile:

Think I have the basis to knock up a cad/cam template when I get round to it.

Hello community!

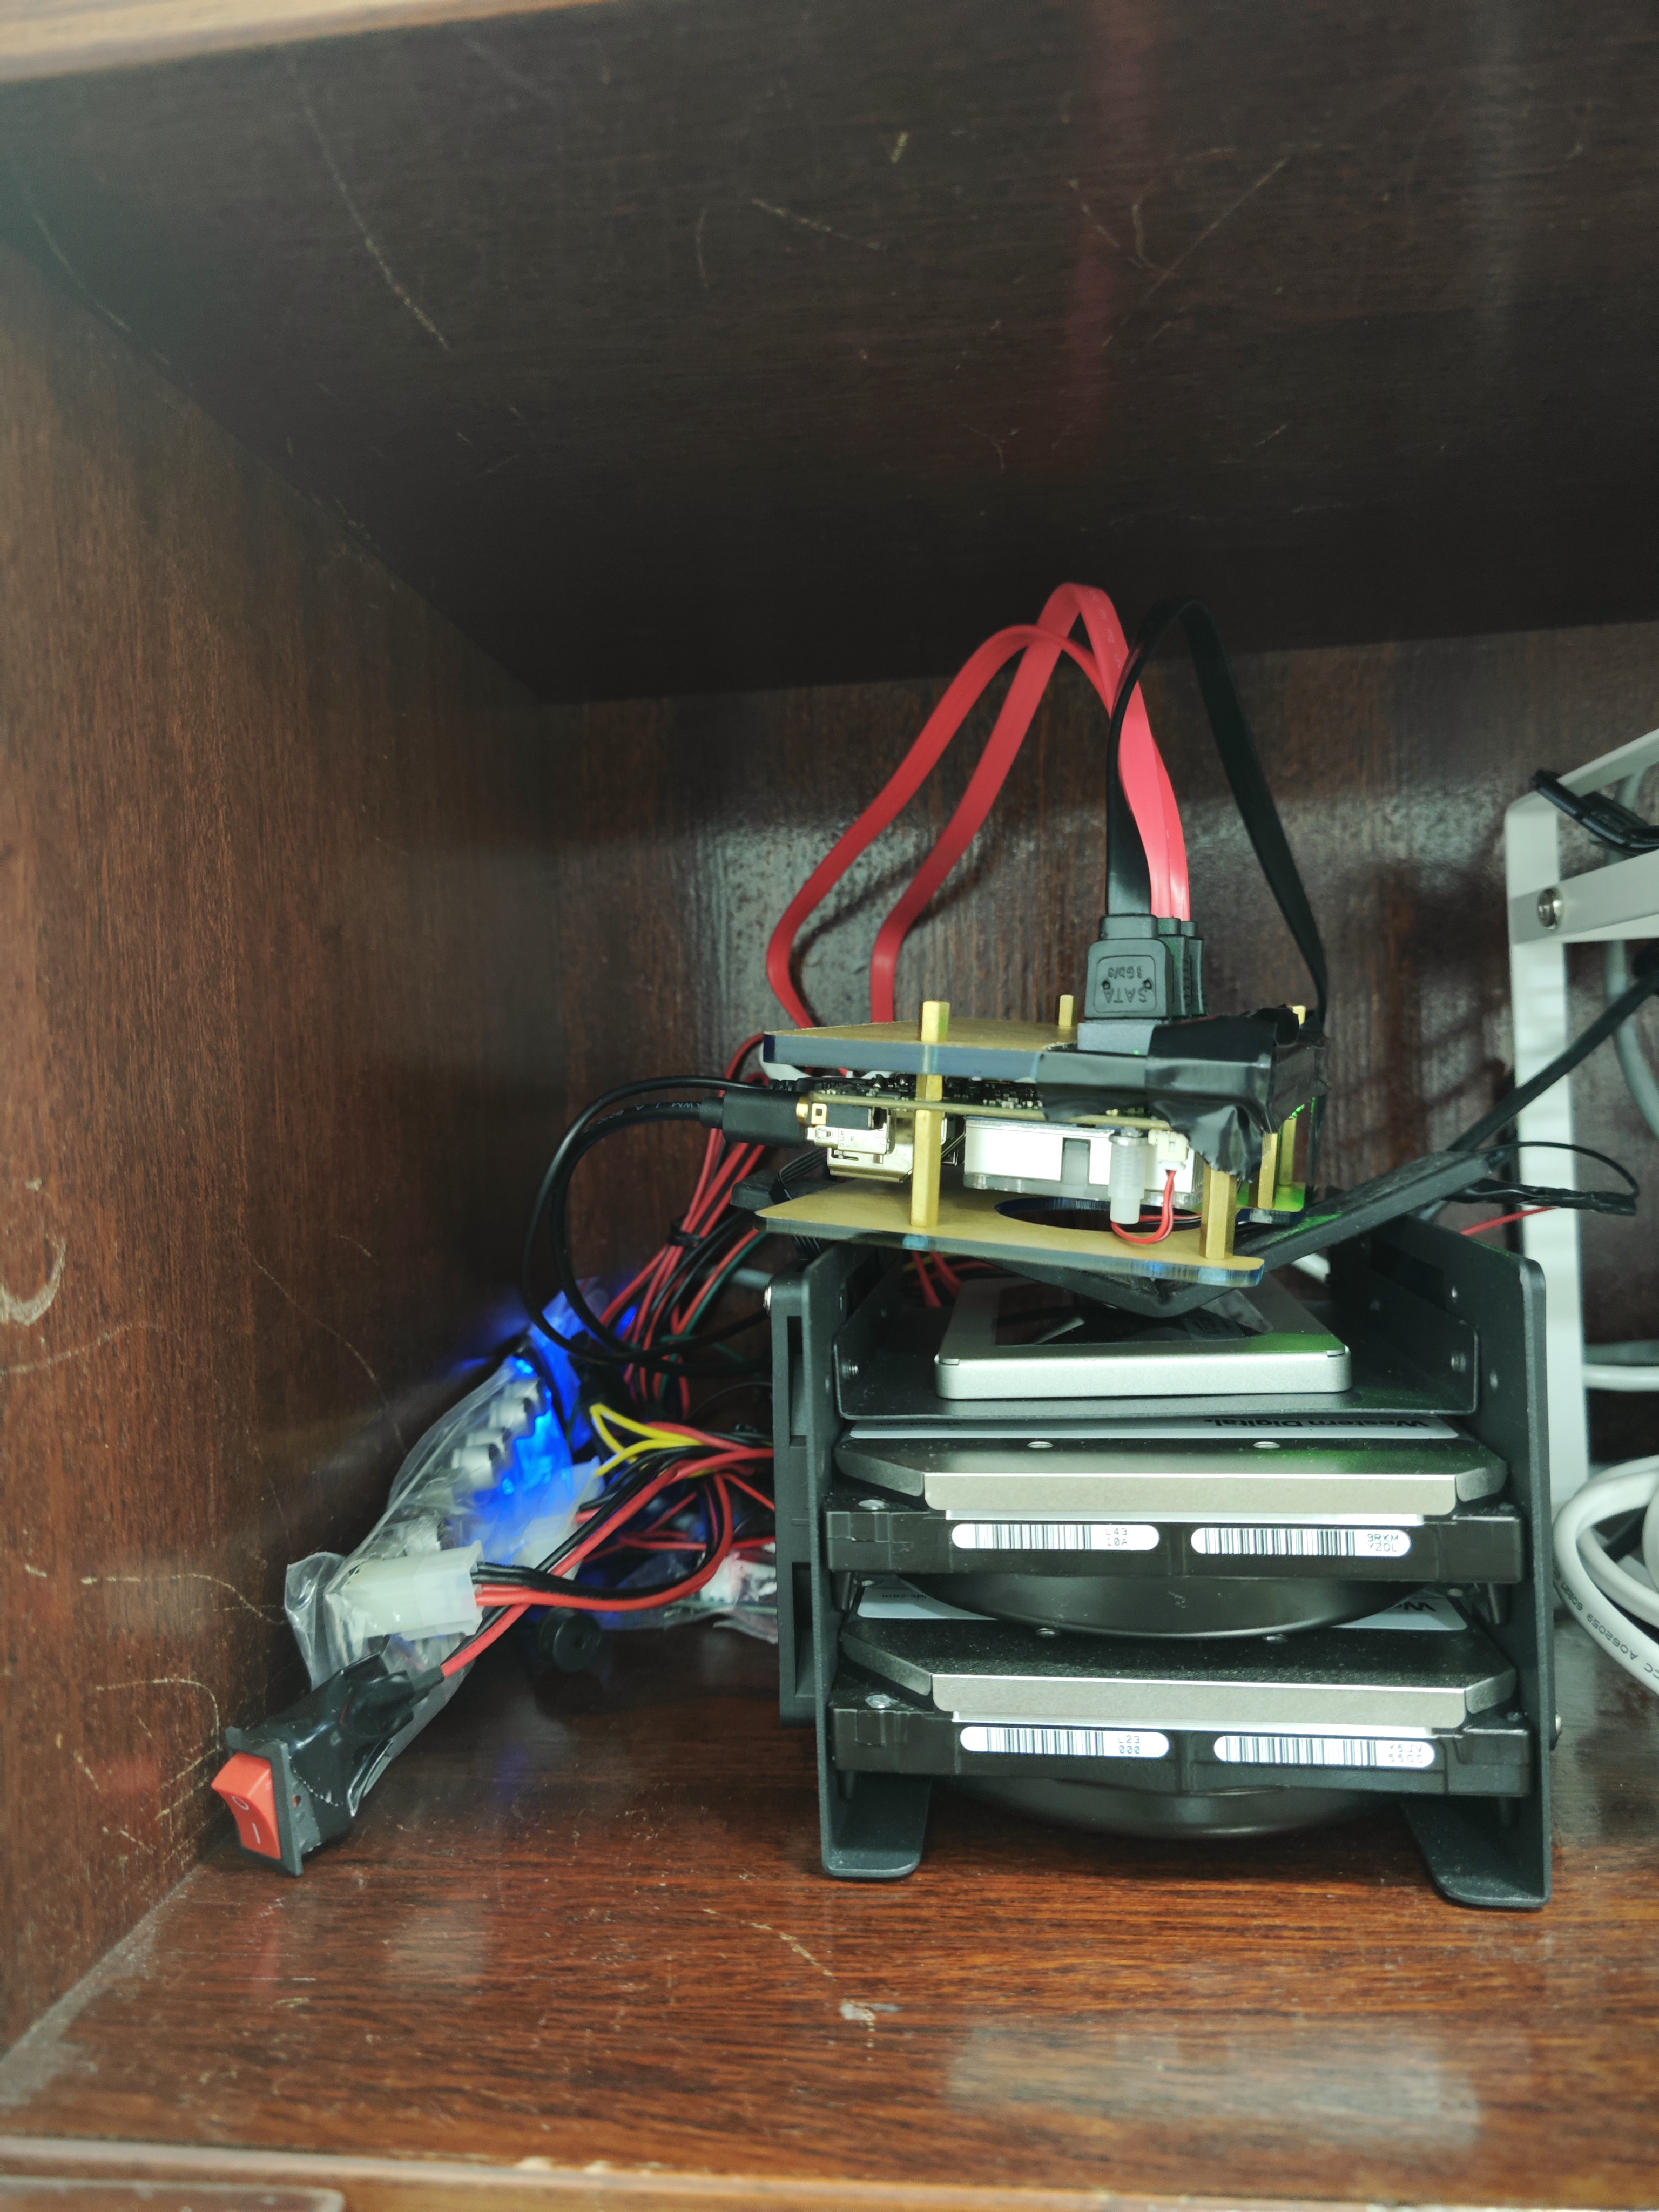
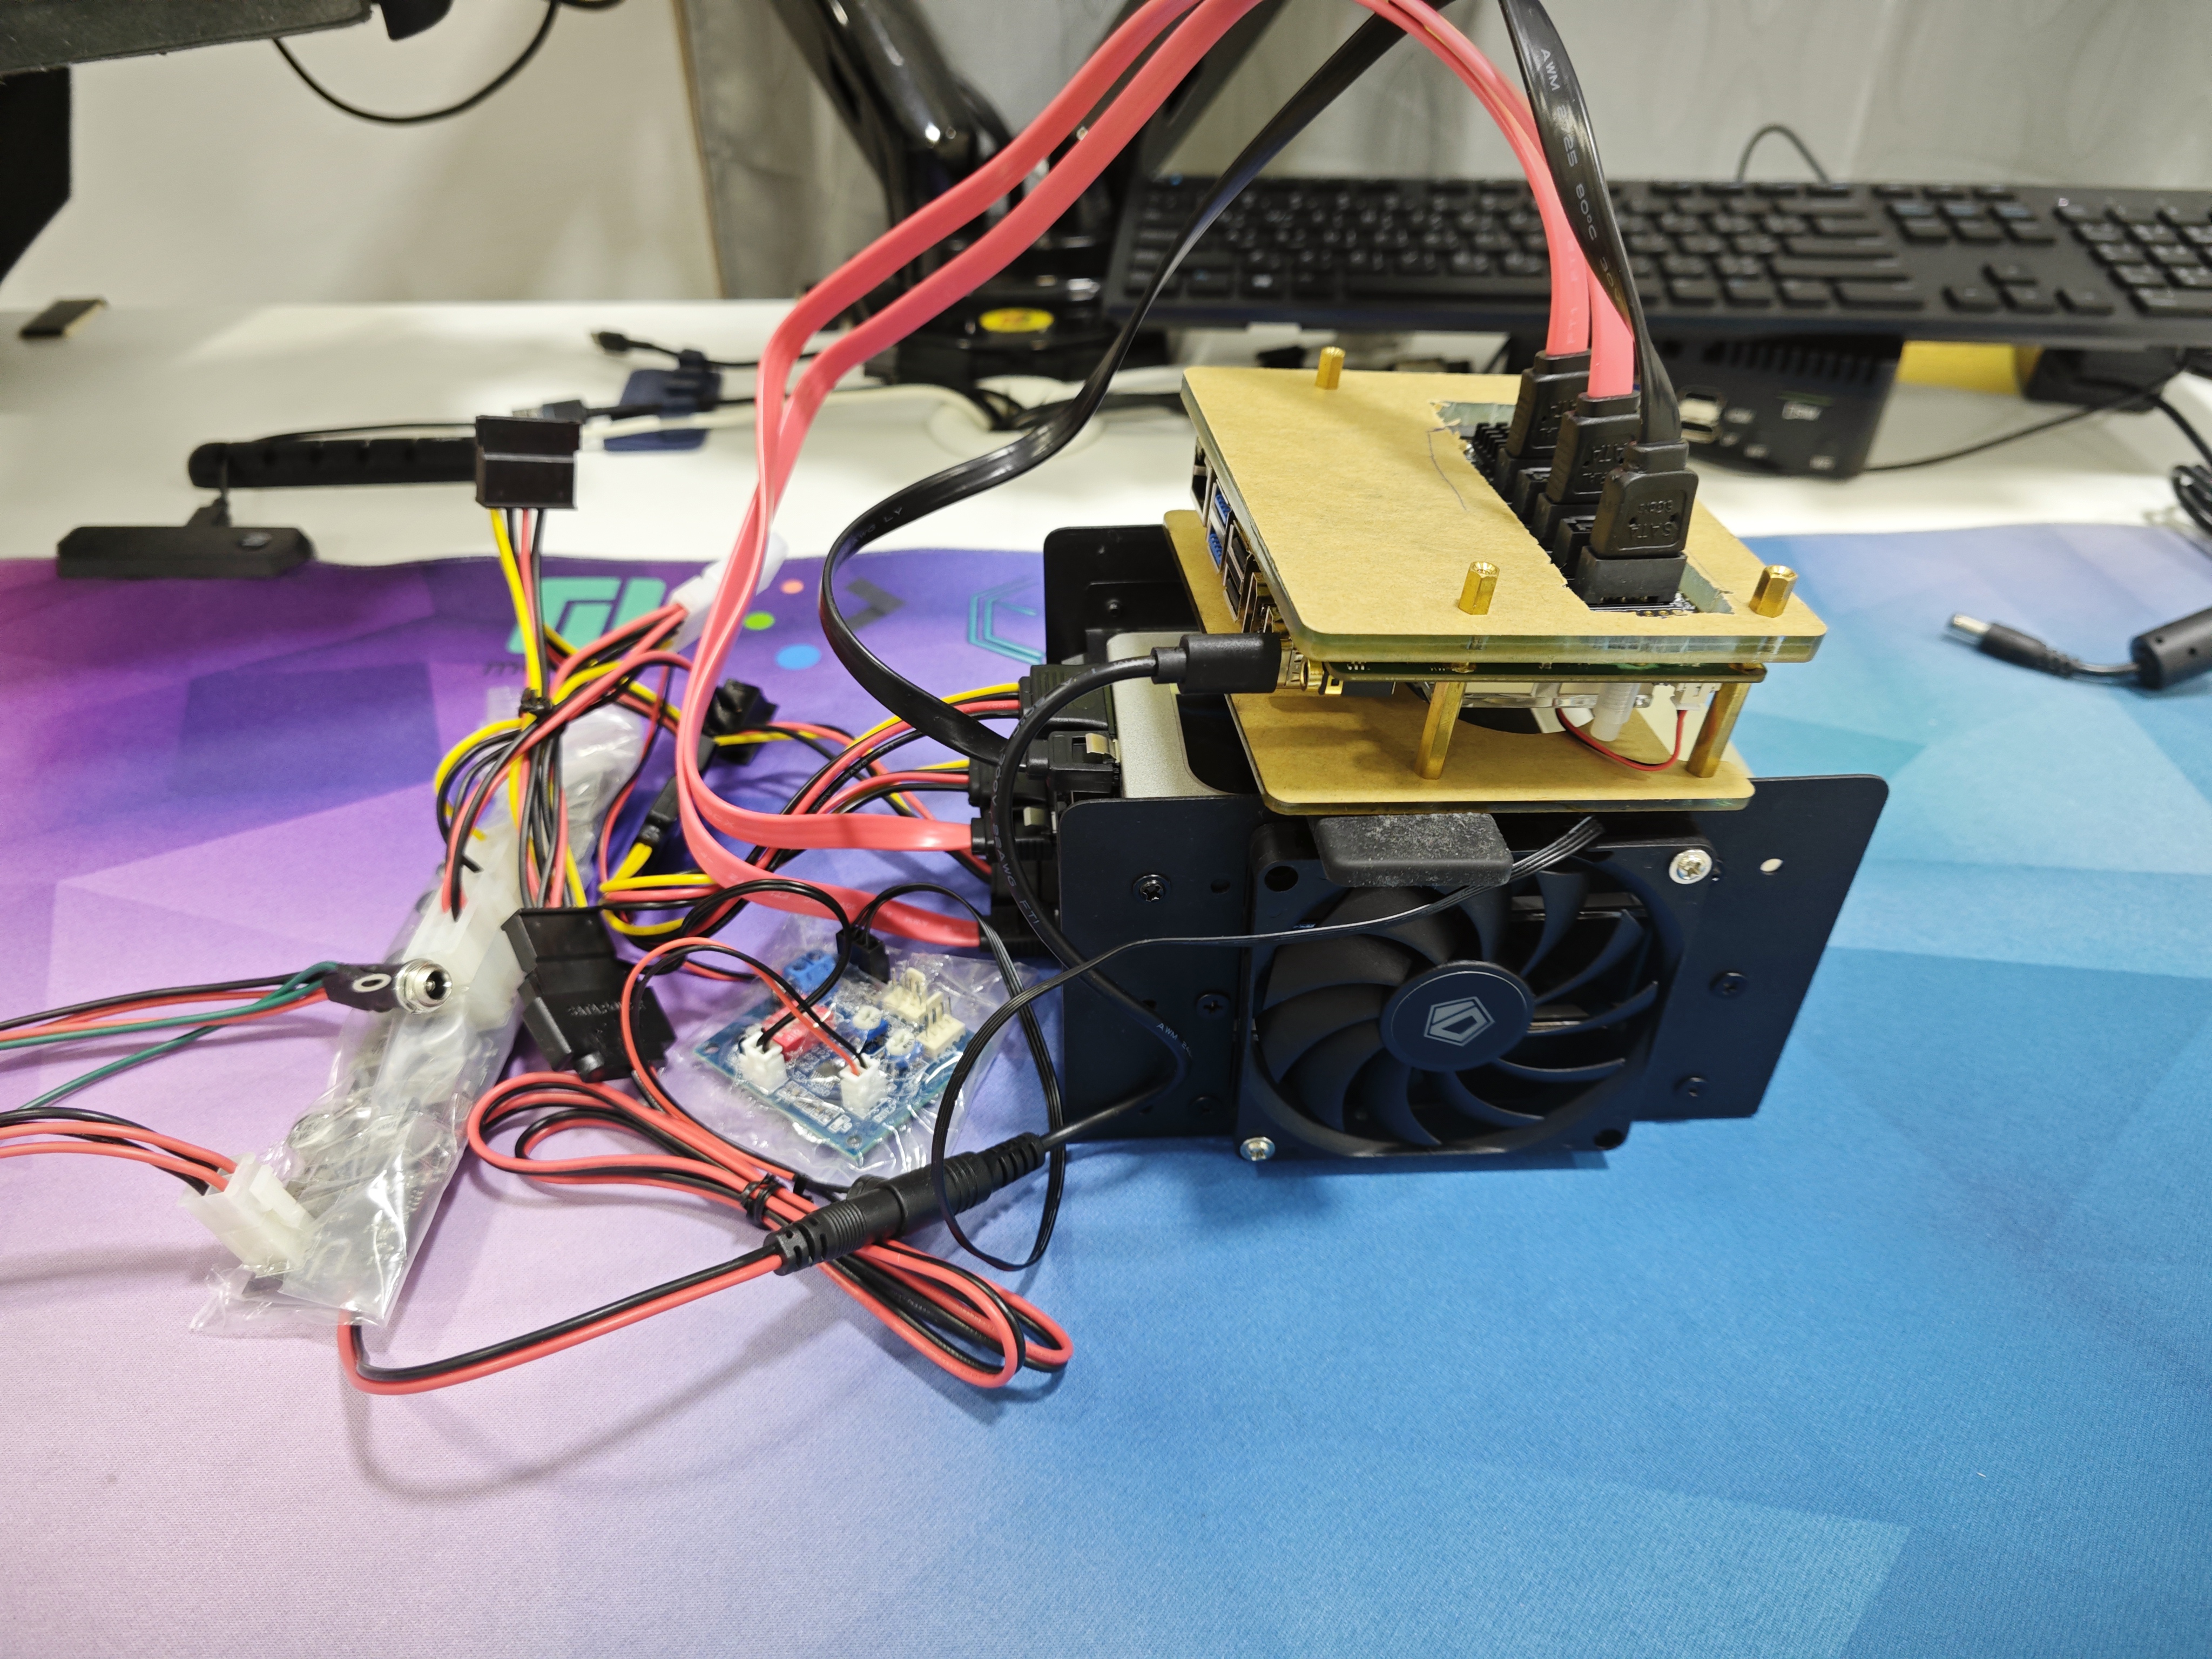
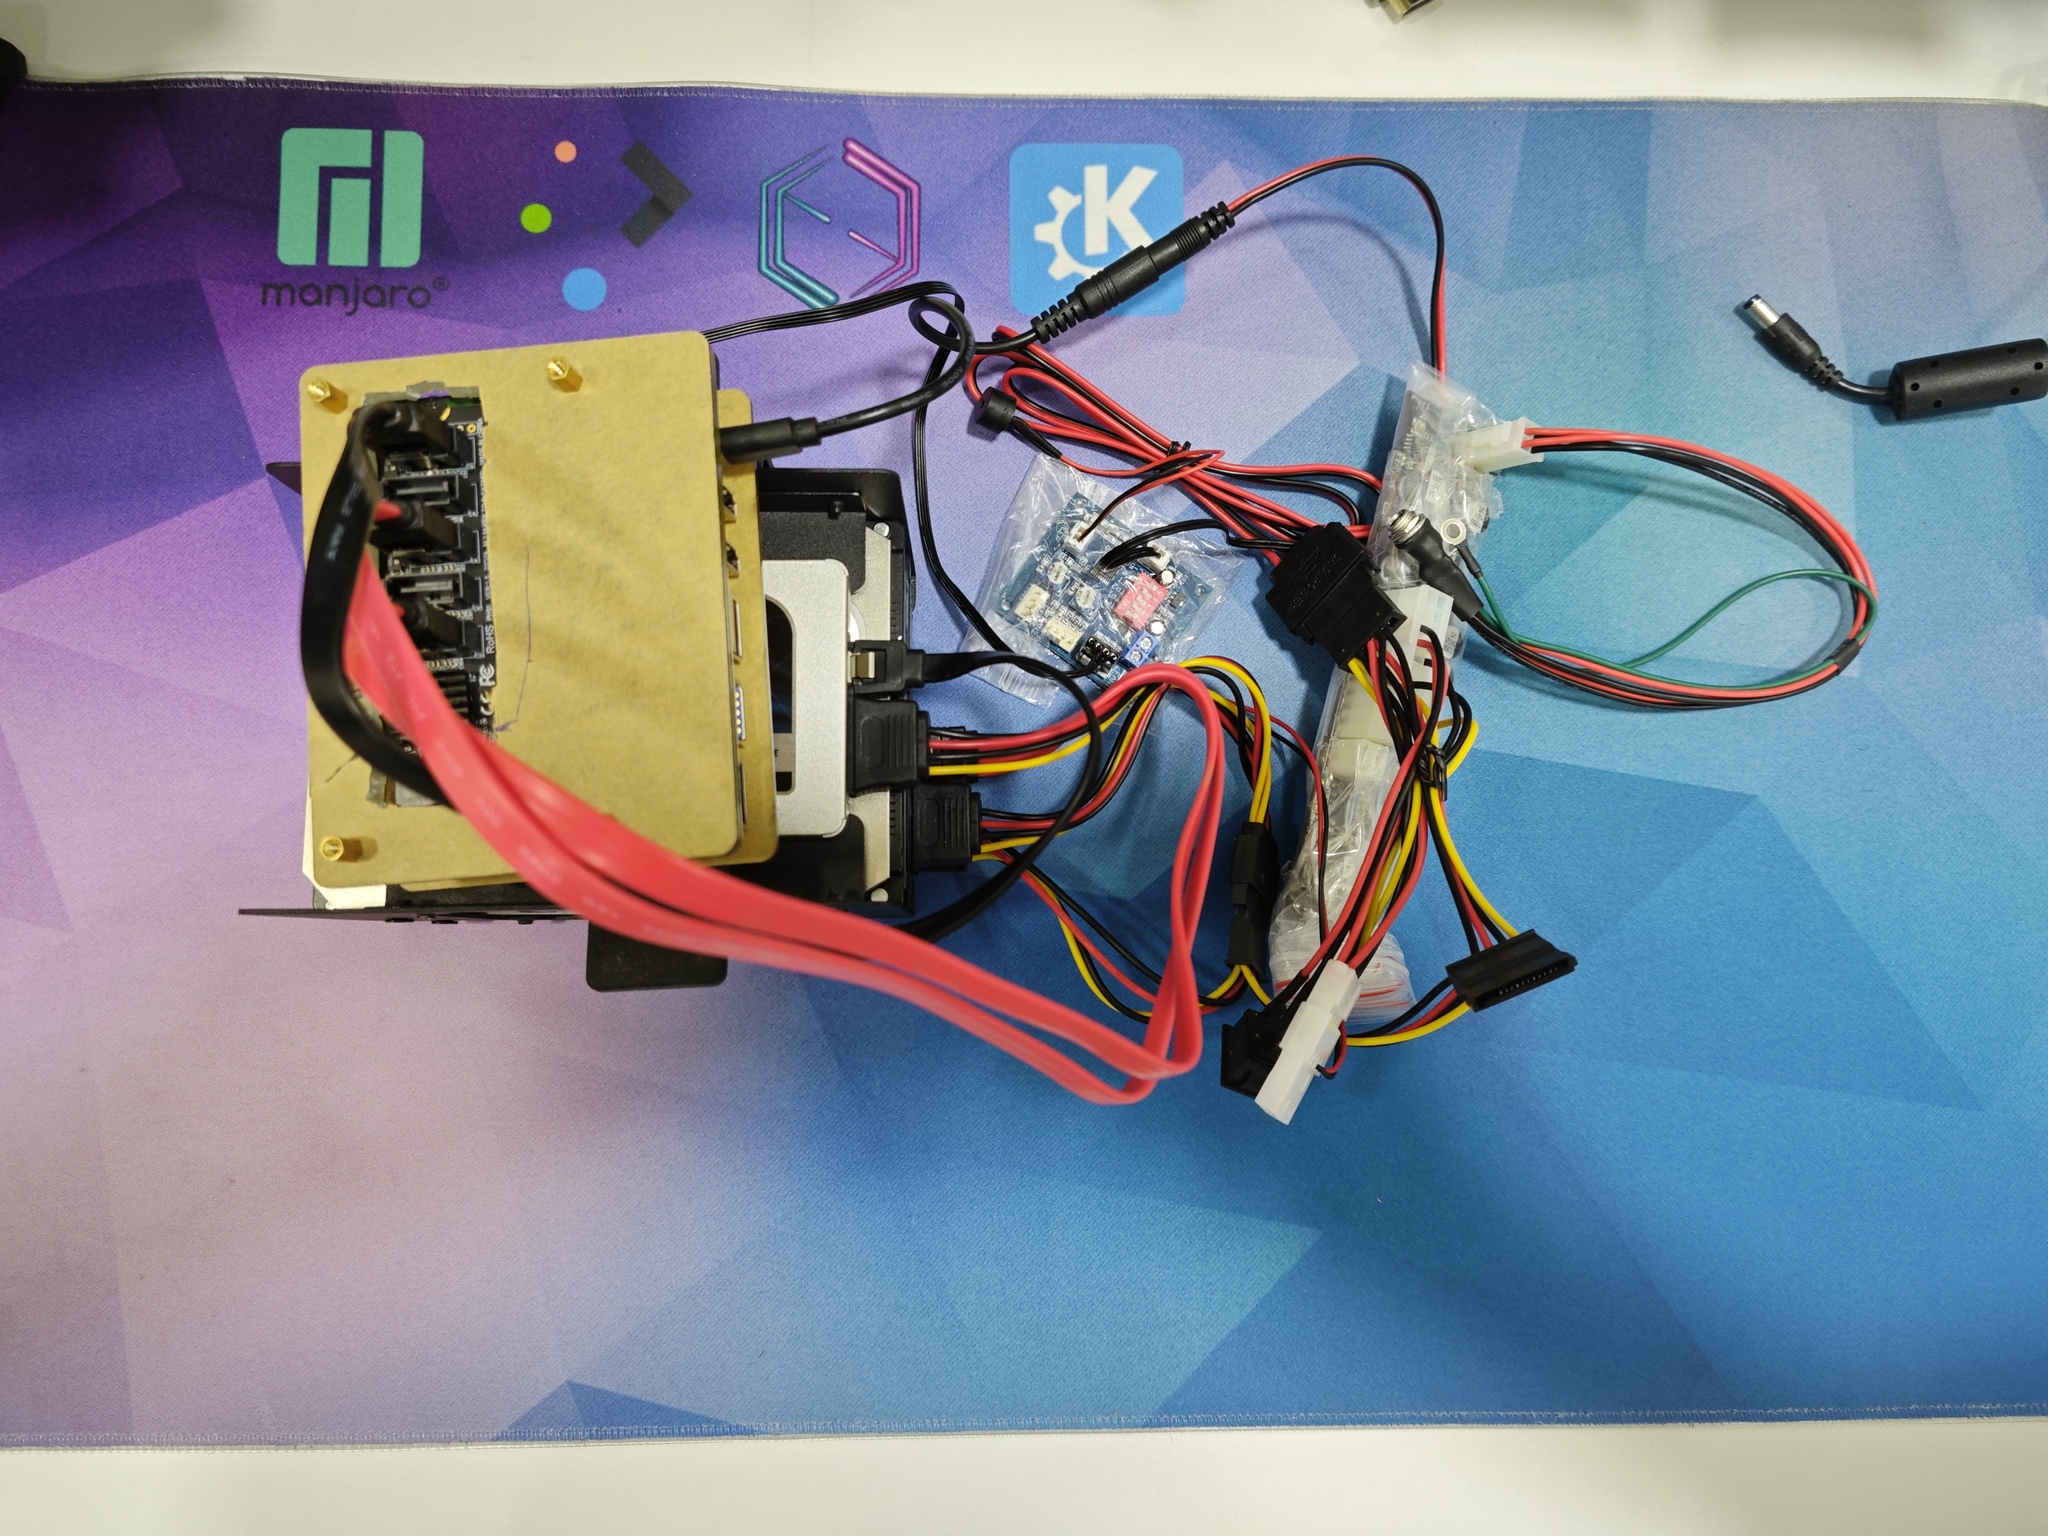
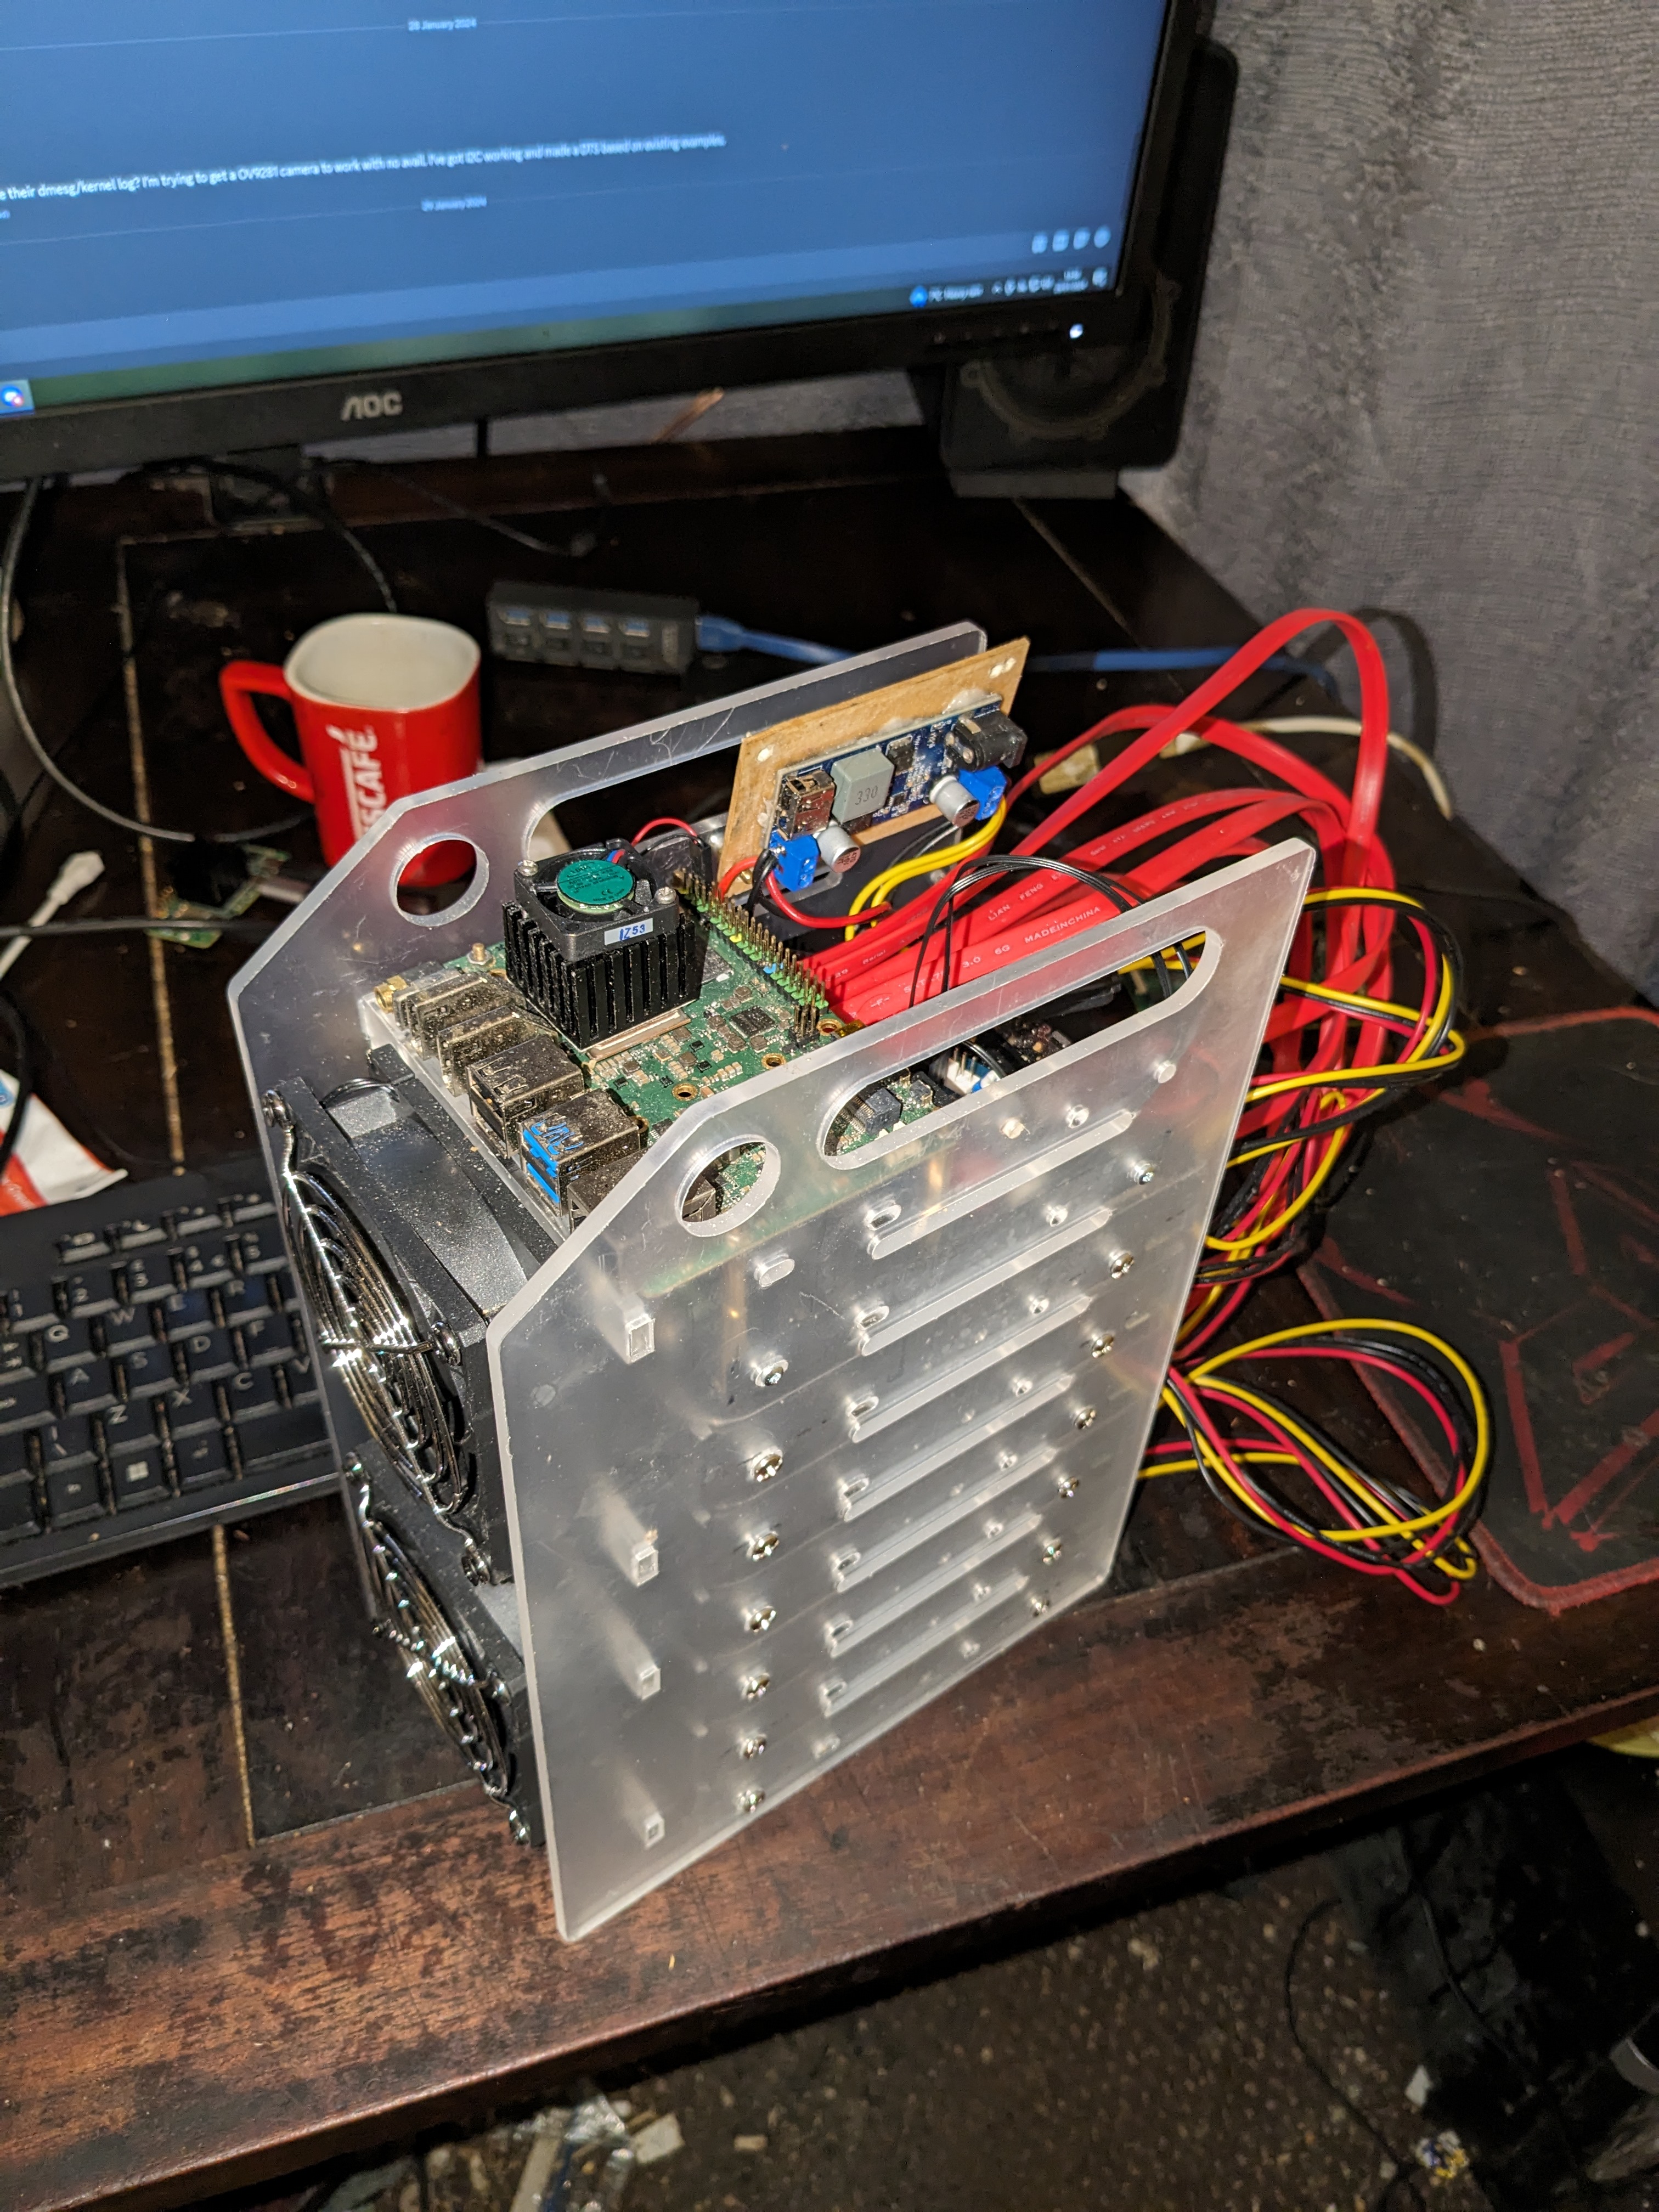
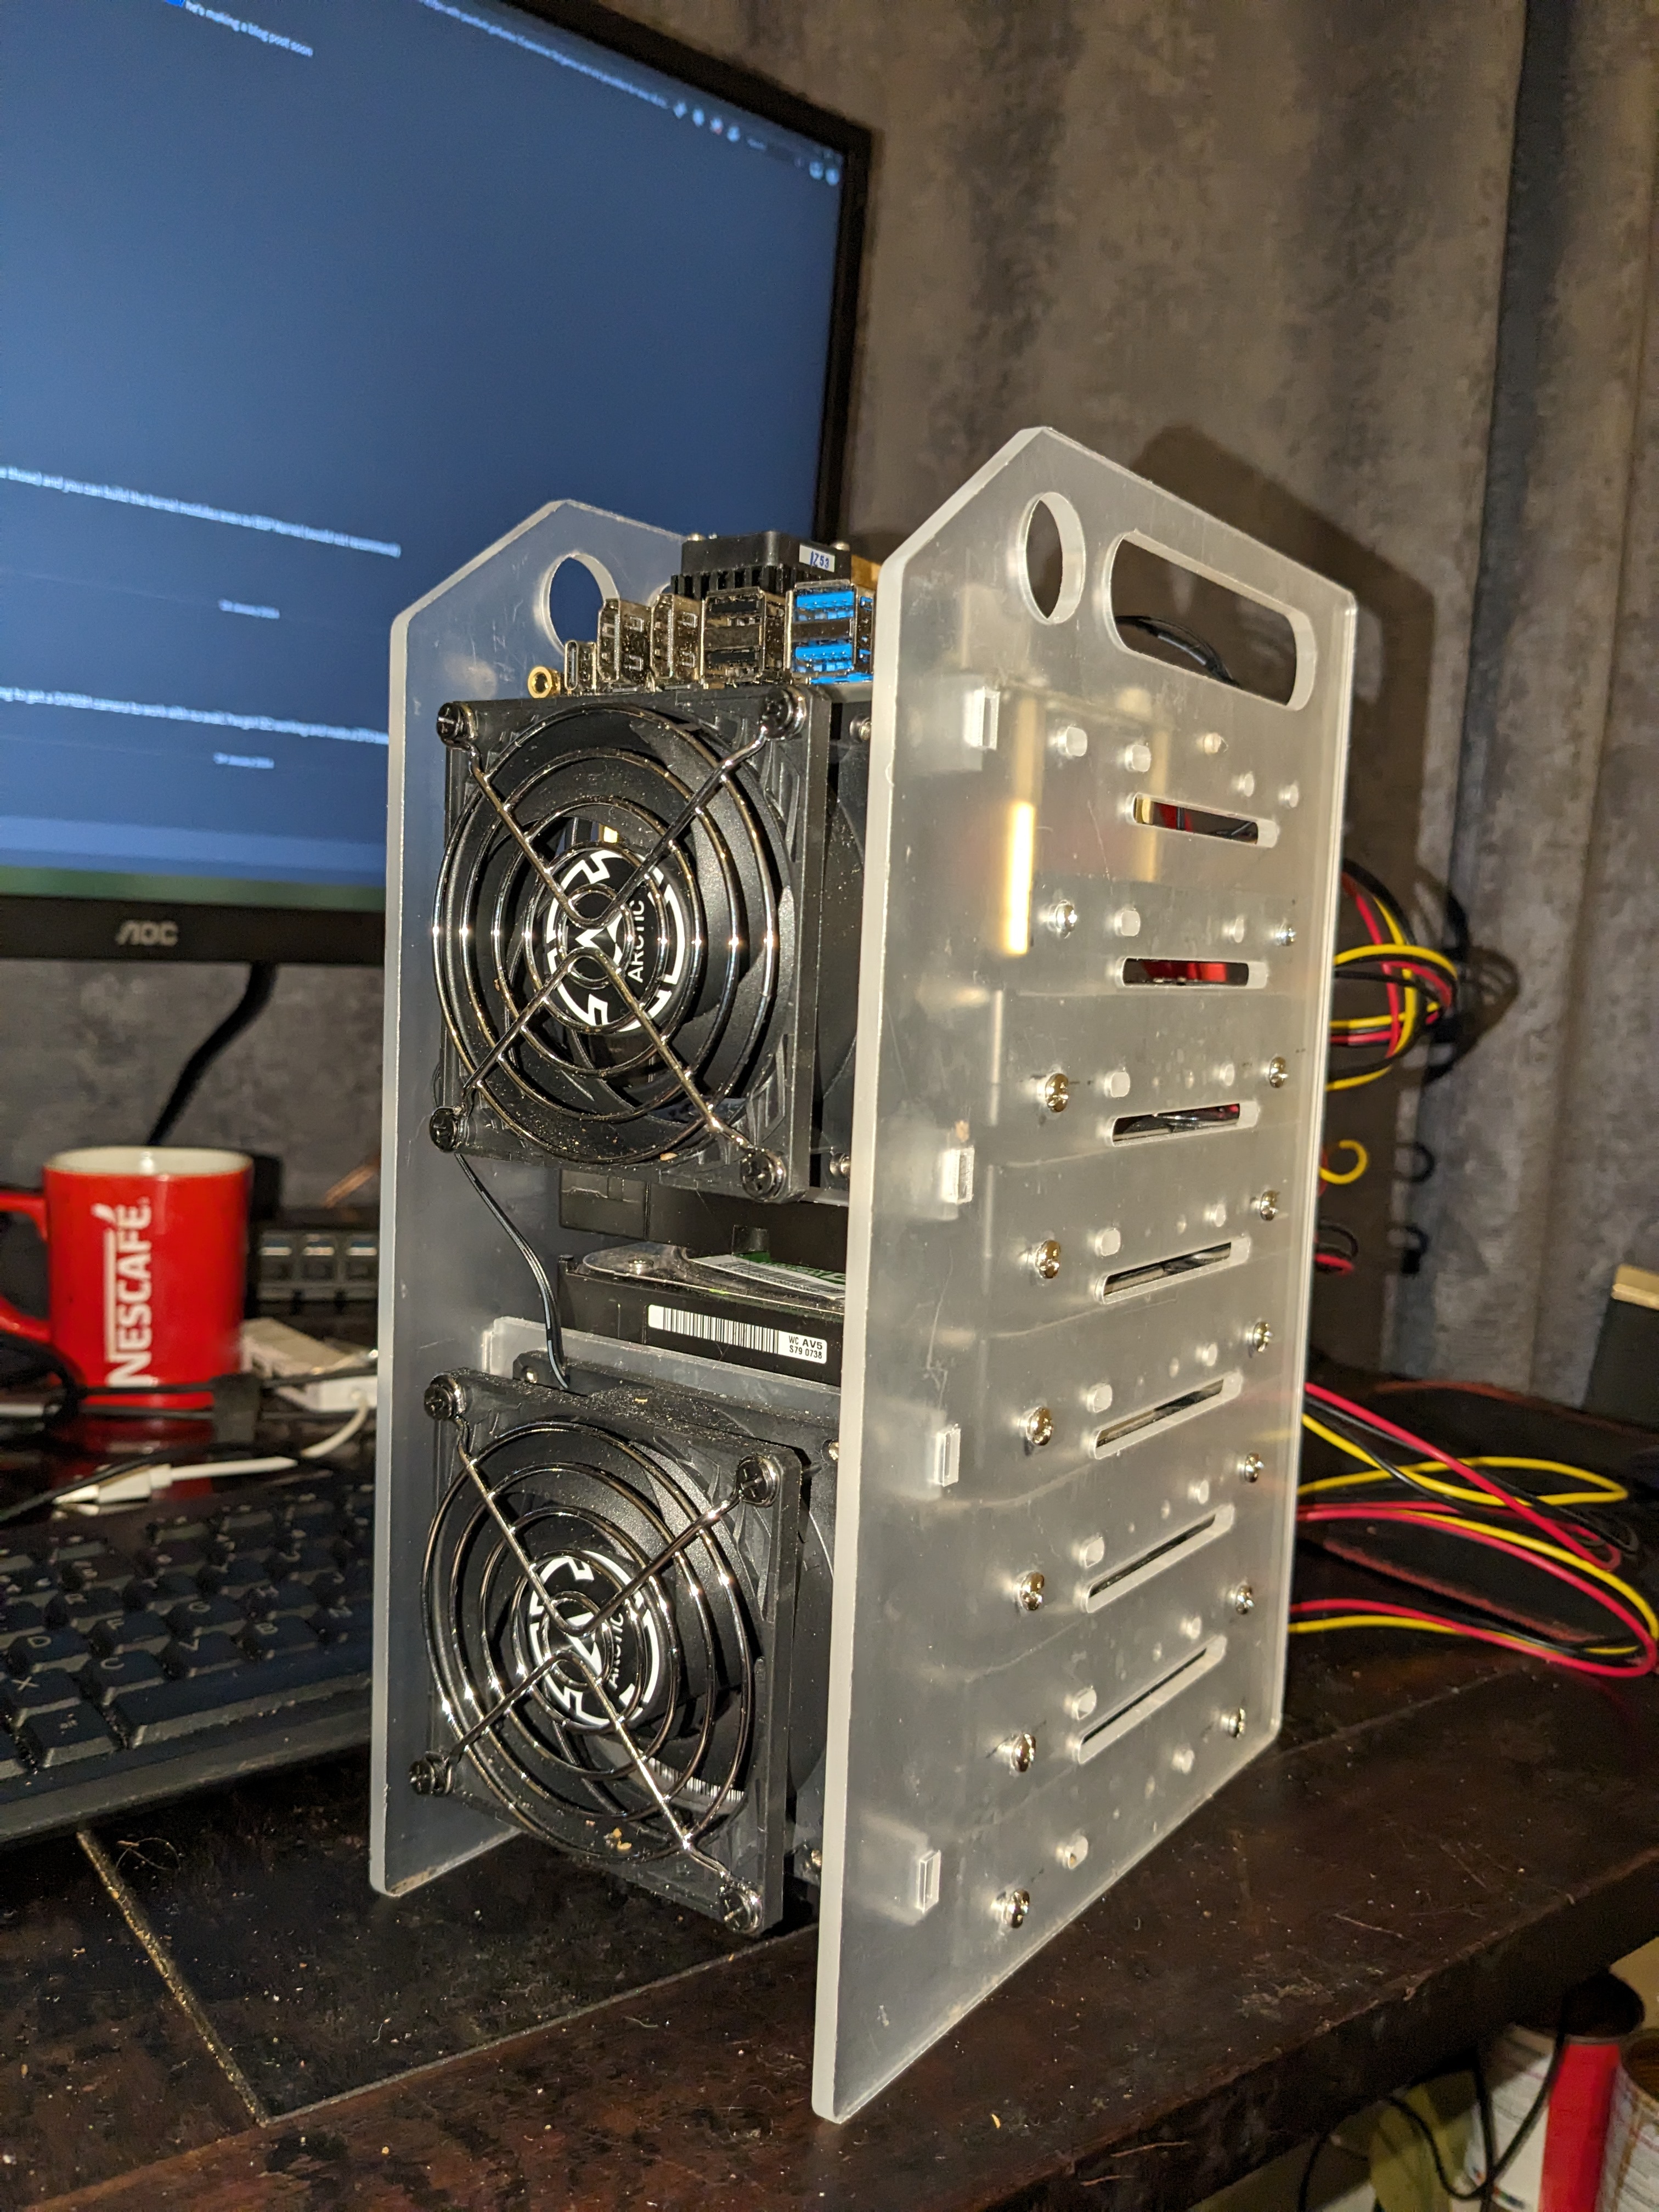
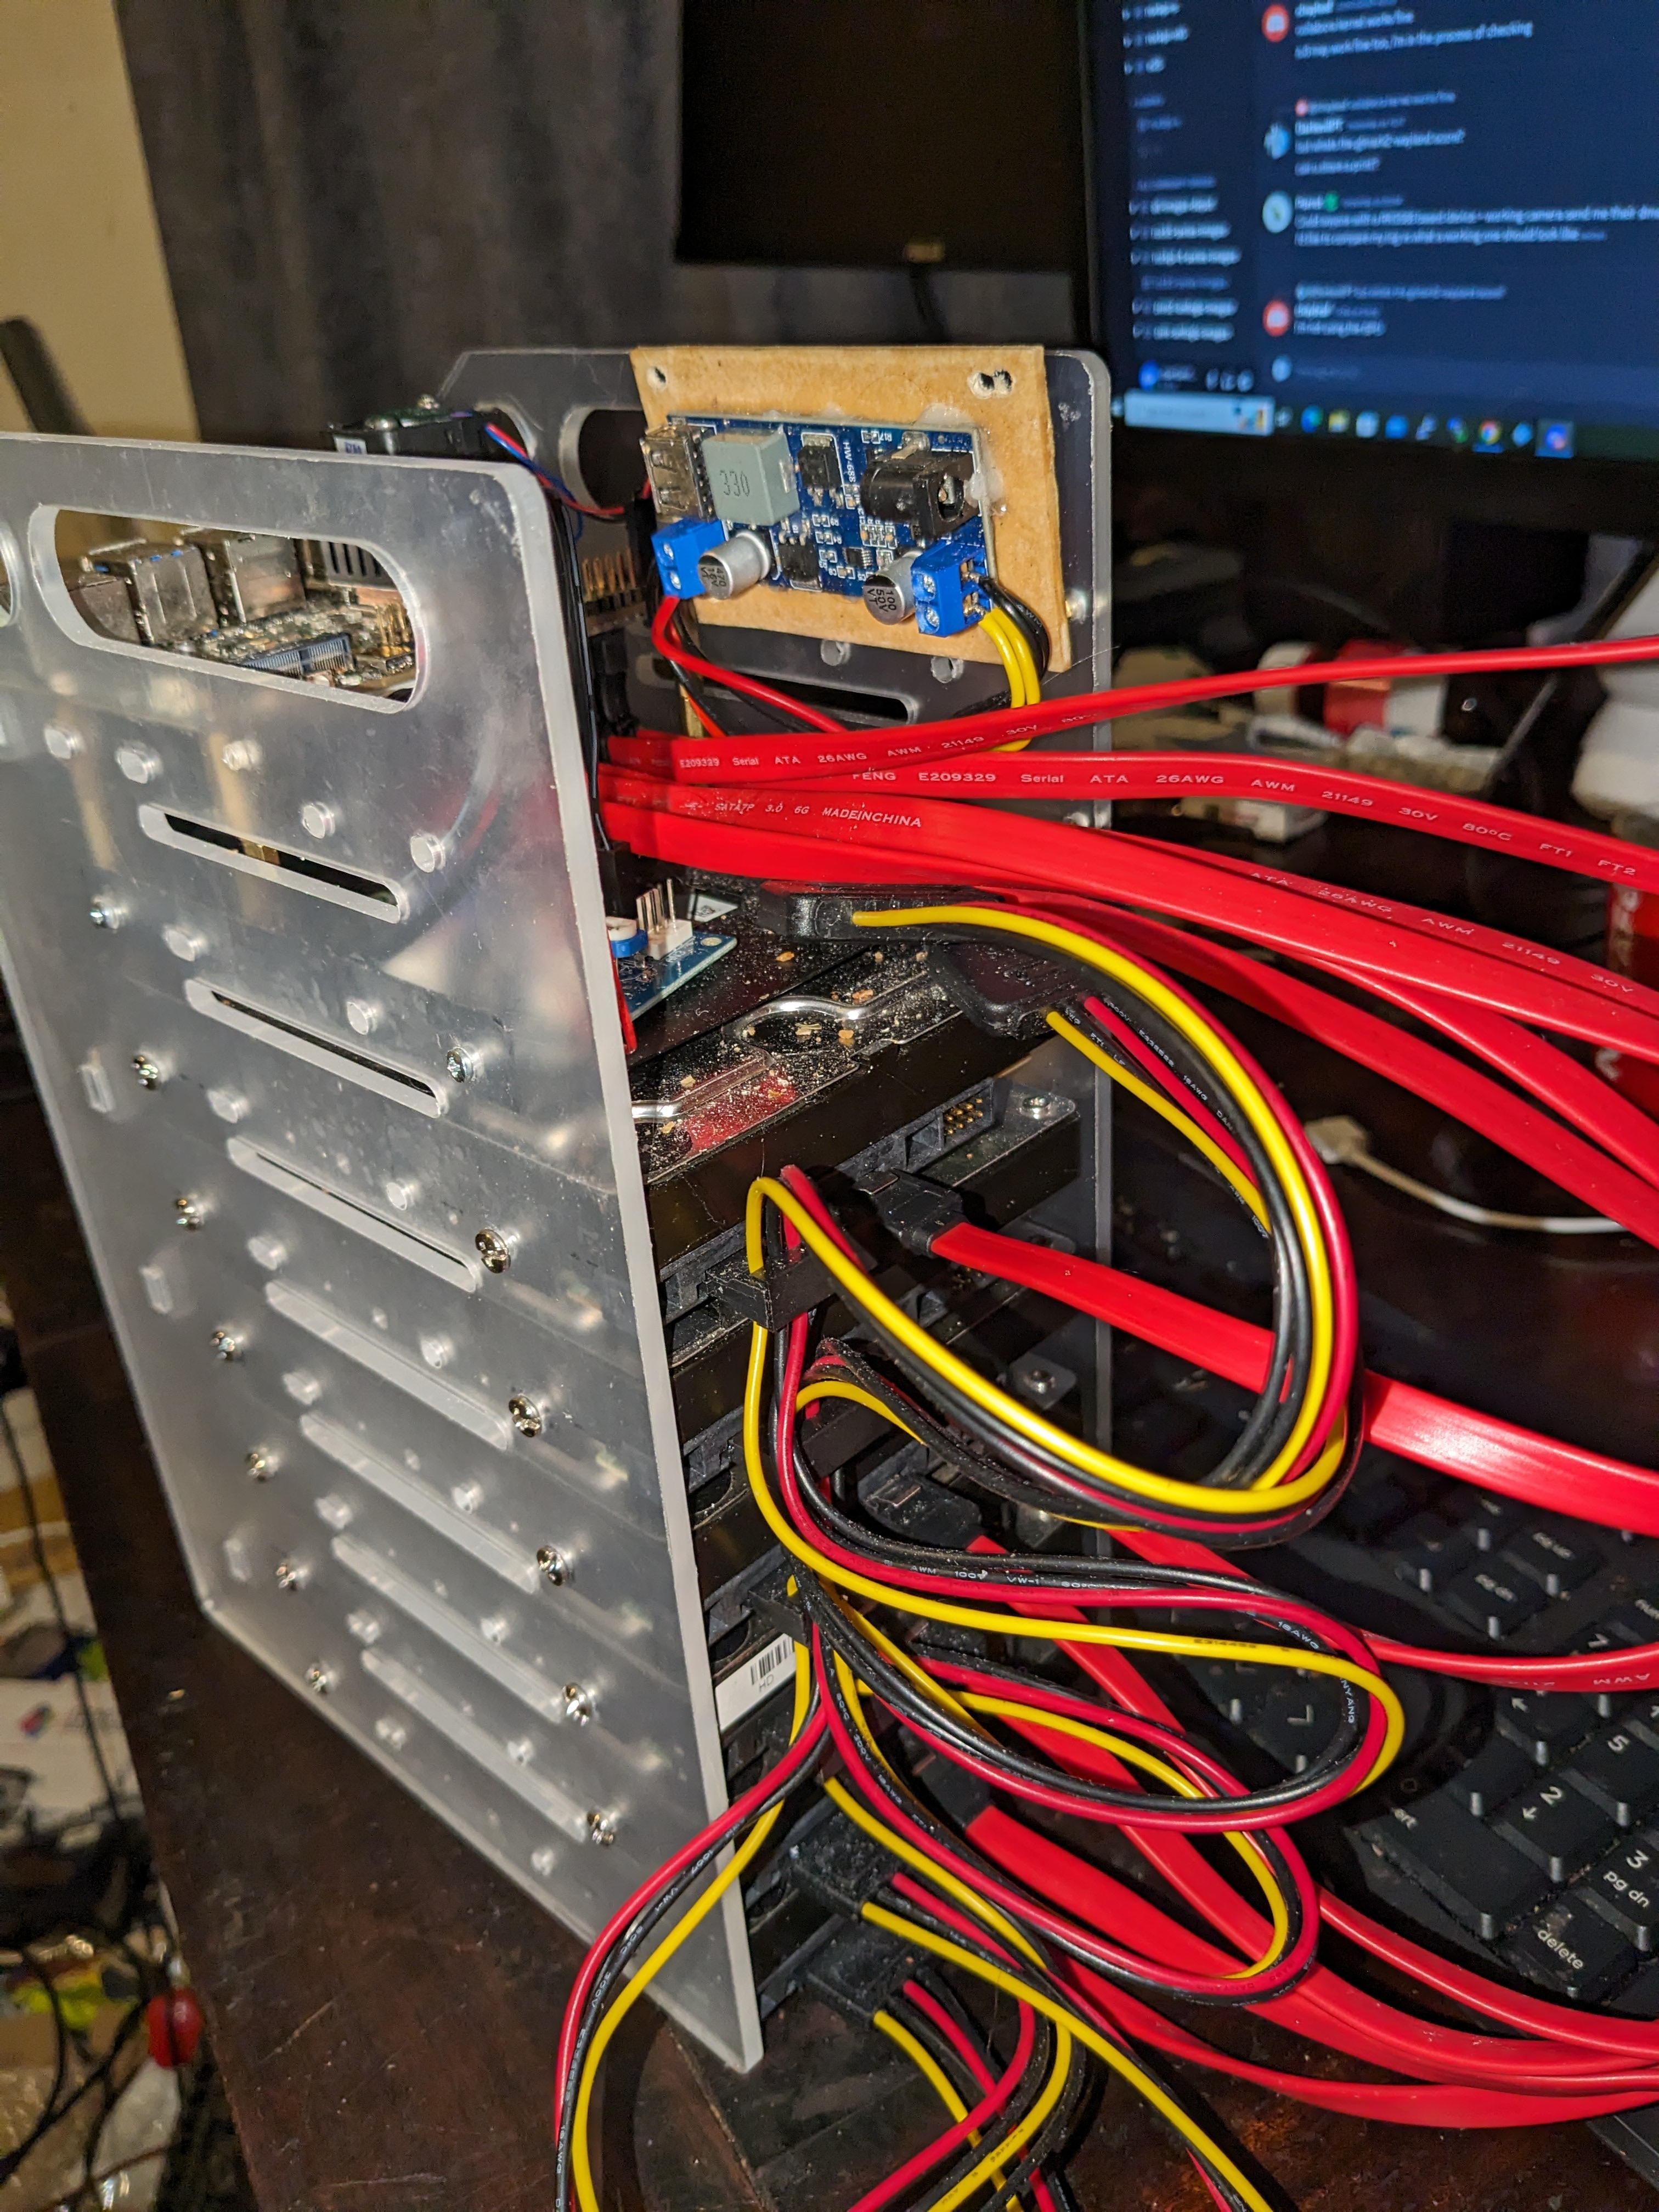
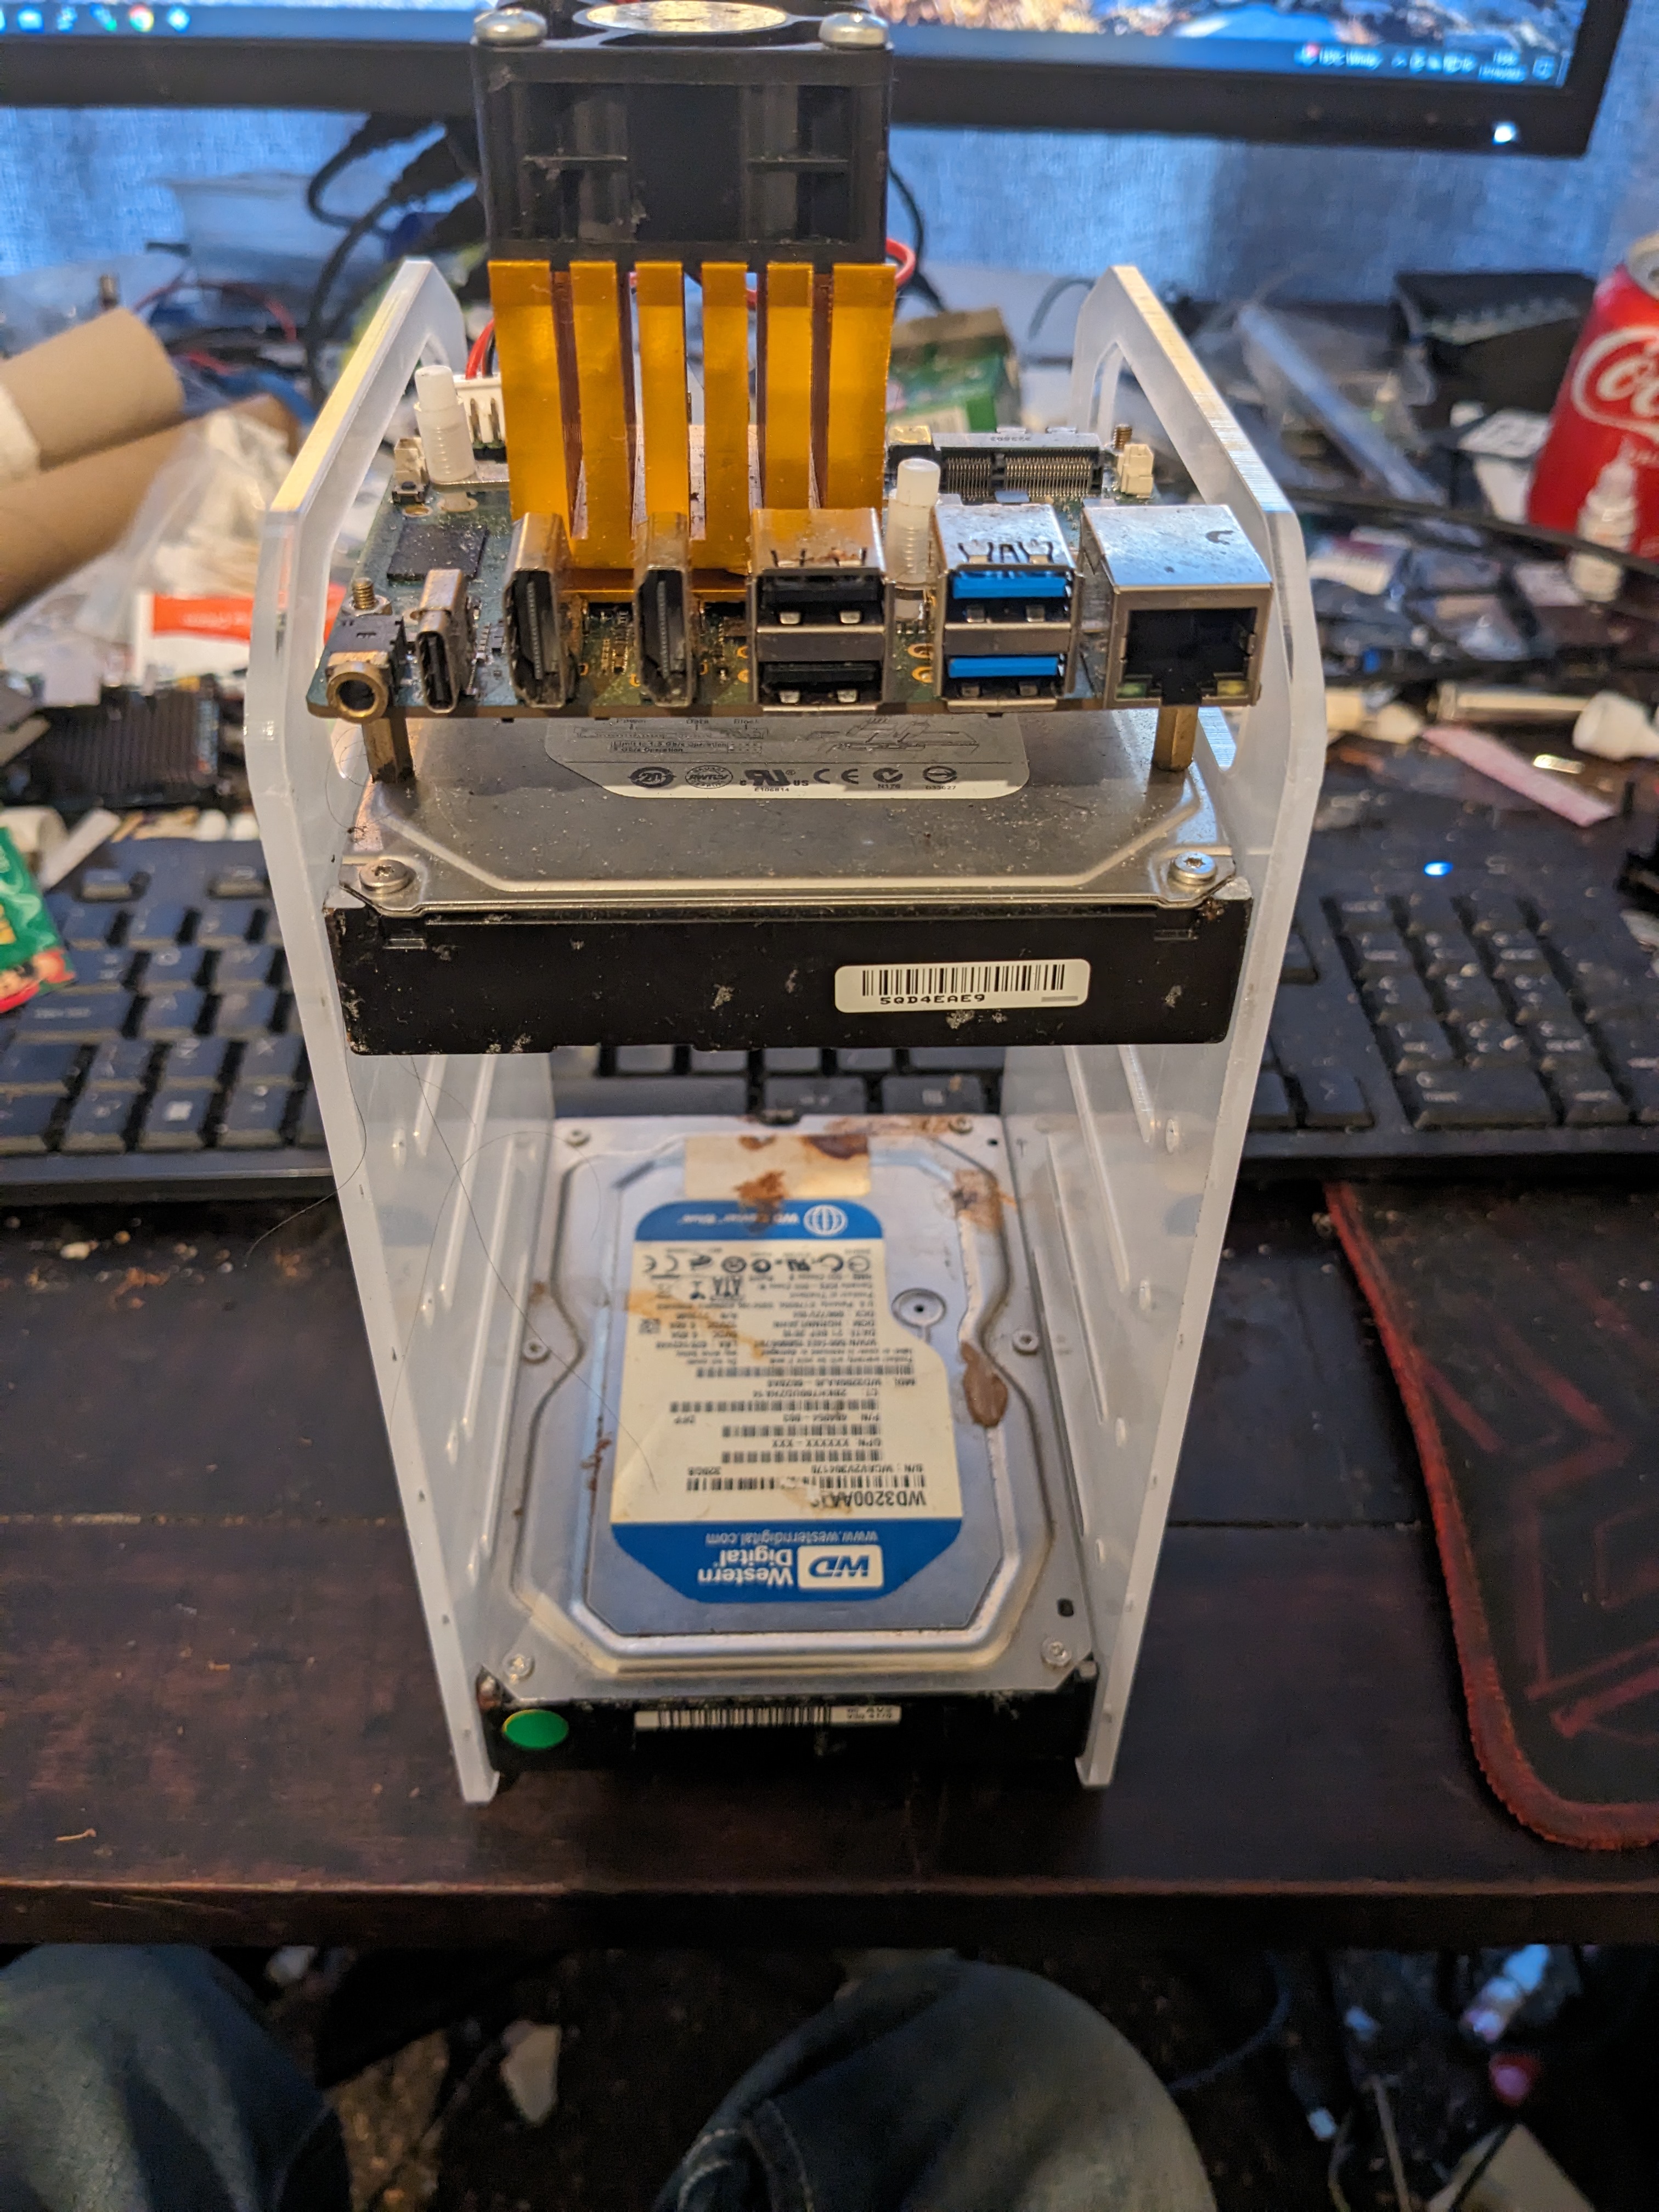
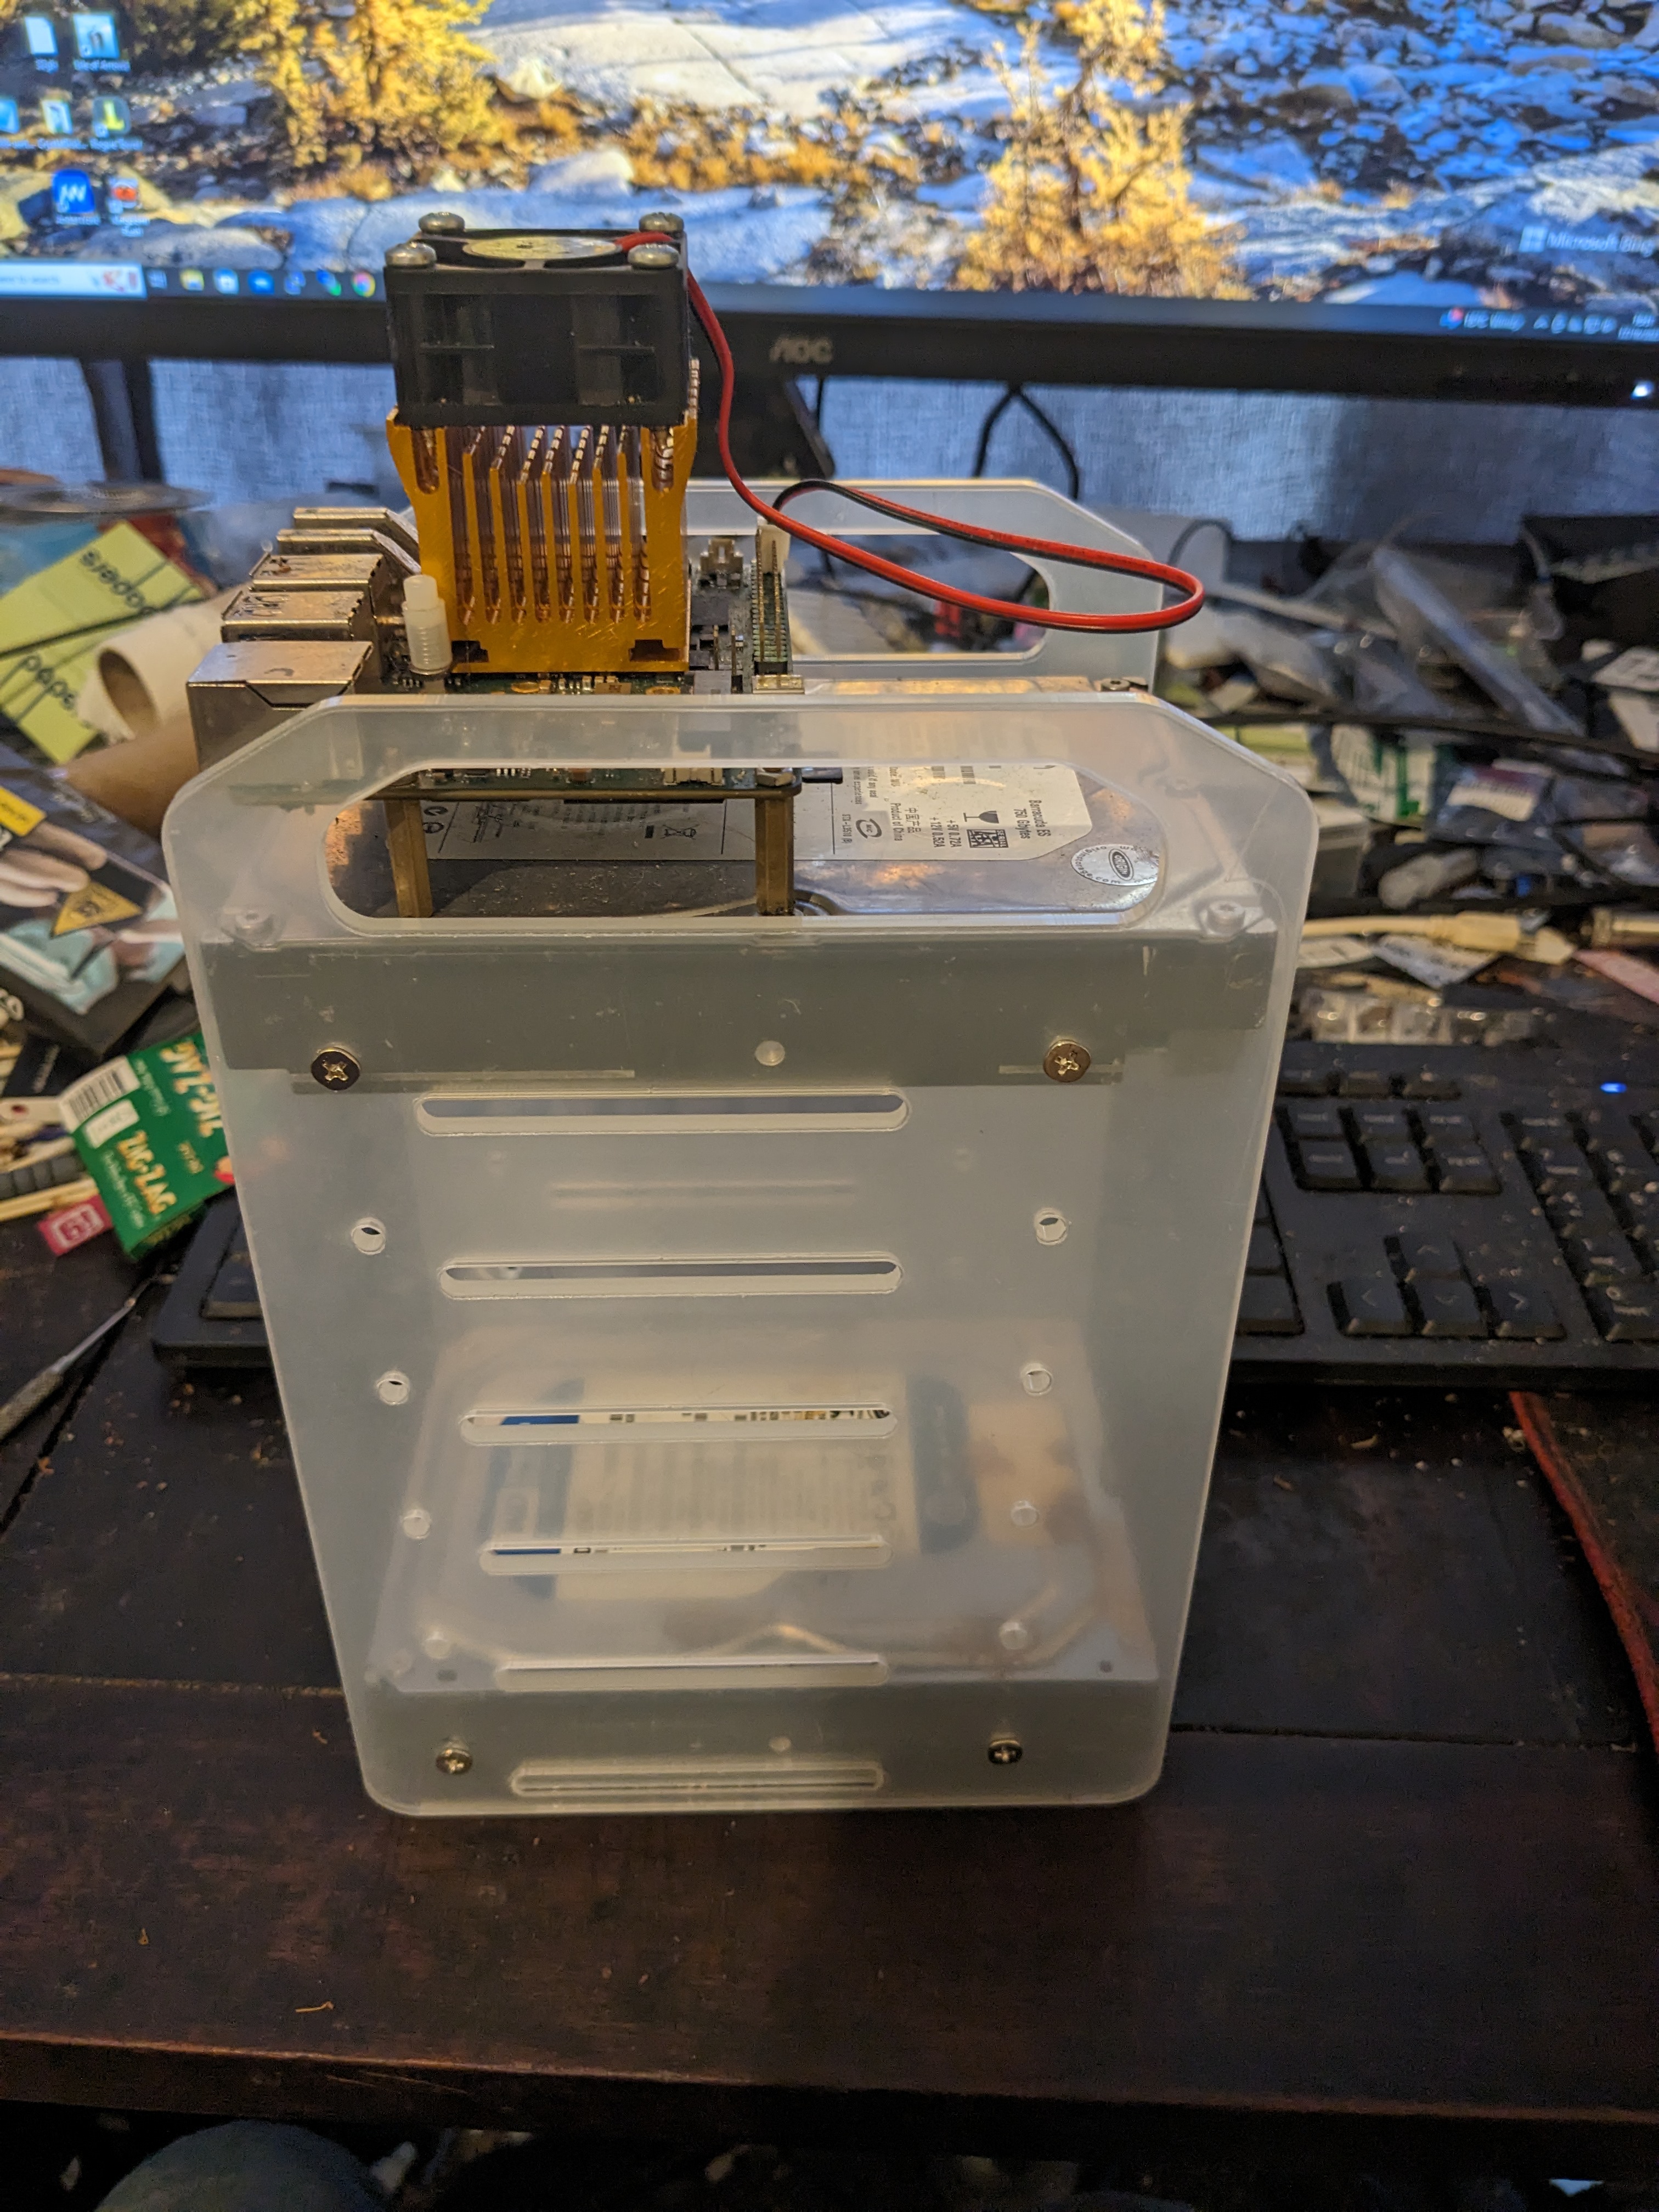
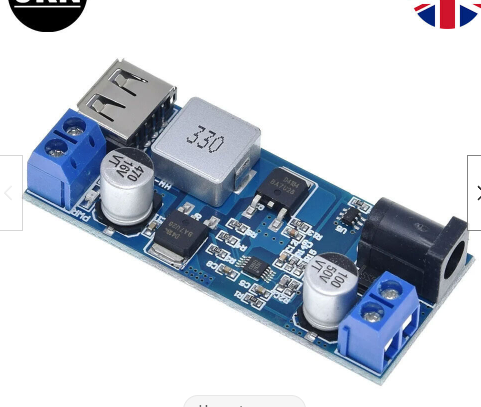
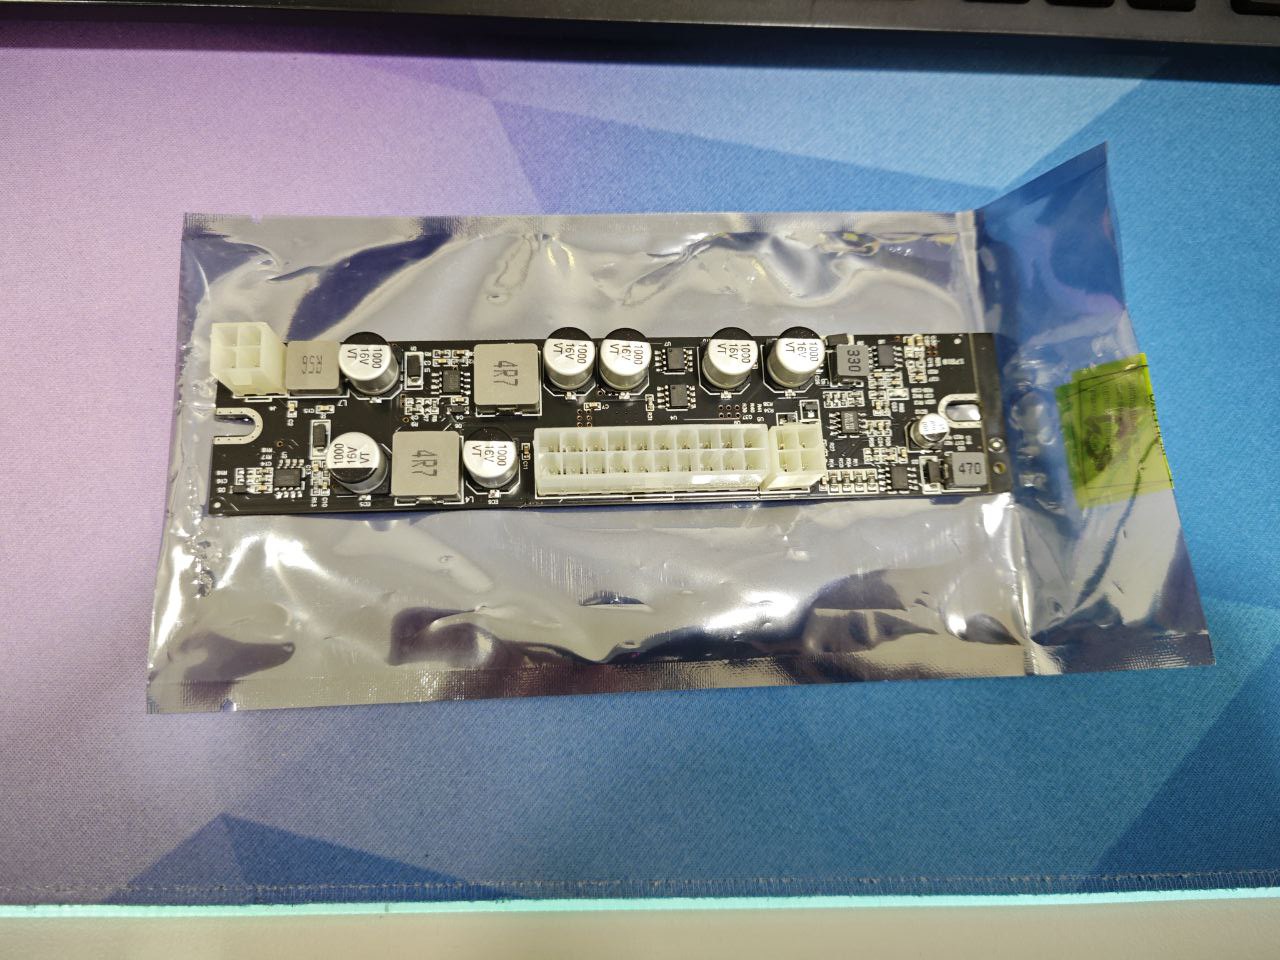
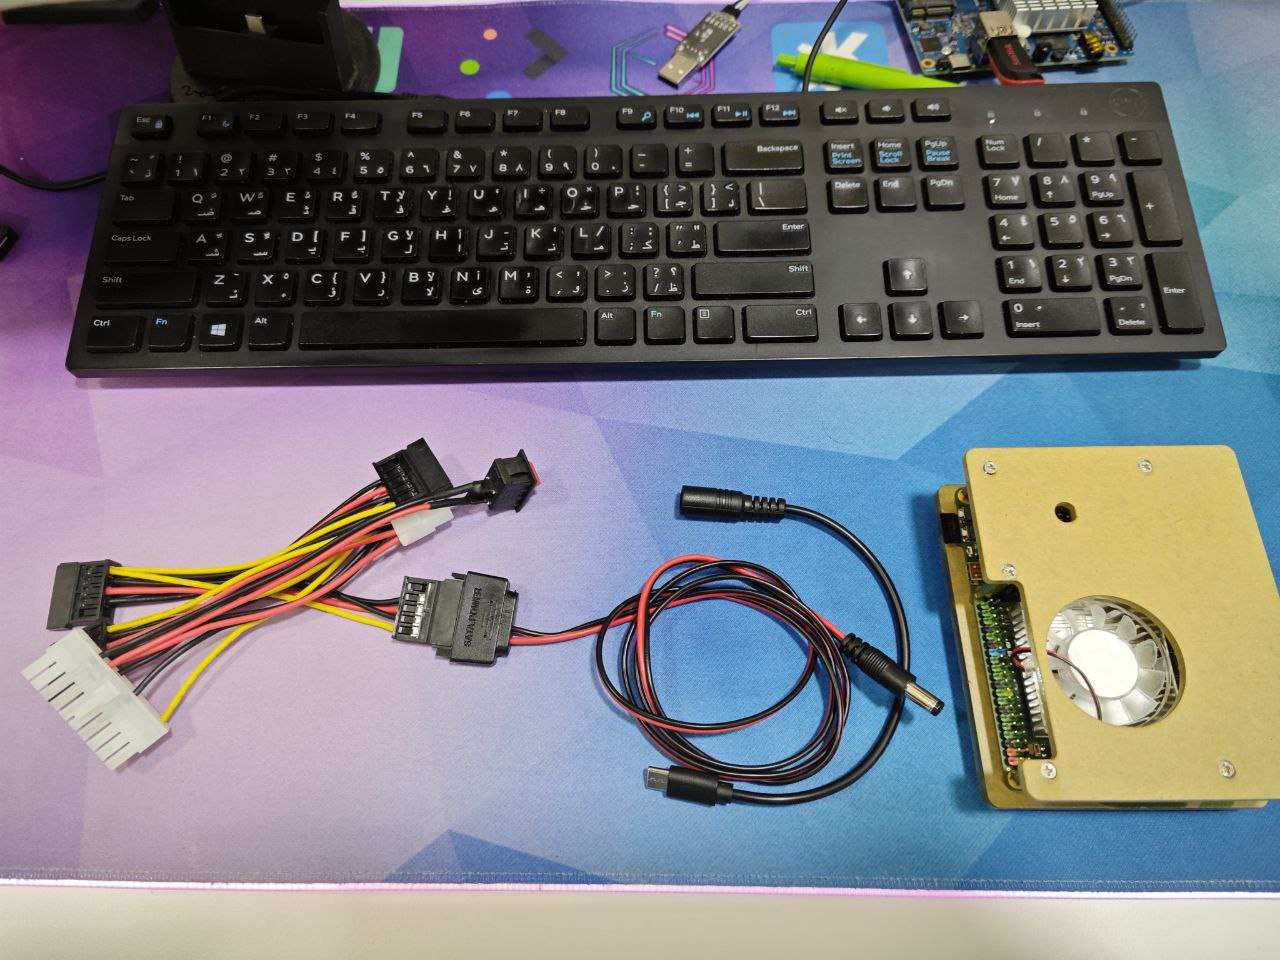
I’m a soon to be proud owner of a Rock 5B, which I want to deploy as an HomeNAS. I already ordered most of the necessary hardware: Among them a 5-bay drive-cage, ASM1166 equipped 6 port M.2 to S-ATA adapter and an admittedly sparsely sufficient 120W PicoPSU to power five 3,5 inch HDD (3 for now) and the Rock 5B itself. All this will be driven by OMV 7 on Debian 12 with the a cutting edge 6.7 rc1 kernel (rk3588 mainlined). (Or if I’m lazy Armbian and OMV6.)

What I haven’t figured out yet is the following: I want to use the ATX standby 5V 2A power to supply the Rock 5B via GPIO 4 & 6 (& 14 for load distribution). This is just so it can register a power on signal from the power button.

Now starts the undecided part:
On pressing the power button I want the Rock 5B to signal the PSU to turn on, so that the HDDs get power as well (and another 5V line supplements the 2A standby power on GPIO 2 to get the Rock 5B to do the heavy lifting).

While I don’t really have any technical knowledge this is, what I came up with:

  • connect the 3,3V GPIO to the gate of an N-channel MOSFET
  • connect any GND GPIO to the source of the MOSFET
  • connect the drain of the MOSFET to the ATX sense pin

My thinking behind this is, that once the ROCK 5B turns on, the board will enable the 3,3V rail to the GPIO. This in return should trigger the MOSFET to “connect” its source and drain, and thus bridge the ATX sense pin to GND, so that the PSU turns on. Would this work, or is my technical understanding to limited to grab the whole picture?

Looking forward to get some valuable input and learn from it!

Best,
Rastafabi

5V 2A is not enough power for Rock 5b. There will be higher power draw spikes and it will reset.

2 Likes

I guess so usually on atx psu I just short the sense to gnd so its always on and use the on/off switch.

I got a 8 bay which is much better as the last one didn’t have fan mounts and also the top 2 bays are for the Rock5b.
I just used a 12v 6a psu feeding the buck on https://github.com/StuartIanNaylor/Rk3588-NAS-Hardware that has all the details.
I decided not to use the 5v from the rock but supply that myself and obviously the 12v rail is the psu.
Its all running running great and after a mainline install on ubuntu I am now trying OMV on the Radxa Debian image.
I have x6 1tb WD green as x5 Raid5 with x1 Hot spare that will do as the disks where cheap 2nd user off ebay for testing.
Stupidly I forgot about the hot spare with the mainline bench and will have to install and create a x5 +1 again.
I am getting nothing great perf wise but its not needed as I have a that large file store with redundancy + hot spare… Thoose WD Greens are just slow but efficient and sleep on idle over 10 secs or something.

As for the sense I guess it must already be current limited and likely no resistor needed or a relay.

        Record Size 1 kB
        File size set to 1048576 kB
        Command line used: iozone -t1 -i0 -i2 -r1k -s1g ./
        Output is in kBytes/sec
        Time Resolution = 0.000001 seconds.
        Processor cache size set to 1024 kBytes.
        Processor cache line size set to 32 bytes.
        File stride size set to 17 * record size.
        Throughput test with 1 process
        Each process writes a 1048576 kByte file in 1 kByte records

        Children see throughput for  1 initial writers  =  301445.12 kB/sec
        Parent sees throughput for  1 initial writers   =  108484.87 kB/sec
        Min throughput per process                      =  301445.12 kB/sec
        Max throughput per process                      =  301445.12 kB/sec
        Avg throughput per process                      =  301445.12 kB/sec
        Min xfer                                        = 1048576.00 kB

        Children see throughput for  1 rewriters        =  634955.69 kB/sec
        Parent sees throughput for  1 rewriters         =  152218.56 kB/sec
        Min throughput per process                      =  634955.69 kB/sec
        Max throughput per process                      =  634955.69 kB/sec
        Avg throughput per process                      =  634955.69 kB/sec
        Min xfer                                        = 1048576.00 kB

        Children see throughput for 1 random readers    =  428808.59 kB/sec
        Parent sees throughput for 1 random readers     =  407147.75 kB/sec
        Min throughput per process                      =  428808.59 kB/sec
        Max throughput per process                      =  428808.59 kB/sec
        Avg throughput per process                      =  428808.59 kB/sec
        Min xfer                                        = 1048576.00 kB

        Children see throughput for 1 random writers    =  317235.16 kB/sec
        Parent sees throughput for 1 random writers     =  117673.19 kB/sec
        Min throughput per process                      =  317235.16 kB/sec
        Max throughput per process                      =  317235.16 kB/sec
        Avg throughput per process                      =  317235.16 kB/sec
        Min xfer                                        = 1048576.00 kB

I prob cut it a bit close on the wattage 70 watt PSU should be fine on idle the drives take approx 19watt and trying to work out ASPM. On boot the drives peak about 50watt whilst in use 40 watt peak.

Those are the 5400rpm Green with 0.5A on the 12V, so it depends on the drives you use as SSD will be even less.

I have been doing some testing and the rock5b will suspend and the harddrive psu takes only 6 watts then but still so far haven’t worked out how to enable power management on the ASM1166 or WOL of the rock5b.

ToDos I guess.

I know. That’s why I don’t plan to “run” it that way as I described. It will get those 5V 2A when turned off - just to be able to register a power button press. When turning on it should instantly power on the PSU and thus should get more power nearly immediately.

While initialising it (and turning on the GPIOs) it will be limited to said 2A power, which should be plenty in this early stage, but that’s to be determined indeed.

@stuartiannaylor

I know that I can just jump the power supply but I would rather turn it off as that should make a considerable difference in power draw, especially on a low power system.

Regarding ASM1166 power management I plan to use the Silverstone firmware, which at least on x86_64 systems does have a huge impact.

What Silverstone firmware?

You might want to check out this blogpost.

Yeah let me know how you go…

The card is ASPM enabled I just dont think its setup correctly in the image of Linux or maybe any Arch64 version.
You can do a lspci -vvv to get full details

Does it accept power input on gpio pins ?

I bought an HDD power supply board if it accept power in then i can use 5v from this power supply board directly.

At 1st I was just going to use 12v from the PSU and 5v from the rock5b and make my own sata power by just snipping 2x molex to sata cables.
molex-sata
I just snip the molex off thoose y/b to 12v r/b to 5v.
Then x2 of these as can not find a single x6.
Satax3
With 12v going to the usb-c
12vusbc
But was right on the max of a usb3.0 port so got one of these as also gives me 12v dc jack in.
5vbuck
Its got 12v jack & terminal and 5v usbA & terminal

So it all adds up £17.01 and think on shutdown the 5v leaks and restarts but that could be all the hacks and tests I have been doing to try and force the disks to idle (I am not that bothered as its on 24/7).
I might actually scrap the 5v buck as used it because already had and power from gpio, its just finding dupont jumpers with decent wire gaige than using usb.
The origin of gpio has likely been well outgrown, dunno what the pcb traces are like and an external 5v just gives a level of isolation, also don’t get me going about pd on none mobile devices or that a buck Vin is onboard and not on the front panel.
I might even do it proper and get 2x relays and control via gpio as been thinking mounting the RAID array should happen later than fstab as resync will happen before ssh, but still playing.

@jack what the max current draw with the Rock5b via GPIO with x2 vcc & 2x gnd?

Yes, it does. This is how PoE boards power the Rock.

I see i went with a different approach

As I have a psu which will provide power to hdd’s so will use the same for rock5b.

Still waiting to receive all the stuff plus it’s hard to get 6tb drives in my region

I just got a Rock3b aswell


But also they have Black friday deals at the moment…

I did find some 22awg dupont jumpers though
https://www.aliexpress.us/item/4000545846658.html
[edit] the jumpers turned up and can not help but think they are not 22awg

3 Likes

I have all he components now.
All components will be powered by this PSU.

Rock5B will be powered by SATAPower female to 5.5*2.5 DC jack to USB-C

So this will make everything power on together. Now I need to either find a case for the PSU or just put it in plastic wrap or shrink.

2 Likes

Could you please provide link to the PSU you have chosen?

Thanks for sharing those ideas, I’ve been looking for similar elements and this build is really smart.
For sure I’ll borrow some of those for me :slight_smile:
Have You assembled everything?

As far as I remember this jmb uses 2xpcie3.0, so You should still have remaining two if You split those (there was project shared here). What You plan to use for system?

To make this build complete You may consider some screen to show various stats as well as something to make noise about smart alarm :slight_smile:

Was waiting for my HDD to arrive which did today. I ordered from serverpartdeals.com which does recertified hdd and I was quite happy to know that theyre quite cheap. Plus locally nas drives were expensive.

I will only use 2 hdd so it should be enough and yes one is spare and I do not have any other use for it so will leave it as it is.

Manjaro Linux Arm :smiley: as I maintain the kernel and images there for these devices. I have been using Manjaro linux arm on my current nas already.

Not needing a screen as I already have too much lights in my living room plus it is going in the living furniture where led screen did not make sense when I used odroid HC4 before.

No smart alarm for now. maybe just a raid mirror alarm that to will be email alert.

Some pics. Wish i could sort out a case to fix all the components inside.

Using 250g sata for /root while sdcard for /boot with uboot.

2 hdd in zfs mirror configuration.

Pwm fan set to lower to avoid any noise.

1 Like

Pulled mine down as fitting a gpio relay to power the disk array so when shuts down it not powered.

1 Like