Hi yall,
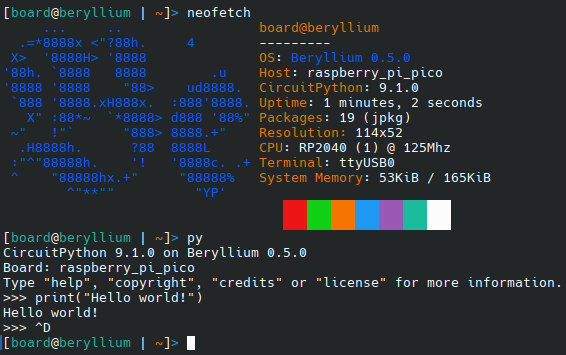
I’ve recently managed to get Beryllium OS up and running on the RP2040 microcontroller inside the X2L and X4 devices, and I wanted to share the steps with you guys since its a straightforward process. Credit goes to @bill88t which is the developer of BerylliumOS. You should also go checkout BerylliumOS for yourself if you want https://github.com/beryllium-org/OS
Step-by-Step Guide
-
Download the CircuitPython UF2 File:
First, you’ll need to download the appropriate CircuitPython UF2 file for the Raspberry Pi Pico (RP2040):
Download CircuitPython UF2 File -
Put the RP2040 into UF2 Mode:
- Locate the BOOTSEL button between the USB A 2.0 and 3.0 ports on your device.
- Press it.
- This will mount the RP2040 as a mass storage device named
RPI-RP2
-
Flash the CircuitPython UF2 File:
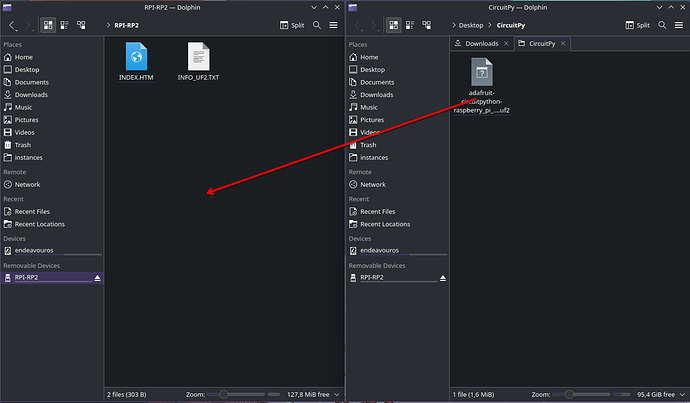
- Open the
RPI-RP2folder that appears on your computer. - Drag and drop the downloaded
adafruit-circuitpython-raspberry_pi_pico-en_US-9.1.0.uf2file into this folder. - The microcontroller will automatically reboot once the file is copied. A new “device” will appear called CIRCUITPY that means everything went well
- Open the
-
Clone and build Beryllium OS :
Open a terminal on your computer and execute the following commands:git clone https://github.com/beryllium-org/OS cd OS/source make install -
Restart CircuitPython:
After installing Beryllium OS, restart the CircuitPython environment for the changes to take effect.
On linux i usepicocom. Use the following command:sudo picocom -b 115200 /dev/ttyACM0Once you are in the circuit py env you need to write
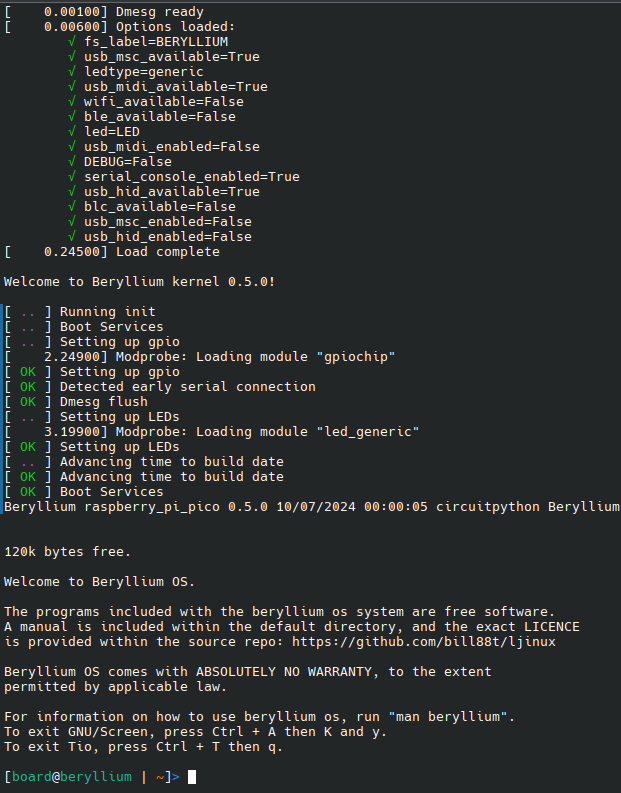
import microcontroller;microcontroller.reset()to restart the mcu. After that you should be in BeOS (you may need to reconnect the serial console)
-
Enjoy
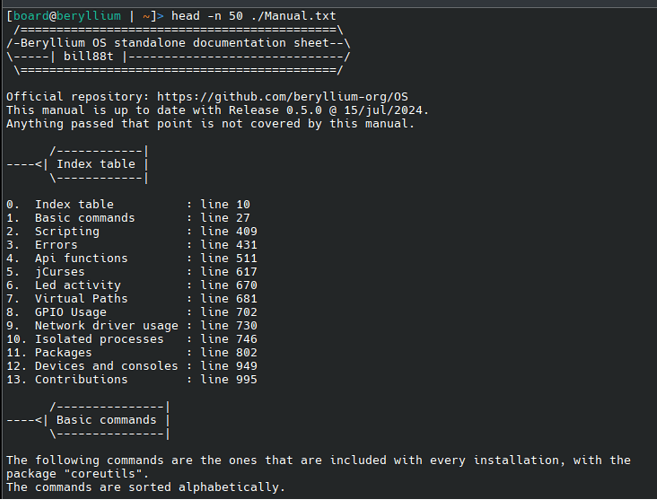
Keep in mind that BerylliumOS is a unix-like operating system for CircuitPython and not a linux distro it cannot run any linux executables. Tho you can use it to control theGPIO. Consider reading the Manual.txt provided.


