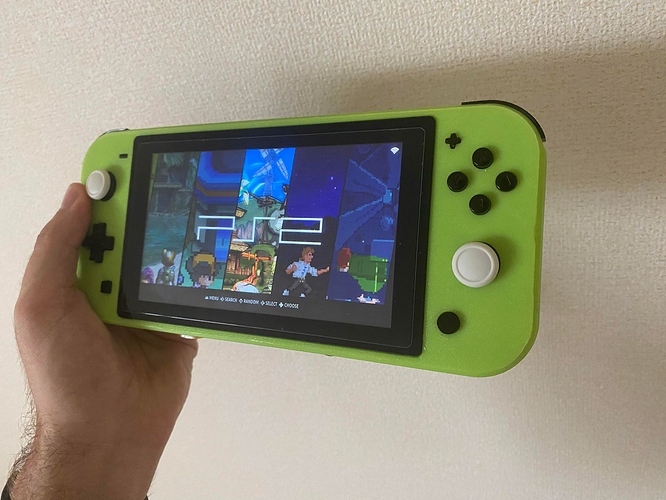
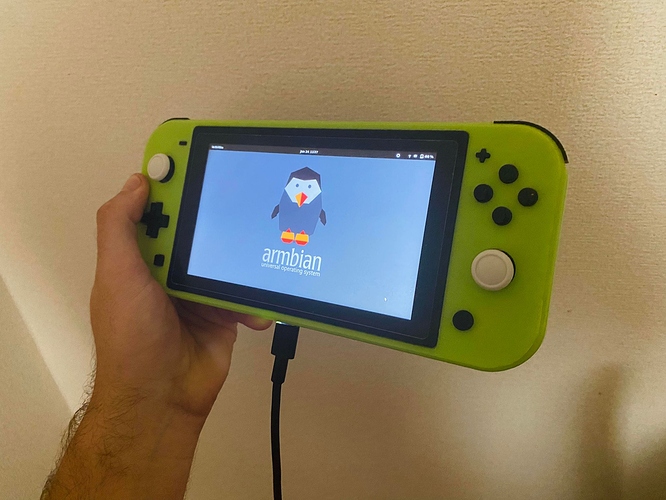
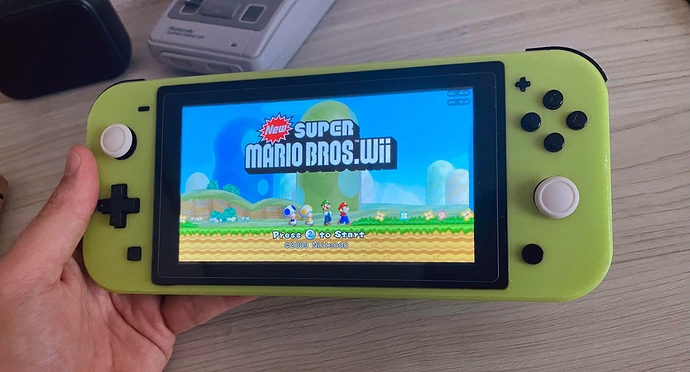
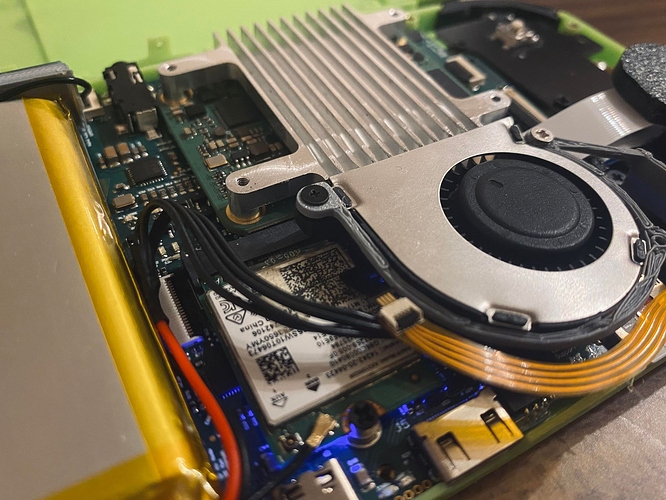
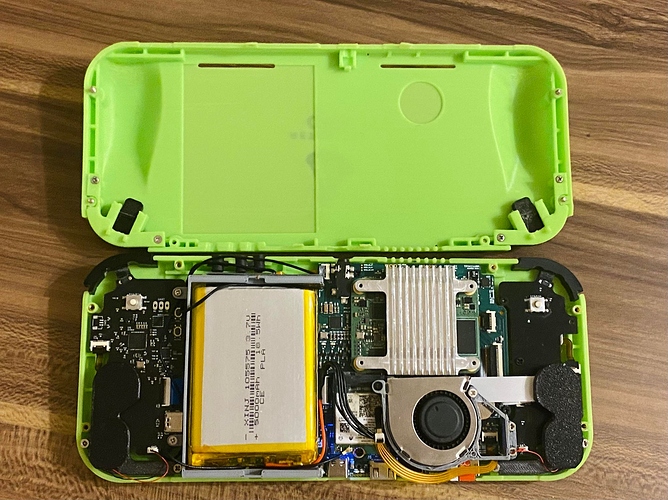
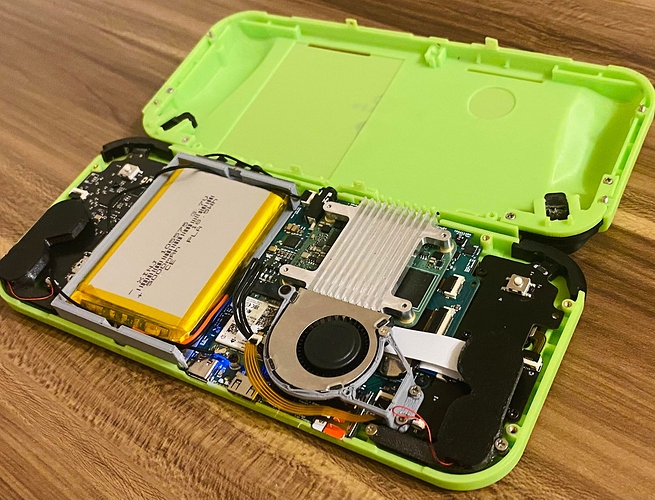
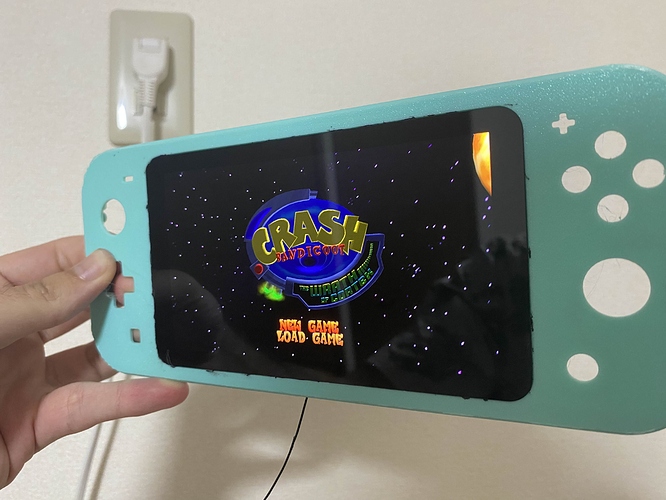
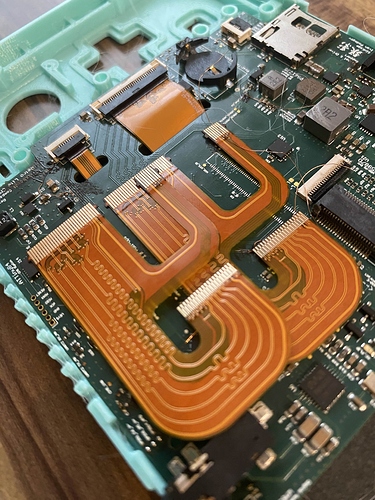
@GinKage and I have almost completed our Retro Lite CM5 based on the new Radxa CM5 compute module, so thought we’d share a few specs here. GinKage has been an incredible project partner to work with, so he deserves far more credit than I. There’s a couple little more software tweaks here and there we need to fully call this a completed build, but the end is closer than we could imagine.
All the assets are available here for download:
Hardware specifications:
- 3D printable housing in PLA. Comfort grips for added ergonomics
- Radxa CM5 Compute Module (8GB RAM/64GB eMMC)
- SoC – Rockchip RK3588S octa-core processor with 4x Cortex‑A76 cores @ up to 2.4GHz, 4x Cortex‑A55 core @ 1.8GHz
Arm Mali-G610 MP4 “Odin” GPU Video decoder – 8Kp60 H.265, VP9, AVS2, 8Kp30 H.264 AVC/MVC, 4Kp60 AV1, 1080p60 MPEG-2/-1, VC-1, VP8 Video encoder – 8Kp30 H.265/H.264 video encoder - WiFi 6/Bluetooth 5.2 via PCIe E-key slot (Intel AX210) - https://www.intel.com/content/www/us/en/products/sku/204836/intel-wifi-6e-ax210-gig/specifications.html
- 6 layer carrier board with 3 B2B mezzanine connectors to interface with any Radxa CM5 module
- 5v boost rated at 3.5A continuous current
- RP2040 gamepad - complete with SDL mappings and evdev gyro support/mouse control via MPU6050
- 1280 x 720 (5.5" DSI IPS LCD): DSI video output on internal display
- Up to 4k HDMI video output via HDMI output
- Up to 4k DisplayPort Alternate Mode via Type-C
- USB 2.0/3.1 capable USB-C data transfer
- USB-C dual role port functionality (sink/source)
- Brightness and volume HUD adjustment. Brightness is adjusted by holding plus hotkey + down/up. Volume controlled either by volume buttons or plus hotkey + left right DPAD
- USB-C PD charging support via sink profiles supporting 5V/3A, 9V/3A, 12V/2A & 15V/2.6A (switch charger) via TPS65987D PD controller (see binary in TPS65987D folder). Recommended to use <12V for best charge and play performance
- Stereo Audio Output via i2s. Dual stereo speakers with ported chambers
- Headphone jack, with automatic switching
- 5000mAh lipo, providing around 1.5-5 hours of gameplay depending on load (to be upgraded soon to >8000mAh)
- Dual stacked shoulder buttons (L, R, LZ, RZ) with dual tact buttons for GameCube functionality (LR analog/LR digital)
- 2x hall effect analog sticks running at 3v3
- Resin casted ABXY, DPAD, start+select, shoulder buttons
- Silicone membranes for nice button feel
Software specifications:
- Armbian GNOME desktop (Kernel 6.1.57 as of this post)
- Android 13 support (beta)
- Full upstream Rocknix support
- Wayland windowing system (xorg capable)
- Hardware graphics support via Panfrost/OpenGLES (no Vulkan support… for now)
- Safe software/hardware shutdown (either from software or via button)
- Low power sleep mode - in my tests, 24 hours in standby mode draws around 6% of total battery life
- Range adjustable joysticks in software by pressing plus hotkey plus R3 --> A --> rotate sticks --> A combination
For now, it will be time to iterate on the design and wait for my 8000mAh battery to arrive. GinKage also will hopefully build his in the coming weeks/month or so.
I hope you like the v1 design! The RK3588 is a powerful beast. Cannot wait for Vulkan drivers to see how much more performance we can squeeze out of it.
