Steam Installation Tutorial
For this tutorial I opted by using nala so please do:
sudo apt install nala -y #do your operations with nala instead of apt
(It’s faster - It’s modern - It’s graphically easier - Has better debug)
If this command doesn’t work try the legacy installation:
#Legacy Installation
sudo apt update && sudo apt install git make python3-pip python3-apt python3-debian pandoc -y
git clone https://gitlab.com/volian/nala.git
cd nala
sudo make install
sudo nala update && sudo nala upgrade -y
cd
Installing Dependencies
First we need to install some dependencies that are required by Steam. Use the following lines:
Find your DRK version here -https://github.com/ptitSeb/box86/blob/master/docs/COMPILE.md
sudo dpkg --add-architecture armhf
sudo mv /usr/share/doc/linux-libc-dev/changelog.Debian.gz /usr/share/doc/linux-libc-dev/changelog.Debian.gz.old
sudo nala update && sudo nala install libgtk2.0-0:armhf libsdl2-image-2.0-0:armhf libsdl1.2debian:armhf libopenal1:armhf libvorbisfile3:armhf libgl1:armhf libjpeg62:armhf libcurl4:armhf libasound2-plugins:armhf libc6-dev-armhf-cross git cmake gcc-arm-linux-gnueabihf libncurses6:armhf libc6:armhf libx11-6:armhf libgdk-pixbuf2.0-0:armhf libstdc++6:armhf libsdl2-2.0-0:armhf libsdl-mixer1.2:armhf libpng16-16:armhf libcal3d12v5:armhf libsdl2-net-2.0-0:armhf libvorbis-dev:armhf libudev1:armhf libgl1-mesa-dev:armhf  libx11-dev:armhf libsmpeg0:armhf libsdl2-mixer-2.0-0:armhf cabextract libappindicator1 libnm0 libtcmalloc-minimal4 binfmt-support liblttng-ust-dev libcairo2:armhf libgmp10:armhf libvulkan1:armhf libudev-dev:armhf libsdl2-dev libpng-dev:armhf libcups2:armhf libcups2 -y && sudo nala upgrade -y

#Next we’re going to install Box64. Paste the following lines in your terminal:

git clone --depth 1 https://github.com/ptitSeb/box64
mkdir -p box64/build; cd box64/build
# DRK needs to be set for your specific CPU!
cmake .. -DRK3588=1 -DCMAKE_BUILD_TYPE=RelWithDebInfo
make -j$(nproc) #automatically uses all your cores
sudo make install

#We also need Box86:

cd ~
git clone --depth 1 https://github.com/ptitSeb/box86
mkdir -p box86/build; cd box86/build
# DRK needs to be set for your specific CPU!
cmake .. -DRK3588=1 -DCMAKE_BUILD_TYPE=RelWithDebInfo
make -j$(nproc) #automatically uses all your cores
sudo make install
Fixing missing packages:
cd /usr/lib/arm-linux-gnueabihf/
sudo ln -s  libpng16.so libpng12.so.0
That’s it for the dependencies! Before you continue you should reboot the device with:
Install Steam
First we need to configure the environment for Steam. Use the following lines to add two environment variables to your Linux environment:
echo 'export STEAMOS=1
export STEAM_RUNTIME=1
export DOTNET_SYSTEM_GLOBALIZATION_INVARIANT=1' | sudo tee /etc/profile.d/steam.sh

#if you have a high resolution screen use this instead
#echo 'export GDK_SCALE=2' | sudo tee -a /etc/profile.d/steam.sh
source /etc/profile.d/steam.sh
Next we’re going to use Box86’s install_steam.sh script like this:
cd ~/box86
./install_steam.sh
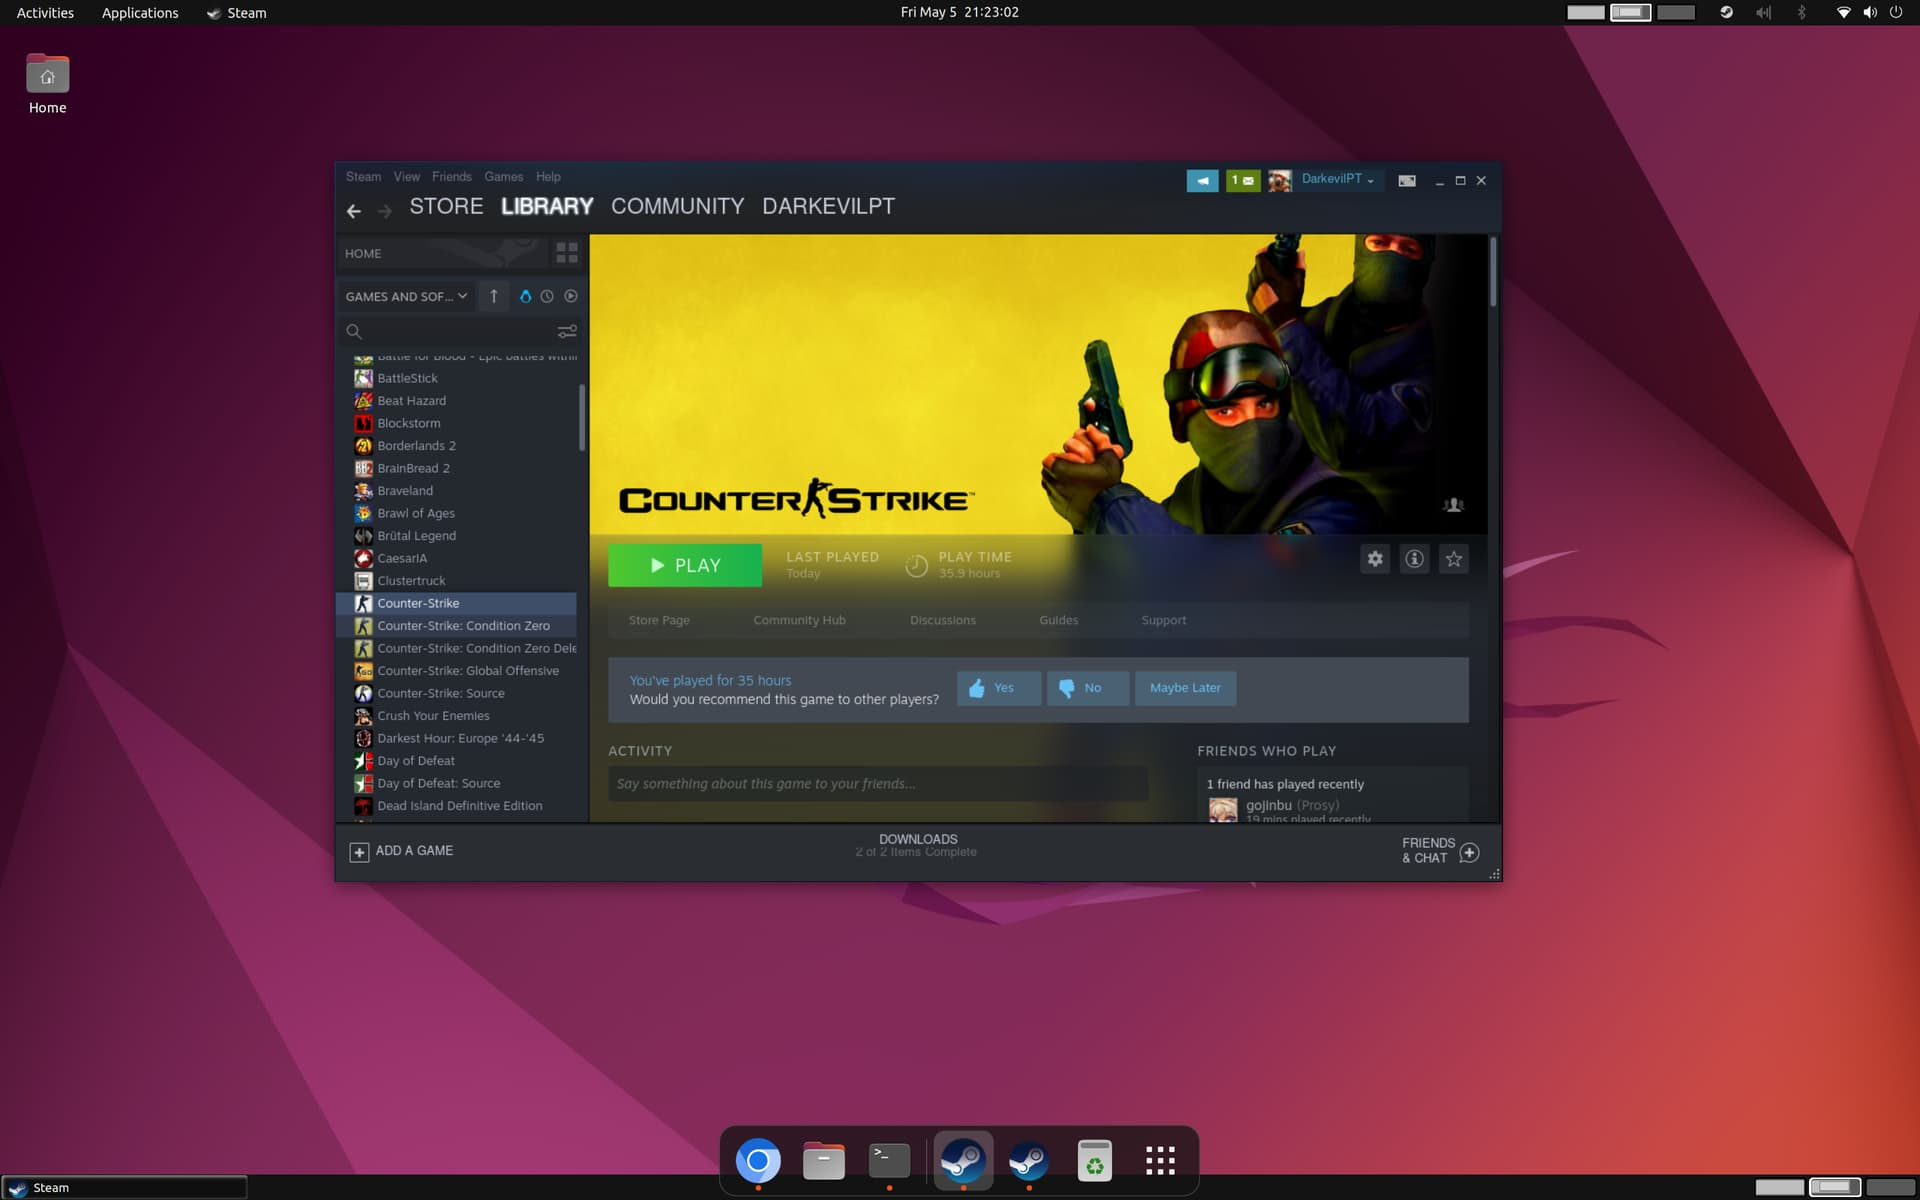
steam #just wait.
Installation is now finished EnJoy!
Final Steps we need for ChromiumOS (FydeOS/openFyde):
Ctrl alt t - Open Crosh via Chromium Browser
vsh termina
lxc config set penguin security.privileged true
lxc restart penguin
Now on penguin terminal do sudo su to be on Root! not just sudo and type:
sudo su
tail -n 1 /etc/binfmt.d/box86.conf > /proc/sys/fs/binfmt_misc/register
tail -n 1 /etc/binfmt.d/box64.conf > /proc/sys/fs/binfmt_misc/register
exit #leave root
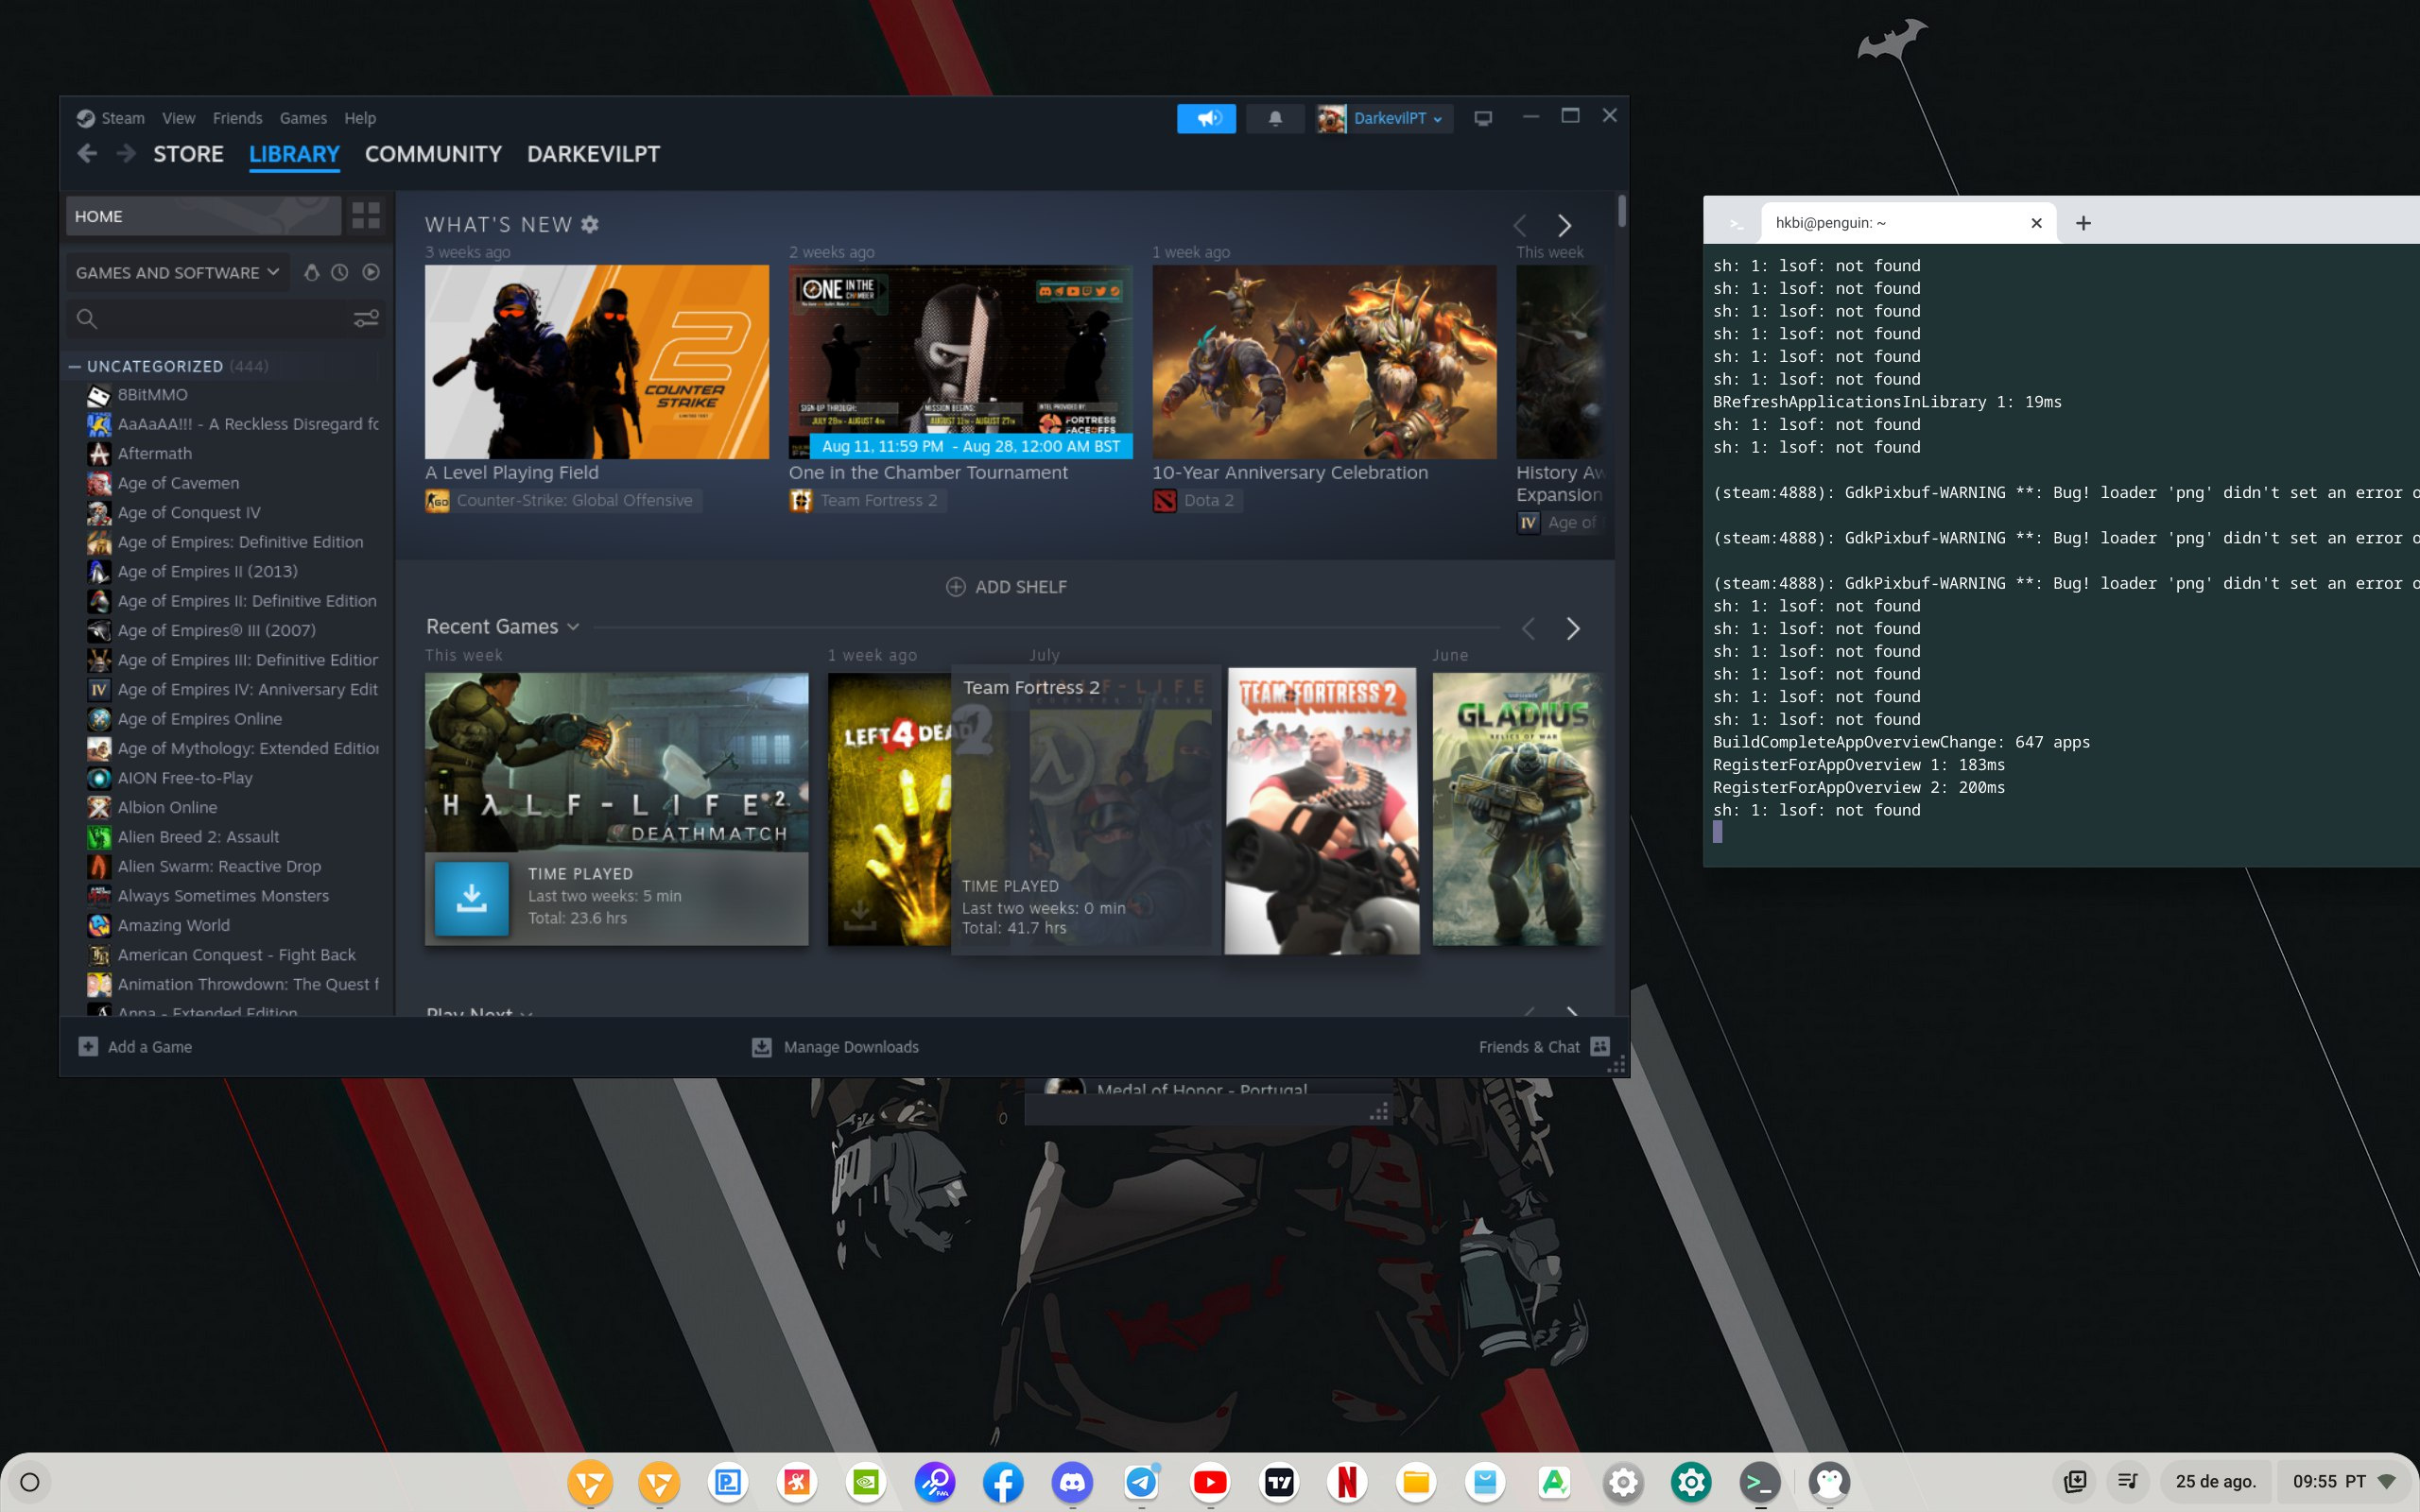
steam
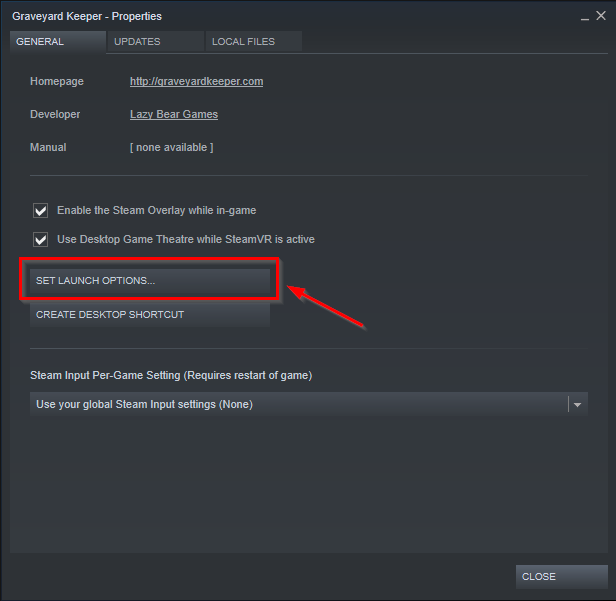
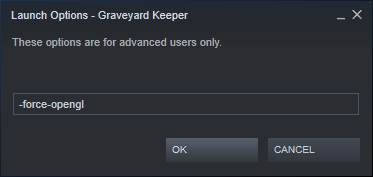
For all games set settings to -force-opengl and maybe install proton experimental like always… after installing steam perform a steam restart bugs may follow and retry is key.
All credits for this magical addition goes to @andrebraga !! 
Alternatively if you can use the NicoD Script (Optional might not work of ChromiumOS):
    _   __ _               ____     ______                   _
   / | / /(_)_____ ____   / __ \   / ____/____ _ ____ ___   (_)____   ____ _
  /  |/ // // ___// __ \ / / / /  / / __ / __ `// __ `__ \ / // __ \ / __ `/
 / /|  // // /__ / /_/ // /_/ /  / /_/ // /_/ // / / / / // // / / // /_/ /
/_/ |_//_/ \___/ \____//_____/   \____/ \__,_//_/ /_/ /_//_//_/ /_/ \__, /
    __     _                        _____              _         __/____/
   / /    (_)____   __  __ _  __   / ___/ _____ _____ (_)____   / /_
  / /    / // __ \ / / / /| |/_/   \__ \ / ___// ___// // __ \ / __/
 / /___ / // / / // /_/ /_>  <    ___/ // /__ / /   / // /_/ // /_
/_____//_//_/ /_/ \__,_//_/|_|   /____/ \___//_/   /_// .___/ \__/
                                                     /_/
git clone https://github.com/NicoD-SBC/armbian-gaming.git
cd armbian-gaming
/bin/bash ./armbian-gaming.sh
More info here: https://github.com/NicoD-SBC/armbian-gaming
Another guide to install steam step by step on rock 5B here: