E25 Bricked? Not booting from eMMC or microSD

Hello Everyone,

First off, I am new to this and made some mistakes along the way I don’t know how to correct.

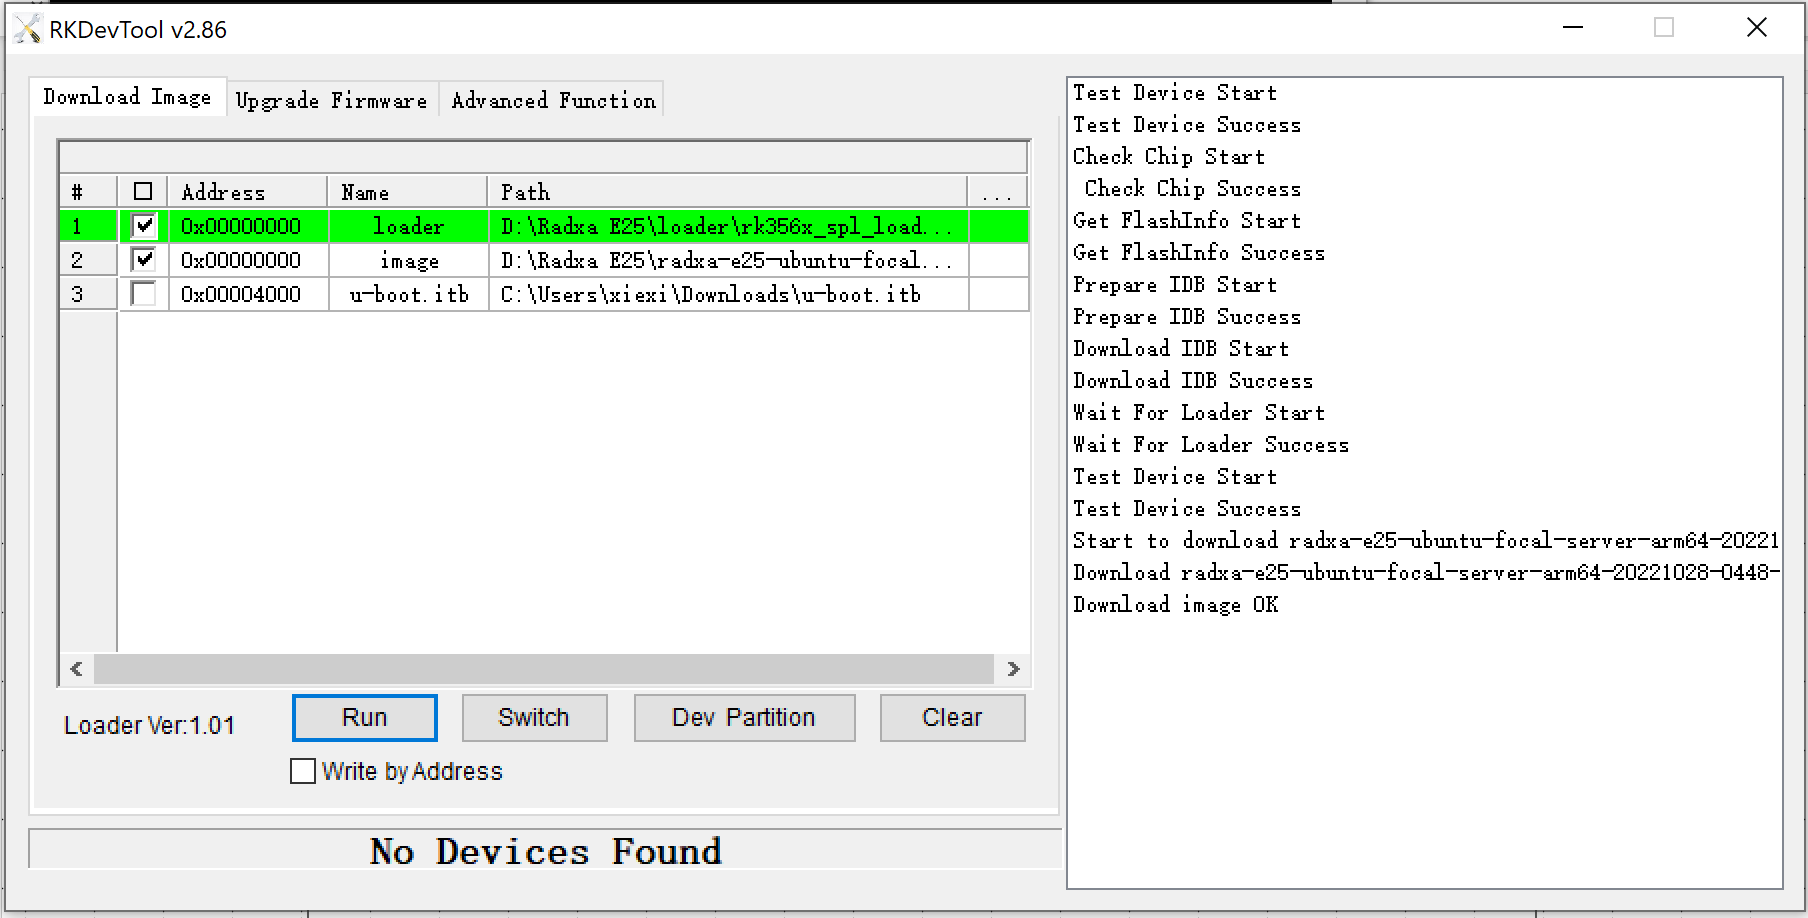
I tried to flash ubuntu server to the eMMC normally, prior to realizing I had one of the “SB” chips and now I cannot access the E25 via USB connection, needless to say that it does not boot from the eMMC, but if did boot from microSD. Initial eMMC flashing was attempted using Linux, while microSD flashing was done in Windows using balenaEtcher.

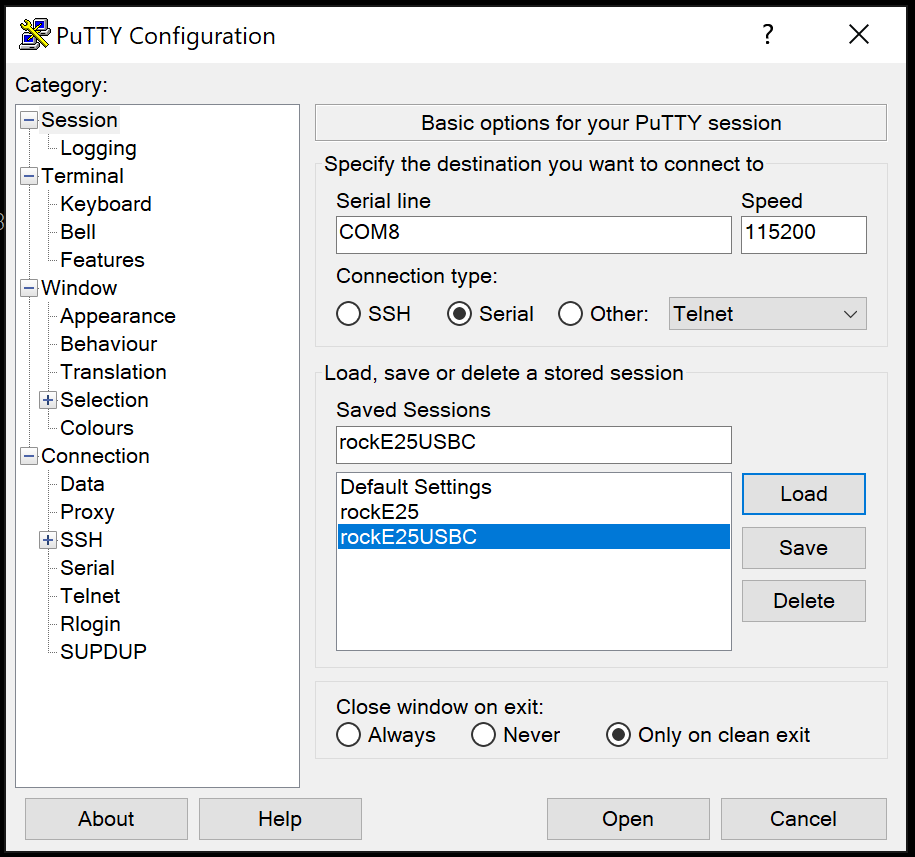
I ordered a serial cable and followed this tutorial (https://wiki.radxa.com/Rock3/dev/serial-console) to make a connection, but the PC does not recognize the board. serial connection was attempted in Linux with minicom and in Windows using Putty with baudrate of 1500000.

I also ordered a microSD to eMMC adapter, but I don’t think the eMMC module is removable (I could not identify which chip it is and did not want to yank things around mindlessly). If I can remove the eMMC module, please advise on its location.

After trying to connect via serial console, it now does not boot from microSD card any more. I am at a loss here and don’t know how to proceed.

I am sure you will need more information, I will be happy to supply anything you may require to assist.

Thanks in advance

Hello,

The eMMC on the E25 cannot be disassembled. Please make sure that your power supply meets the requirements. The debugging serial port of the E25 is TYPE C, and the baud rate is 115200. If you need to use the serial port, please make sure that the power supply of your PC’s USB port can satisfy.

Hello Alvin,

Thank you very much for your support. I was able to fix my issue with your instruction, although I have a lingering issue at the moment, but I will open a new thread for that. Will be posting a guide of how I solved it in case there is someone else making the same mistake I did.

So, for those wondering how to get use back from your eMMC, if you download the wrong loader into your E25, here is how I did it:

  1. For this to work, I had to use an SD card with an OS loaded to start the booting process. In my case there was another issue that did not allow a normal boot, so make sure you do quit the boot process quickly.
    2.I plugged the E25 with a USB-C to USB-C cable to a Windows Machine.
  2. I checked my Device Manager, under Ports(COM & LPT) -> USB-Serial CH340 (COM8) (your COM number may differ)
  3. Install Putty if you don’t have it already and create a profile for the device as follows, make sure to use the COM number from last step:
  4. Unplug the E25 from the PC, and re-plug it, very quickly open the Putty session in order to quit (Ctl+C) the boot. At this point you will be able to use some commands. In my case, the process went into a loop and would restart the device several times before it gave me the option of quitting the boot. If this is you, be patient and attentive.
  5. At this point, you are able to erase the eMMC as follows:
    5.1 Check the partitions
    mmc part

Partition Map for MMC device 0 – Partition Type: EFI

Part Start LBA End LBA Name
Attributes
Type GUID
Partition GUID
1 0x00008000 0x00107fff “boot”
attrs: 0x0000000000000000
type: c12a7328-f81f-11d2-ba4b-00a0c93ec93b
guid: 0e40cf7d-13dc-40b4-a248-09e3b99bc3df
2 0x00108000 0x039cf85f “rootfs”
attrs: 0x0000000000000000
type: 0fc63daf-8483-4772-8e79-3d69d8477de4
guid: 4cd1ade7-c062-4342-bcd6-ab6d79edea1e

5.2 delete the partitions:
mmc erase mmc0(part 1) 0x00008000 0x00107fff
mmc erase mmc0(part 1) 0x00108000 0x039cf85f
(I forgot to record this command, so hopefully some can correct any mistakes made here)

  1. enable usb mode with:
    => rockusb 0 mmc 0
    RKUSB: LUN 0, dev 0, hwpart 0, sector 0x0, count 0x39d0000

  2. Now your PC should be able to recognize the E25 via USB-3.0 port, no need to unplug your USB-C.

  3. fire up the RK_DevTool, and load the loader here: (https://dl.radxa.com/rock3/images/loader/rk356x_spl_loader_ddr1056_v1.12.109_no_check_todly.bin) and an OS image from here: https://wiki.radxa.com/Rock3/downloads


    Make sure you update your uploading info accordingly: load addresses: 0x00000000, Name: loader & image, Path: location to your files.

  4. Press run and you should be good to go!

I hope this helps someone.

Cheers,

Pinky