3D Printed cluster case for Rock5b

Follow the instructions to build Armbian found here. You need to go through the kernel configurator and find the ISCSI-TCP options and enable them. Unfortunately I don’t remember what page they are on.

Alternatively, you should be able to set them on the command line when by including “CONFIG_ISCSI_TCP=y CONFIG_ISCSI_BOOT_SYSFS=y” on the command line when you run their build script.

I actually don’t know if the “BOOT_SYSFS” option is required, but the configurator included it when I selected the ISCSI_TCP option.

BTW - it looks like somebody did a Pull Request with Armbian to get this into their defaults for this board so it should already be taken care of in newer releases.

Do you mind posting a shot of your wire routing and solder work for the pigtails? I am prepping my case now that it’s printed. Just need a little help with the electrical work.

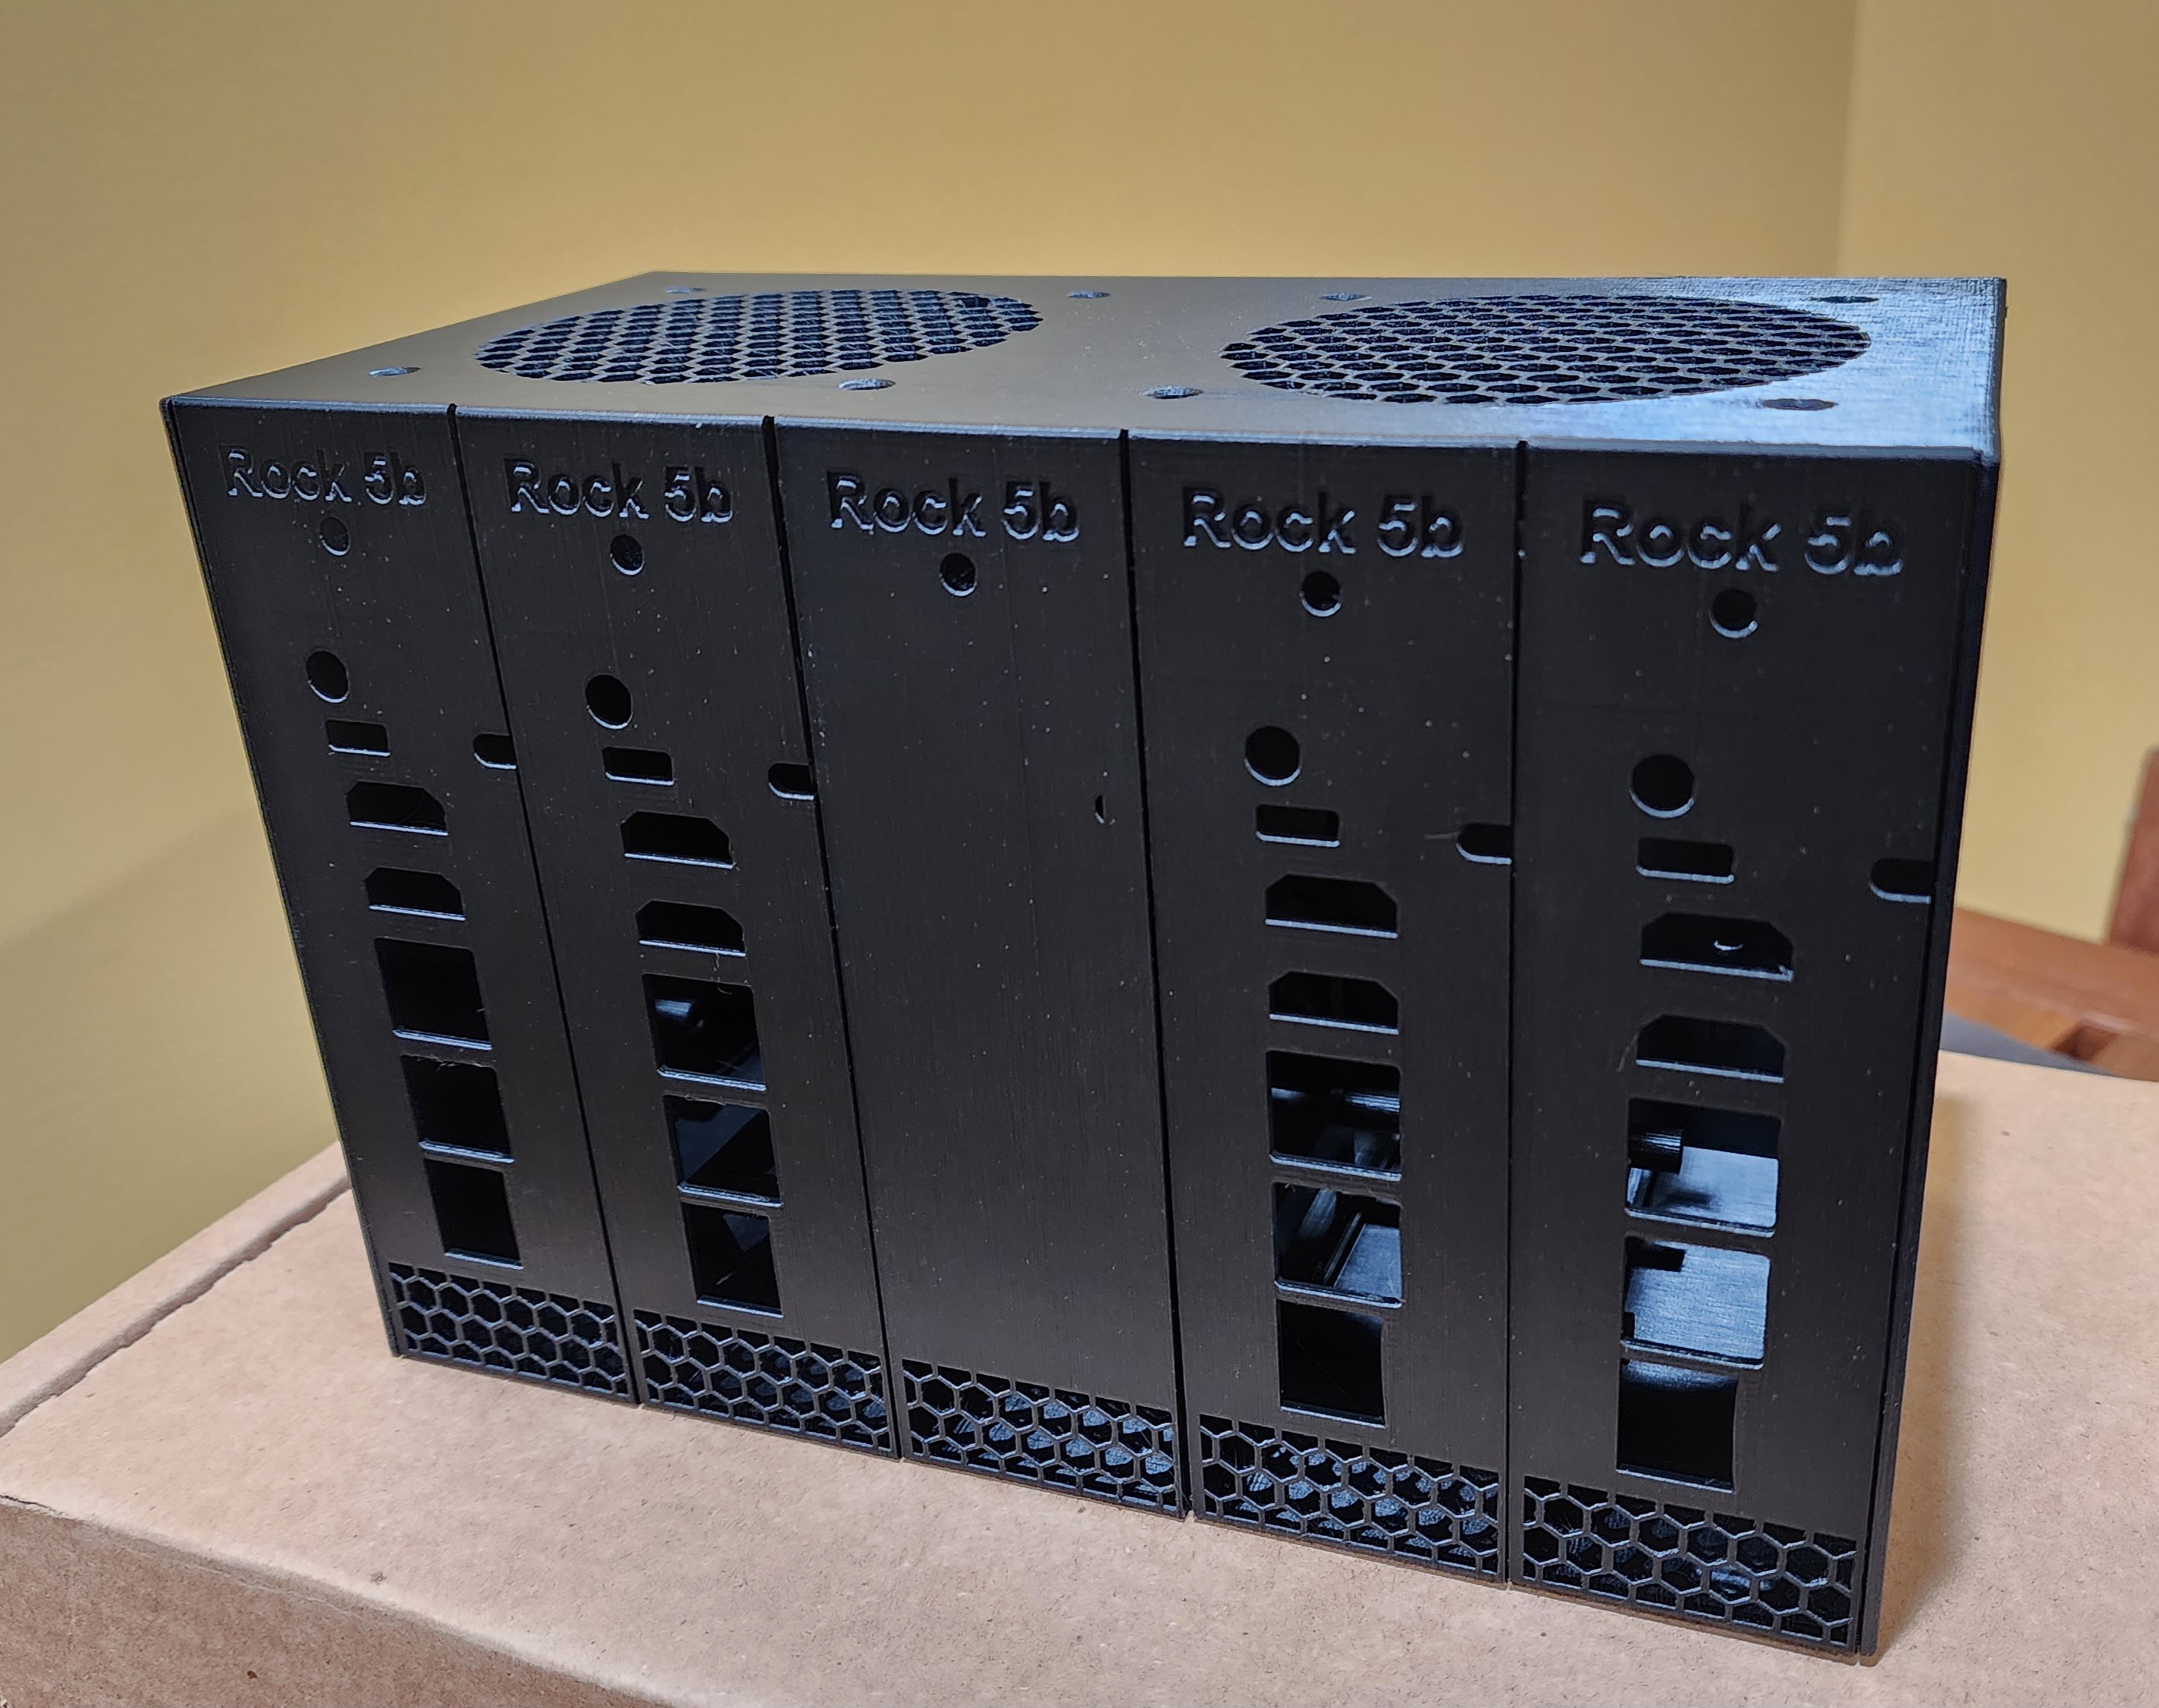
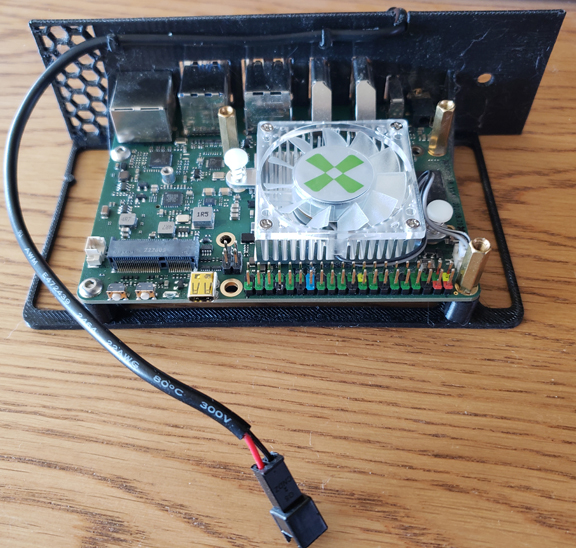
@darkmode Very happy to see somebody actually made this! I like the blank panel - great idea. Your print looks really good - much better than mine. No ringing, sharp lettering, good corners. The honeycomb vents look really nice. Well done. One thing doing this case taught me was that I need to do a better job of tuning my printer (which I have subsequently done!).

Another mistake that I never remedied is that the holes for the heat-set inserts are a bit tight. Getting them set without melting/deforming the mounting posts can be a challenge. Go slow - keep your soldering iron at the cold-end of melting whatever filament you printed with.

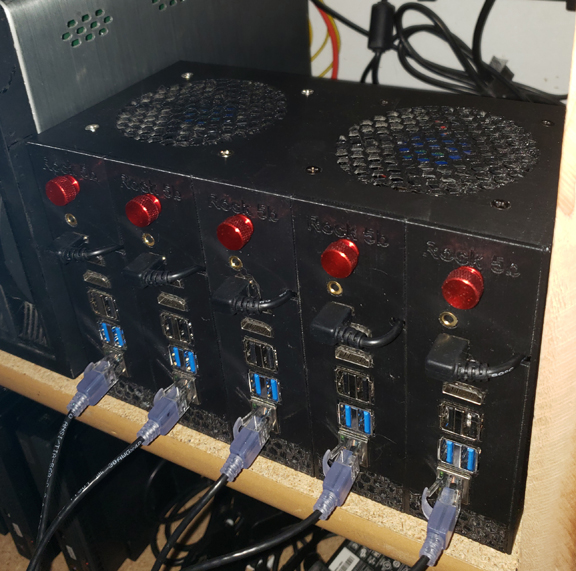
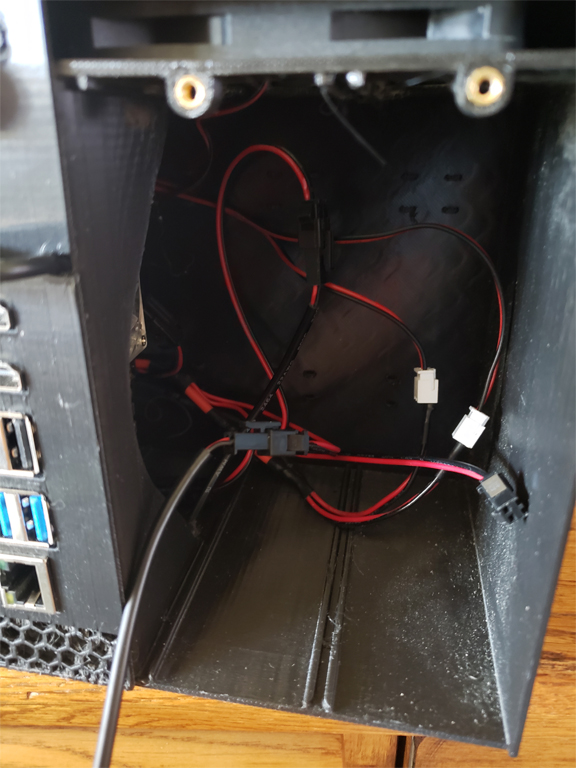
My wiring/soldering is something of a hot mess. I am not skilled at that. For the most part the wires are too long and just stuffed into the back of the box and cable-tied to the small loops I left in the back. I had a lot of problems getting things even close to neat because my hands were too big to get into the space. Learning for next time: print the shell and the back panel separately and screw them together later. That way you can do all the wiring on the back panel and tie things down neatly before you put them together.

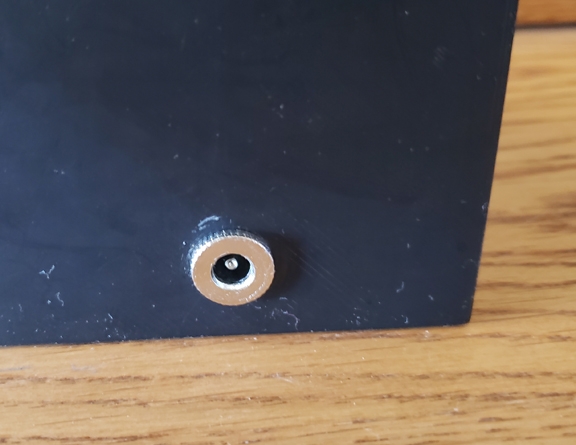
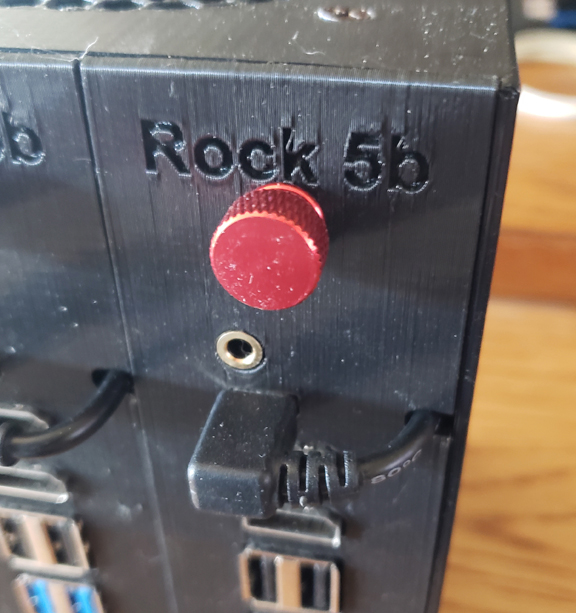
I would also beef up the mounts for the USB-C power cable (they are very fragile and break easily when snapping the cable in) and also add more of them along the bottom of the backplate to keep things neater.

That said, and please don’t judge the mess too harshly, pictures as requested:

20230402_090818

Great job on building your 5-node cluster case for the Rock5Bs! It’s always helpful to share your experiences and setups with others who might be looking for something similar. The combination of WaveShare high power PoE hats and the Hasivo 2.5g PoE switch sounds like a smart choice for powering your cluster.

It’s impressive that you’re running Armbian server load and K3s on your setup. Overcoming the challenge of the Armbian kernel lacking ISCSI support by following their instructions and building your own image shows your determination and problem-solving skills. Including Ceph kernel support for potential future testing is a wise decision as well.

While it may not have been the most cost-effective build, it’s worth it when you have an ARM SoC K8s cluster that’s capable of handling substantial CPU, RAM, and network tasks beyond just being a science project. The cluster case you built, with its leather-like sleekness, adds a touch of sophistication to the setup. Keep up the good work, and thanks for sharing your experience!

2 Likes

Yeah my 5 node cluster will soon replace my 24x7 Dell server.

Basically swapping out a 400 Watt server for a 40 Watt ARM cluster and associated networking (8 port Mokerlink 2.5 Gb PoE switch, Unifi Access Point, and fiber internet). Not too bad.

@PigLover I’m very new to editing STL files. I’ve been trying to widen the opening for the case fan to accomodate a 25mm noctua. The 10mm opening has limited options for quiet and durable fans, and the 80x80x10 fans that fit all sound like noisy crap after some time running. Ideally I’d like to put in a pair of 80x80x25 noctuas.

Any chance you could modify the cluster box?

My 3d printer is out of commission, permanently. Would anyone be willing to print this for me?!

You can easily find such service locally, choose material type and review final effect, it’s easier than You think :smiley: